This post may contain affiliate links or sponsored content. That means if you click on my link and buy something, I will earn a small commission from the advertiser at no additional cost to you. For more information, see our disclosure policy.
Simple Italian Chili Oil, a.k.a., Olio Santo or Olio di Peperoncino, is the super-easy condiment made by gently infusing olive oil with crushed red peppers and a little heat–in only 10 minutes! It enhances whatever it touches with a bit of pure heat and light crunch. You’ll likely wonder why you haven’t been making this southern Italian staple all these years!

Sometimes called olio santo, which means “holy oil” in Italian, this Italian Chili Oil is for all those that love spicy food and enjoy adding heat to their food with ease.
What Inspired This Recipe
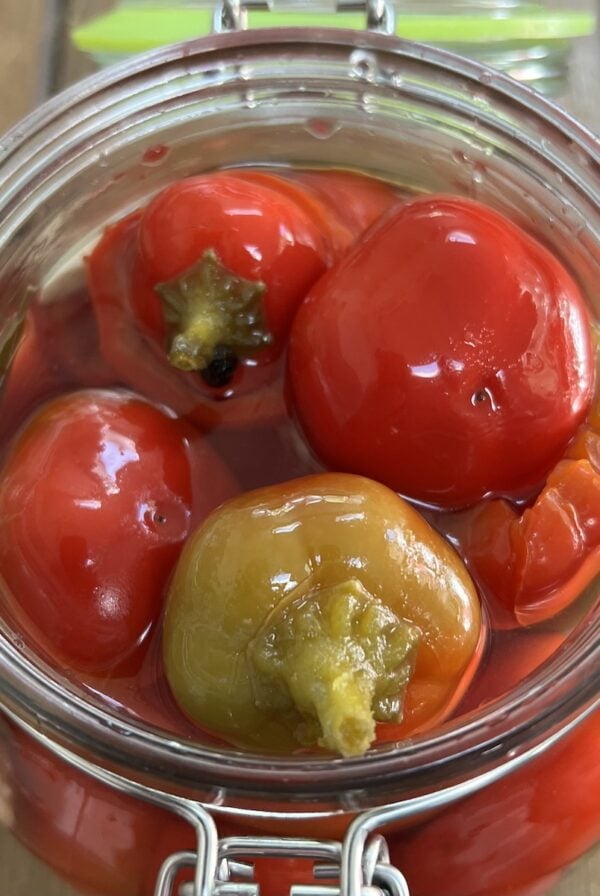
Growing up, we always had a small jar of this hot pepper oil on the table to drizzle on our foods as we pleased. Quite honestly, we didn’t call it “olio santo”–we just called it “spicy oil”. And, miraculously, we never ran out of it; it was like a bottomless jar.
My mom made it regularly for our family and several others. You always knew she had made it the second you walked in the door and coughed from the hot pepper fumes.
I still always have some on hand because you just kind of need something like this around to drizzle on pasta, pizza, eggs, chicken, broccoli rabe, etc. etc. etc….right?
And, like my mom, I have take it upon myself to make it regularly for family and friends. We all sort of have this unspoken I-give-you-a-full-jar-of-chili-oil-and-you-give-me-back-an-empty-jar relationship. It works, and it makes all of us happy.
Having said this, along with my Garlic Confit and Garlic Oil recipe, this is the easiest recipe on my website, and anybody can make it. It takes 10 minutes and two ingredients and a little bit of technique and that is it!
Why You’ll Love This Recipe
- Quick and Easy: This recipe couldn’t be easier to make! With only 2 ingredients and 10 minutes of your time, you can start anointing your food with this “holy oil” in no time!
- The Perfect Gift for the spicy food lover in your life! I like to spread the chili love and subscribe to the “make a jar, give a jar” philosophy when it comes to this Calabrian Chili Oil. It makes everyone happy. For more structured gift giving, triple, quadruple or more the recipe batch below and you will have homemade holiday gifts for many! I like to stock up on small jars and red ribbon around Christmas just for this reason! Spicy pepper oil is my favorite homemade giftable food item.
- Heat Without All the Fuss: While I enjoy many types of hot sauces, they all seem to add more to a dish than just heat. And, often, they are very strong and can overwhelm delicate dishes. Not the case with this simple Italian chili oil! With just olive oil and crushed red pepper flakes, you are able to add pure heat without a lot of other flavors to any dish.
If you’ve never had Italian Chili Oil before, try a batch! You might be surprised to see just how many uses you’ll find for it!
Ingredients for Italian Chili Oil
To make this easy olio santo, we will be using the following ingredients:
- Oil: I use extra-virgin olive oil in this recipe. Having said this, you do not need to use a super-premium or expensive bottle for it. While it is important to use a flavorful olive oil, the most prominent flavor in this condiment is the heat. So, the delicate flavor of a very high-end, extra-virgin olive oil will likely become masked. Having said this, I have been known to cut the extra-virgin olive oil in this recipe by up to 25% with non-extra virgin olive oil or even a neutral oil like avocado oil in a pinch. It works perfectly fine!
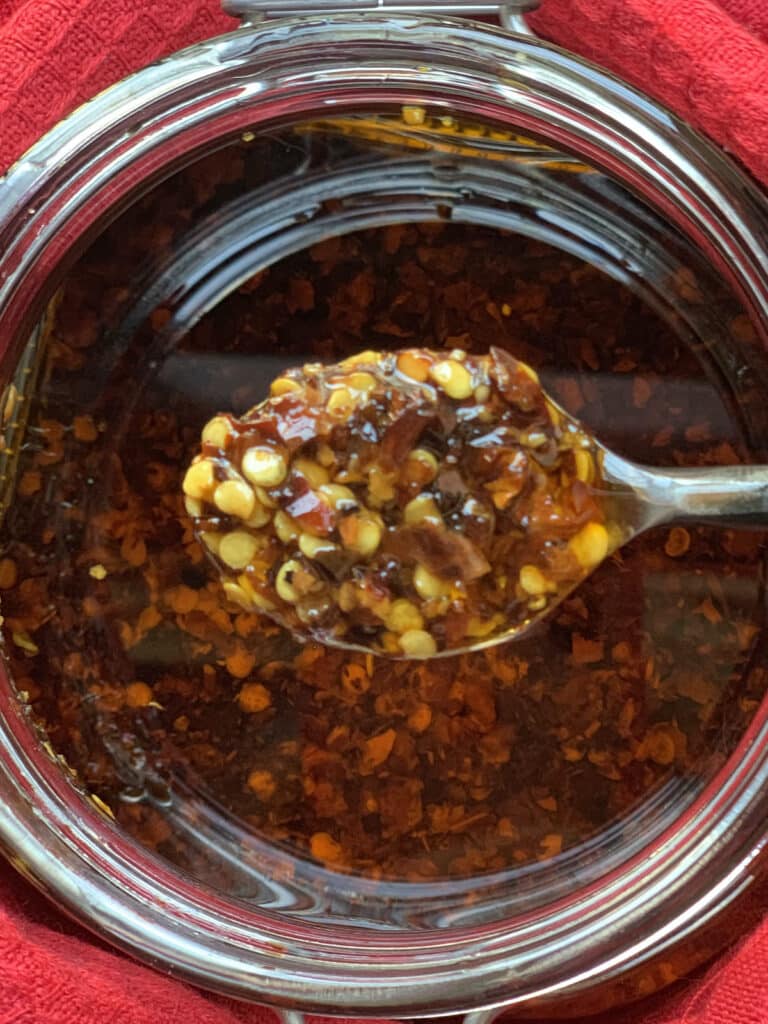
- Crushed Red Pepper Flakes: Any crushed red pepper flake (as long as they are not old!) can be used in this recipe, keeping in mind that the flavor and heat level of the pepper itself is what the flavor and heat level of the resulting oil will be. Sometimes, I’ll use a blend of very hot and medium hot flakes. If you’d like to stick with an Italian product, choose Italian pepper flakes or Italian whole dried chili peppers. My mom always used crushed pepper flakes in her oil so that we could get a bit of the grains of pepper along with the infused oil, and so do I. I enjoy their texture and light crunch. But, you can leave the peppers whole since they are decorative. The resulting oil will not have the nice grainy texture, though. The most important thing is that the peppers are 100% dry. So, if you decide to use homegrown or fresh chilies, they need to be dehydrated first.
How to Make Italian Chili Oil, Pro-Tips included!
Italian Chili Oil could not be easier! No cooking skills required. To make it:
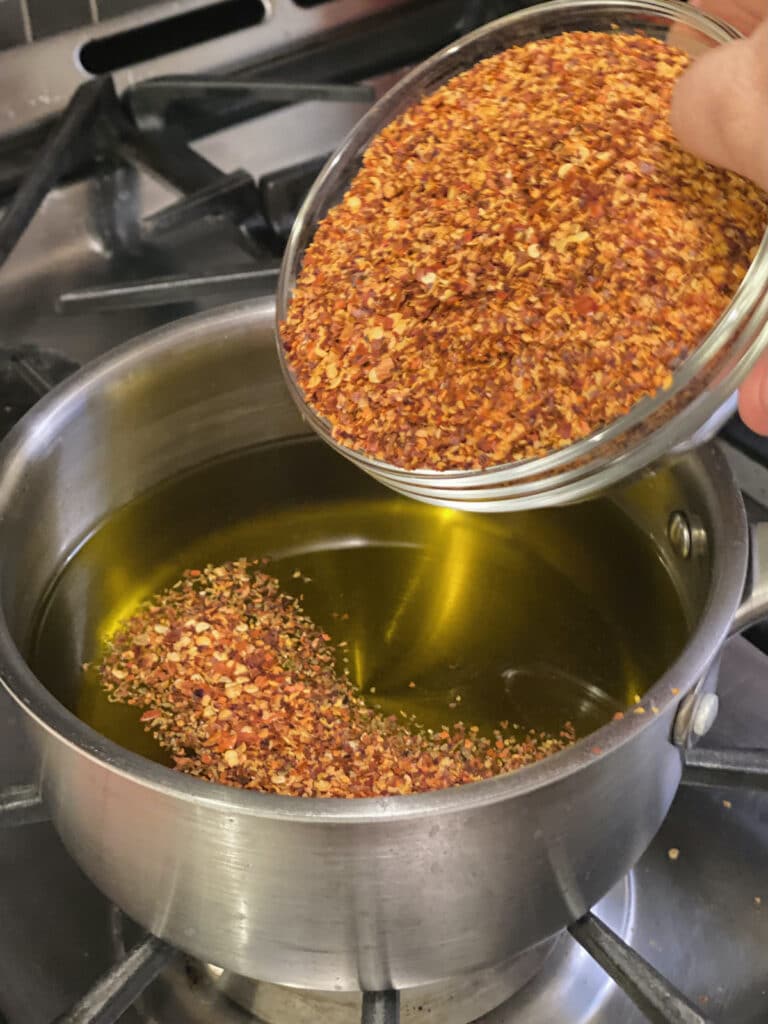
- Combine all ingredients in a small saucepan and stir. Heat gently over medium-low heat until a very light simmer. Reduce heat to low and simmer for only 3 to 5 minutes, while stirring regularly.
- PRO-TIP: Pay close attention during this step and do not heat the oil very high. The oil and crushed pepper flakes essentially need to be heated together over a low heat and only very briefly. If the oil becomes too hot, it may damage the oil and the pepper flakes may burn. Be mindful that olive oil has a low smoking point and if heated too high for too long, its flavor can change.

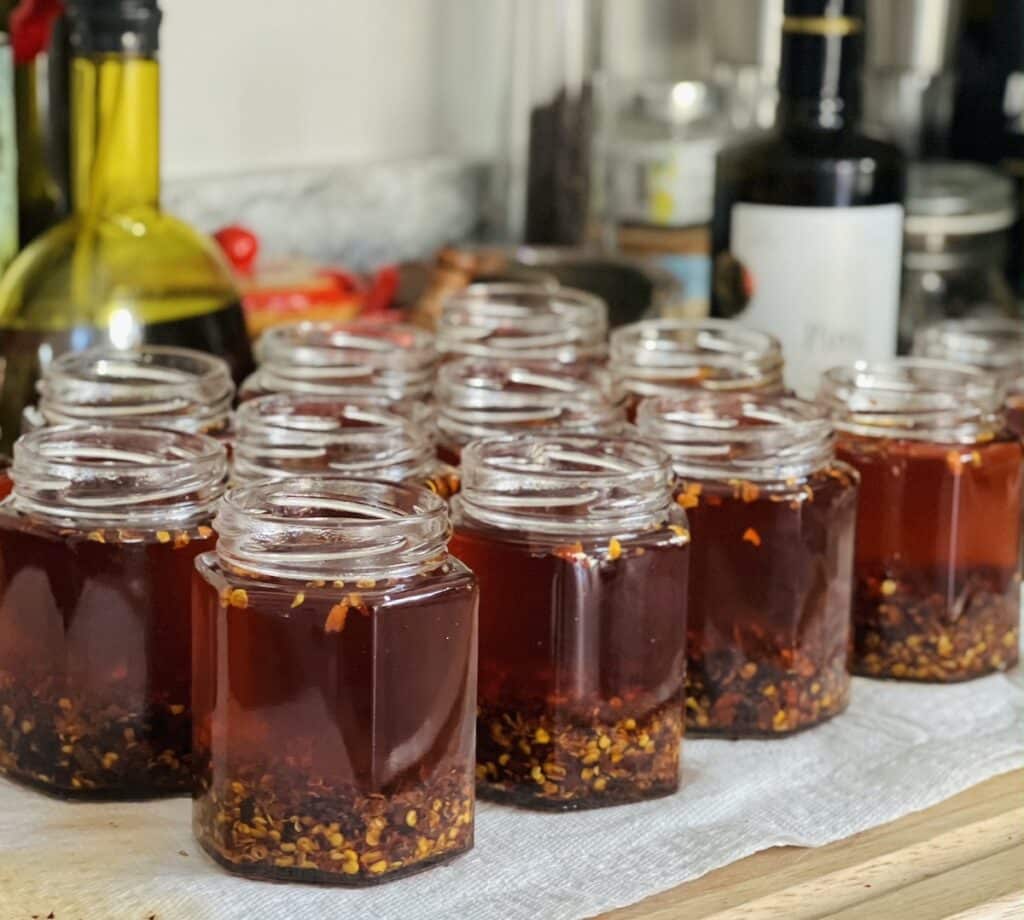
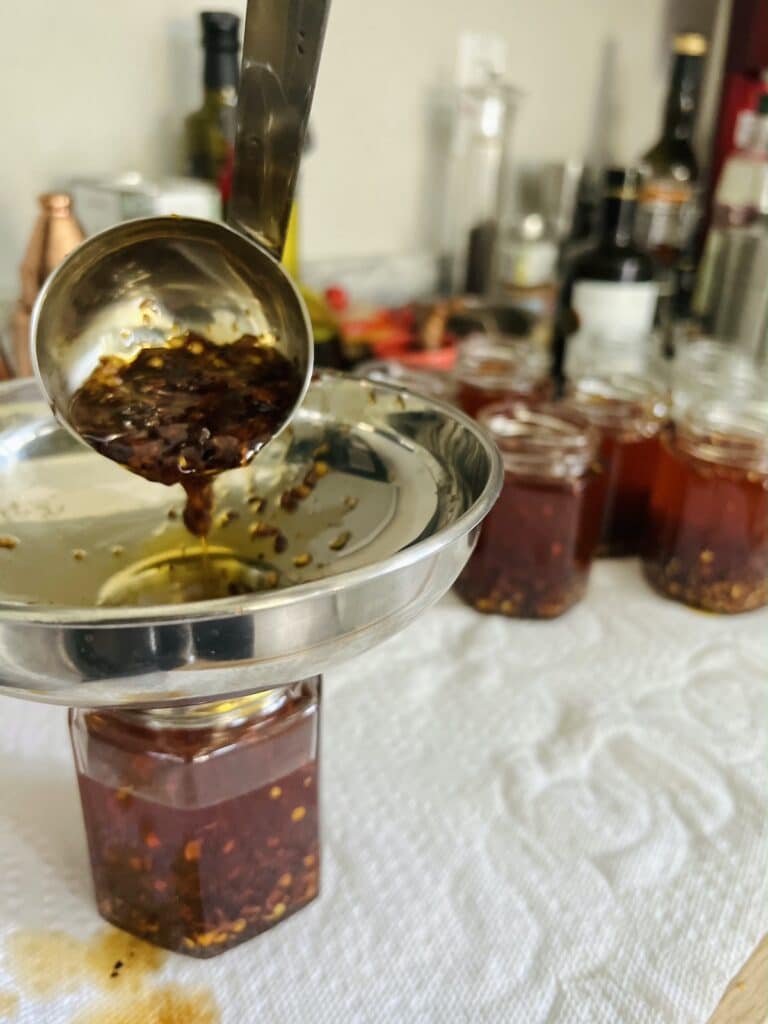
- Let oil cool completely. Use a funnel to pour into clean, dry, airtight jars. Store in a cool, dark place and use within one to two months. Before using, stir the chili flakes and oil together to distribute the heat of the oil evenly. That’s it!
- PRO-TIP: This spicy oil can also be stored in the refrigerator for an extended shelf-life. The extra-virgin olive oil will solidify and become cloudy in the refrigerator, fyi. Bring the oil to room temperature before using.

Frequently Asked Questions
Here are answers to some frequently asked questions about this Italian Chili Oil recipe:
Actually, no it is not. But, that is a different recipe and technique. In Italy and in many recipes, whole and/or crushed hot peppers are simply combined with extra-virgin olive oil and then left to sit together for a few weeks until the oil has become thoroughly infused with the heat of the peppers.
But, I actually make my spicy pepper oil the way that my mom made hers–by gently heating the crushed dried peppers and oil together briefly on a low heat to more quickly infuse the flavors. It’s a technique that has worked perfectly for years, and, this way, you can enjoy the oil right away!
Since we are not using any fresh ingredients in this recipe, it is perfectly acceptable to hold it at room temperature for one to two months. Keep it away from heat and light as both will shorten the shelf-life.
Keep in mind that olive oil (and all oils) become rancid over time. So, it is best to do a quick inspection before using the chili oil if it has been around for awhile. I just do this by smelling the oil to see if it has turned rancid. The North American Olive Oil Association says that rancid oil smells like “crayons, wet carboard, sawdust or putty”. I am not sure about that, but once I learned what rancid oil smells like, I could not un-smell it and became very sensitive to its odor, which I could best describe as sour and musty. If you think your oil has become rancid, discard it.
You can also store Italian Chili Oil in the refrigerator for an extended shelf-life. The extra-virgin olive oil will solidify and become cloudy in the refrigerator, fyi. Bring the oil to room temperature before using. I do not recommend freezing Italian Chili Oil.
I use extra virgin olive oil in this recipe. Having said this, you do not need to use a super-premium or expensive bottle for it. While it is important to use a flavorful olive oil, the most prominent flavor in this condiment is the heat. So, the delicate flavor of a very high-end, extra-virgin olive oil will likely become masked.
Having said this, I have been known to cut the extra-virgin olive oil in this recipe by up to 25% with non-extra virgin olive oil or even a neutral oil like avocado oil in a pinch. It works perfectly fine!
How to Use this Spicy Pepper Oil
There are not many things that I don’t love accenting with a little Italian hot pepper oil. I suggest always keeping a small jar of it on the table for everyone to drizzle as they please at any time! Having said this, here are a few of my favorites foods to add it to:
- Any plate of pasta
- Pizza or Pizzaiola Pasta!
- Avocado toast
- Frittatas, scrambled eggs, sunny-side up eggs–in fact, all eggs!
- Caprese salad
- Tomato bruschetta
- Chinese food, especially noodle dishes and dumplings
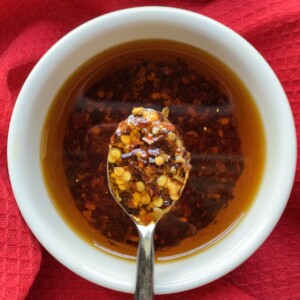
- As a dipping oil for some crusty Italian bread
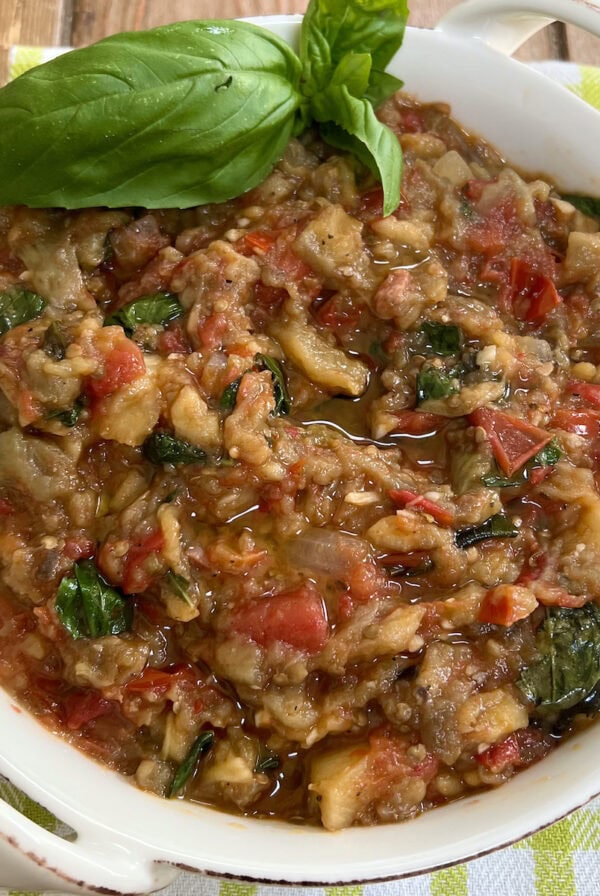
- Grilled meats and vegetables, like this grilled eggplant!
- All types of meatballs, including meatless meatballs!
- I even have a friend that I gifted a jar to and he mixed the whole jar with some spaghetti and sautéed garlic for a very spicy version of spaghetti aglio e olio!
- It’s also great added to any marinade to spice things up!

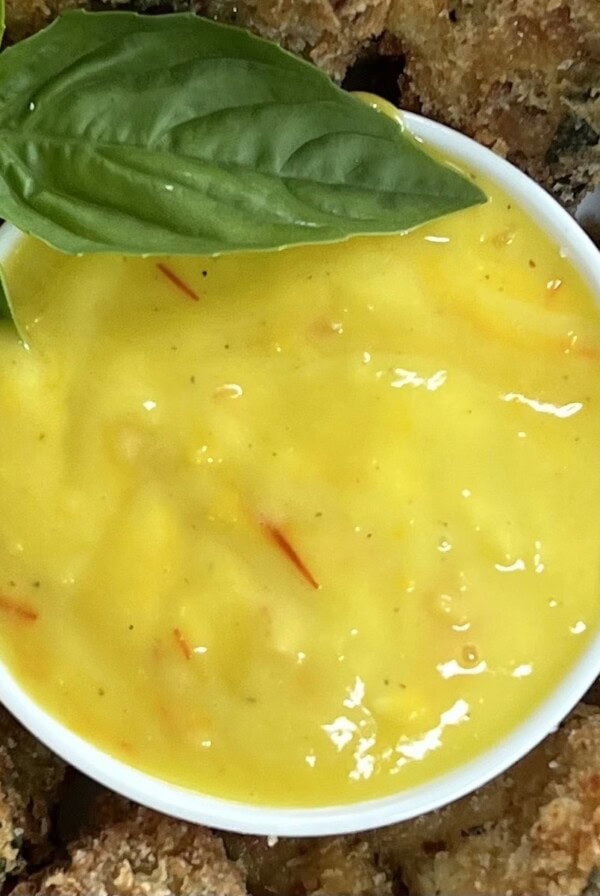
If you love making homemade condiments like this chili oil, also check out my homemade saffron garlic mayo recipe!
Recipe Variations for Italian Chili Oil
You can experiment with different ethnic varieties of chili peppers in this recipe to achieve varying flavors and heat levels. But, take care to not add any fresh ingredients to it unless you store it in the refrigerator and use it within a short period of time.
Similar, but more complex versions, of this recipe are pretty standard in other parts of the world, especially China, Japan and other Asian countries. And, this recipe can easily be turned into a Chinese hot chili oil or Sichuan chili oil by adding ingredients like Sichuan peppercorns, star anise, cinnamon sticks, white pepper, sesame seeds, ginger, crispy garlic or shallots and more.
I tend to keep this recipe simple and don’t veer from it, though. It has served me and my family well for decades as is, so, as they say, “if it ain’t broke…”

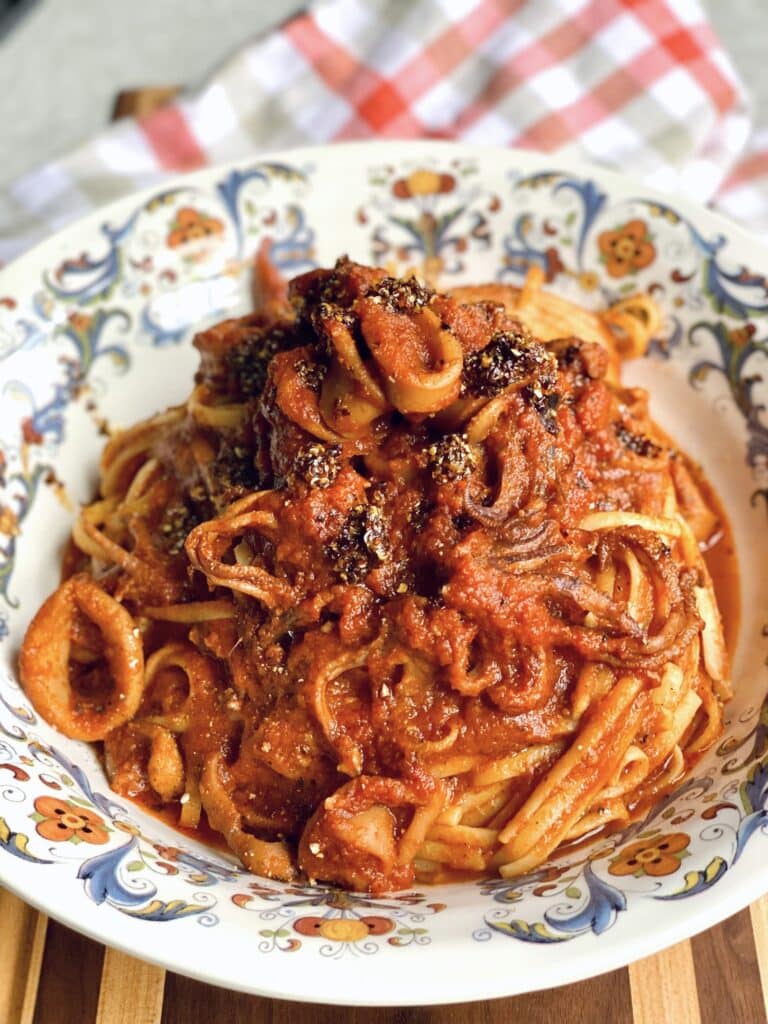
For a few great recipes that you can drizzle this Italian spicy chile oil over, check out Steak Pizzaiola, Calamari Ragu Fra Diavolo, Tuna Ragu with Bucatini, Easy Crab Pasta Sauce with Spaghetti, Shrimp Scampi Pasta with Arugula and Turkey Meatballs with Pesto.
Kitchen Tools & Cookware Needed
To make this Italian Chili Oil (Olio Santo) recipe, you’ll need the following:
I hope that you are enjoying my Italian food blog Mangia With Michele and all of my Italian recipes and Italian-American recipes!
If you’ve tried this Italian Chili Oil recipe or any other recipe on the blog, please let me know how it went in the comments below — I love hearing from you!
You can also FOLLOW ME on FACEBOOK and INSTAGRAM to see more delicious food and what might be going on behind the scenes!
Italian Chili Oil (Olio Santo)
Video
Ingredients
- 2 cups extra-virgin olive oil
- ½ cup crushed red pepper flakes
Instructions
- Combine both ingredients in a small saucepan. Heat together gently over medium-low heat until a very light simmer. Reduce heat to low and simmer only 3 to 5 minutes while stirring regularly.*Please read additional information in the NOTES below. about paying close attention during the heating step and not heating the oil very high.*
- Let oil cool completely. Use a funnel to pour into clean, dry, airtight jars. Store in a cool, dark place and use within one to two months.
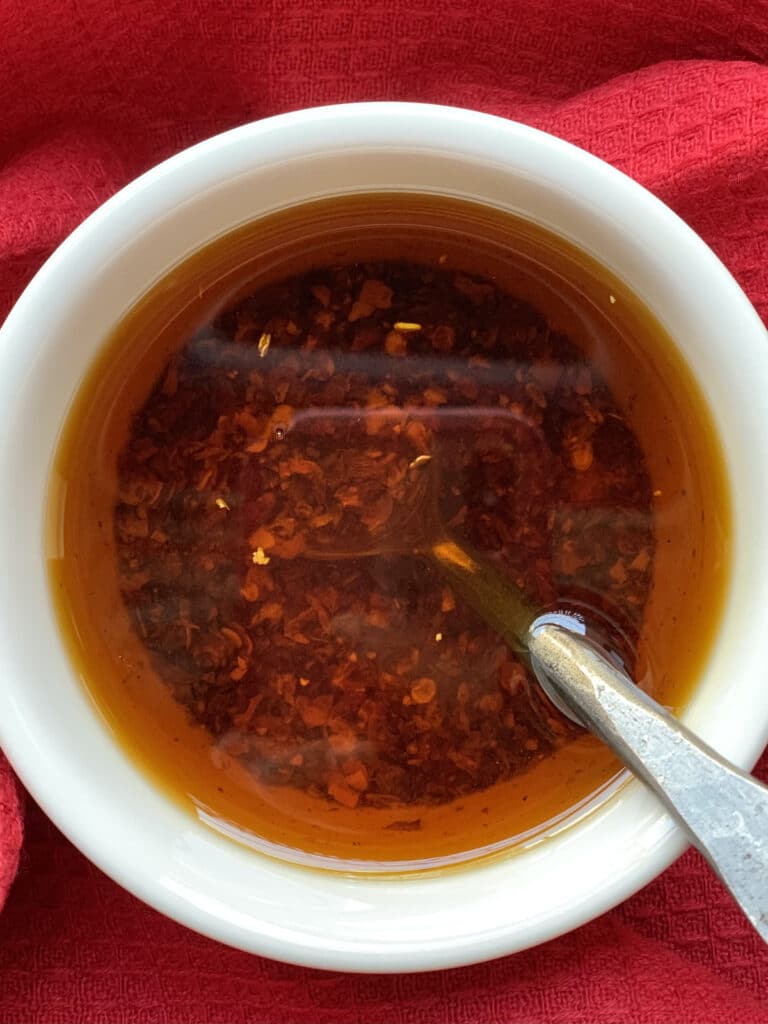
- Before using, stir the chili flakes and oil together to distribute the heat of the oil evenly. Buon Appetito!
Notes
- Pay close attention during the heating step and do not heat the oil very high. The oil and crushed pepper flakes essentially need to be heated together over a low heat and only very briefly. If the oil becomes too hot, it may damage the oil and the pepper flakes may burn. Be mindful that olive oil has a low smoking point and if heated too high for too long, its flavor can change.
- If you prefer, you can strain out the chili flakes and serve only the oil.
- This spicy oil can also be stored in the refrigerator for an extended shelf-life. The extra-virgin olive oil will solidify and become cloudy in the refrigerator, fyi. Bring the oil to room temperature before using.
- Since olive oil (and all oils) become rancid over time, it is best to do a quick inspection before using the chili oil if it has been around for awhile. I just do this by smelling the oil to see if it has turned rancid.
- Use only clean utensils to dip into the chili oil.
- This recipe can easily be doubled or tripled. I often make large batches at one time and give them away as gifts.
love soup?
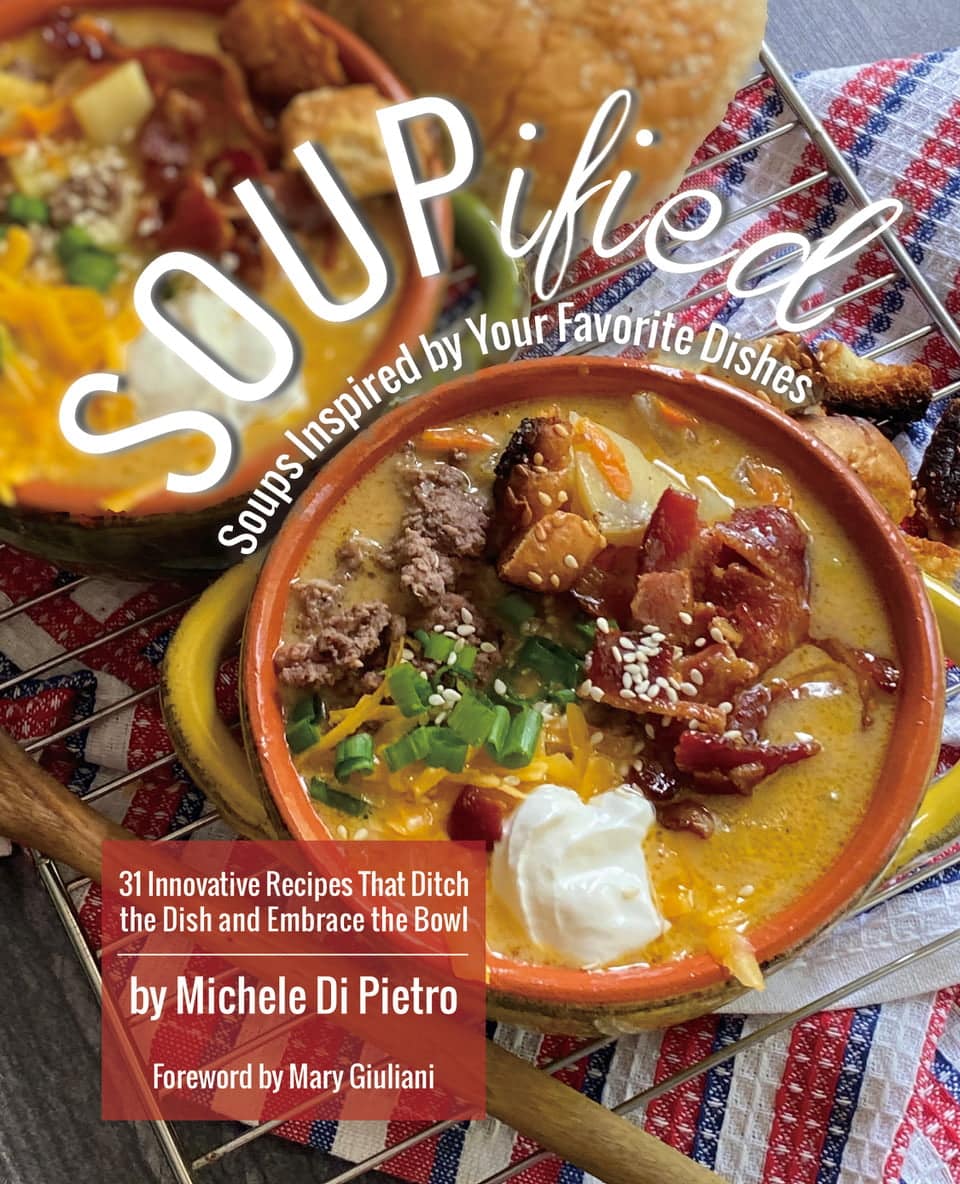
Get My Cookbook!
Ditch the dish and embrace the bowl with Soupified: Soups Inspired by Your Favorite Dishes!
Available in ebook, paperback and hardcover.
Love this recipe. I use whole dried Calabrian chilies and fry them in oil. Great on chicken or veal cutlets! Thanks for another great recipe.
Thank you for sharing this beautiful recipe. So simple yet so tasty with a good kick. I will definitely be making again.
I didn’t boil/sterilize the jars even though they were cleaned and dry. Just wondering if you think it’s necessary for when I make next time? Thanks
I’m so happy that you enjoyed the spicy oil recipe, Amy! IT has been in my family for as long as I can remember. As for boiling or sterilizing the jars, I do not do that, but I suppose it couldn’t hurt. I always wash the jars well in hot water and make sure they are 100% dry before filling them. Keep in mind that this is not a canning recipe for long term storage. As with all oils, this oil will eventually go rancid after a long time. If you’re not going to use it within 6 to 8 weeks, I suggest storing it in the refrigerator and taking it out to come to room temperature before using.
This was a quick and simple recipe! I used half olive and half sunflower oil. This recipe gives a beautifully rose coloured oil. I tried it the next morning and it is so tasty – with a spicy bite! I will let the oil and seeds sit for another day or two before trying again. Definitely a keeper, and would make a great gift too. Thanks for sharing!
I’m so happy that you liked this recipe, Suzie! Gifting the oil is a great idea and something I do regularly–people love it! Thanks so much for your comment. 🙂
maybe I missed it but you don’t say how much oil to use or how much pepper flakes?
Hi Dave, The actual amounts are in the recipe at the bottom of the post (2 cups extra-virgin olive oil, ½ cup crushed red pepper flakes). You can also click “Jump To Recipe” at the top and it will take you directly to the recipe. Hope you enjoy it.