This post may contain affiliate links or sponsored content. That means if you click on my link and buy something, I will earn a small commission from the advertiser at no additional cost to you. For more information, see our disclosure policy.
Roasted Garlic should be a staple in every kitchen, in my humble opinion! Not only does it have an amazing, rich, and nutty flavor, it creates an aroma like no other throughout your kitchen as it bakes–reason alone to read on and learn how to make it!

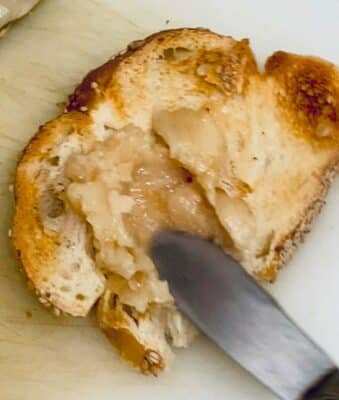
Roasted Garlic is, simply, raw garlic that has been roasted. It can literally be made with garlic and nothing else (except heat), or it can be enhanced a bit with a little olive oil, salt and black pepper, as I do here. Once roasted and caramelized, the flavor of the pungent, sharp, raw garlic gets concentrated and magically transformed into something sweet, nutty and super-savory. It also becomes very soft, creamy and spreadable, which is great news for those of us out there in the “I love to spread yummy things on bread” camp.
When you add Roasted Garlic to something, it immediately makes the dish more interesting. This is due in large part to the significant umami (the fifth taste sensation referring to a special type of savoriness) that it contains. Roasted Garlic really doesn’t have any sort of bite, like its raw counterpart. It is intensely sweet, rich, nutty and mellow all at the same time, adding an unmatched complexity to whatever it is added to. And, great news – roasting garlic is VERY easy!
Ingredients
To make this simple and important ingredient, we will be using the following:
- Whole Garlic Heads: Use as many as you want! When I make Roasted Garlic, I’ll usually make a minimum of 4 heads of garlic. Here, I made 6.
- Extra-Virgin Olive Oil: The olive oil is drizzled over the cut-side of each head of garlic before roasting to add a bit of moisture and flavor, and to assist in the caramelization process.
- Salt and Black Pepper: Sprinkle salt and freshly ground black pepper generously over the cut-side of each bulb of garlic. Definitely use sea salt for this recipe, if possible.
A complete and detailed list of ingredients with amounts and instructions is included in the recipe below.
Step-By-Step, Pro-Tips included!
Here are the main steps for how to make Roasted Garlic:
- Gather all ingredients. Remove any excess and loose outer, papery skin from each garlic bulb.
- PRO-TIP: The garlic skin holds the cloves together, so do not remove too much of it.
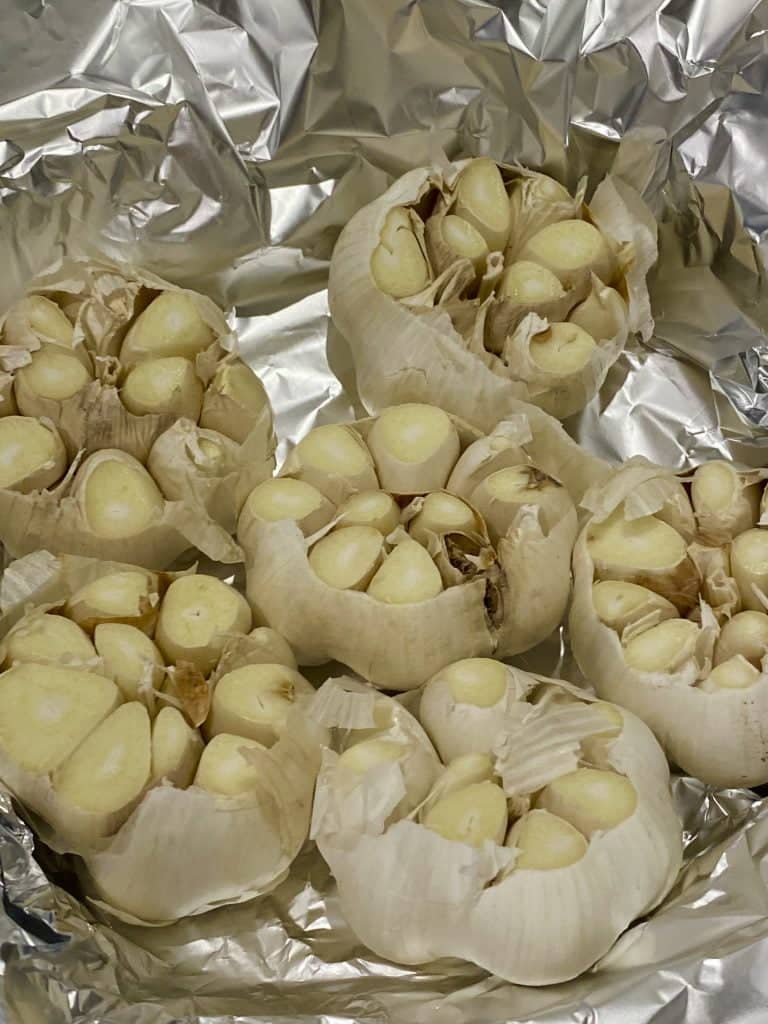


- Slice about ¼-½” off the pointed top of each garlic bulb, revealing the raw cloves.
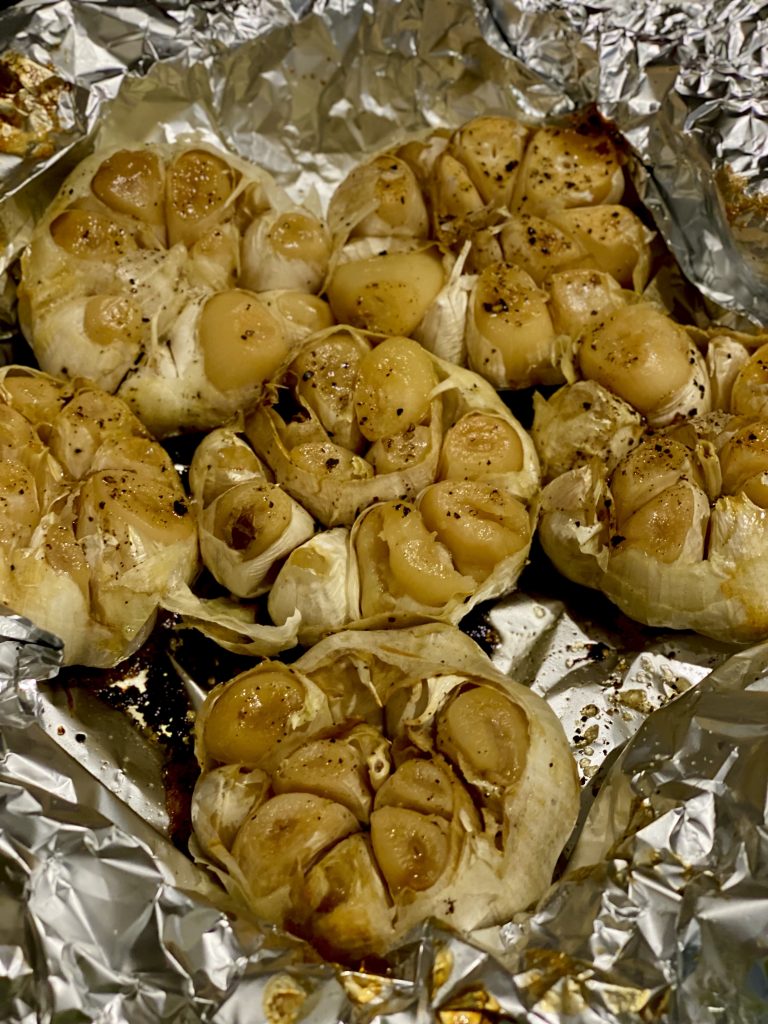
- Arrange the garlic heads, cut side up, on a large piece of aluminum foil placed inside a small roasting pan or dish and nestle them together tightly so that they hold each other up. Drizzle the cut side of each head lightly with some olive oil, then sprinkle each head with salt and freshly-ground black pepper.
- Tent the aluminum foil over the heads of garlic and ensure that it is sealed well so that the garlic is able to steam. Basically, you are creating a foil packet in which the garlic head can steam and roast.
- Roast the garlic or about 45 to 60 minutes or until the garlic cloves are tender and golden brown. That’s it!
- PRO-TIP: If you prefer more intense caramelized roasted garlic with a stronger, concentrated flavor, open the foil tent about halfway through the roasting process.
- PRO-TIP: Once the garlic is cool enough to handle, squeeze out all the roasted cloves and use or store. This way, it will be ready to use in a pinch and squeezing out the garlic cloves is much easier to do when the garlic is still warm.

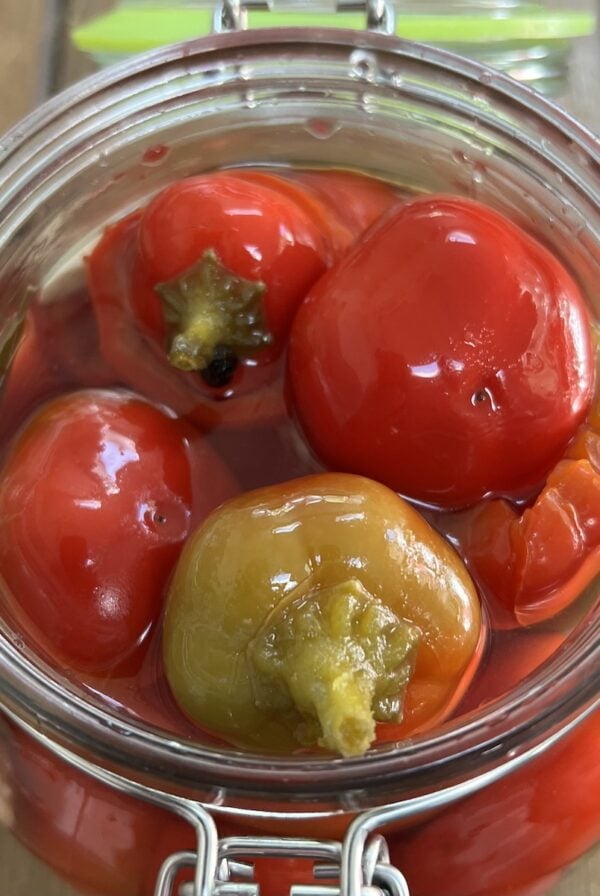
If you really love garlic (like me), check out my homemade saffron garlic mayonnaise recipe-so delicious!
My Favorite Way To Use Roasted Garlic
After the initial obligatory spreading-of-the-warm-roasted-garlic-on-some-crusty-bread-and-eating-it, I’ll then generally squeeze the roasted garlic cloves out of all of the bulbs while they are still warm (it’s easier this way), place this pulp in a container, and refrigerate it so that it is ready in a pinch to use. I’ll then add it to things like:
- Mayonnaise for a garlicky sandwich spread or dipping experience;
- Spaghetti Aglio e Olio, for a twist on the classic;
- Turkey, Chicken or Beef Gravy, for obvious reasons;
- Soup! Roasted Garlic adds so much flavor to a nice pot of soup;
- Butter, to make some kick-ass Garlic Bread; and
- Mashed Potatoes, to kick them up several notches.
Kitchen Tools & Cookware for Roasted Garlic
To make this Roasted Garlic recipe, you will need the following:
- Cutting board with non-slip mat underneath (I use shelf liner)
- Sharp chef’s knife
- Aluminum foil
- Can opener if using canned beans
- Pepper mill
- Nonstick 13 ½”x9 ½” baking pan
- Oven mitts
I hope that you are enjoying my Italian food blog Mangia With Michele and all of my Italian recipes and Italian-American recipes!
If you’ve tried this recipe or any other recipe on the blog, please let me know how it went in the comments below — I love hearing from you!
You can also FOLLOW ME on FACEBOOK and INSTAGRAM to see more delicious food and what might be going on behind the scenes!
Roasted Garlic

Ingredients
- Whole garlic bulbs,, as many as you want!
- Extra-virgin olive oil,, for drizzling
- Pinch salt and freshly ground pepper
Instructions
- Arrange a rack in the middle of the oven and preheat the oven to 375°F.
- Remove any excess and loose outer, papery skin from each garlic bulb. Do not remove too much skin as the cloves still need to be held together.
- Use a sharp knife to slice about ¼-½” off the pointed top of each garlic bulb, revealing the raw cloves.
- Arrange the garlic heads, cut side up, on a large piece of aluminum foil placed inside a small roasting pan or dish and nestle them together tightly so that they hold each other up. Drizzle the cut side of each head lightly with some olive oil, then sprinkle each head with salt and freshly-ground black pepper.
- Tent the aluminum foil over the heads of garlic and ensure that it is sealed well so that the garlic is able to steam.
- Roast for about 45 to 60 minutes or until the garlic cloves are tender and golden brown.
- Remove pan from oven. Once the garlic is cool enough to handle, squeeze out the roasted cloves and use or store. Buon Appetito!
Notes
- If desired, the oil, salt and pepper can all be eliminated from this recipe with great success.
- If you prefer more intense caramelized roasted garlic with a stronger, concentrated flavor, open the foil tent about halfway through the roasting process.
- Roasted Garlic freezes well! Squeeze all of the roasted cloves out of each head of garlic and store them in an airtight container in the freezer for up to 2 months. (But, honestly, I would be surprised if it lasted that long…)
love soup?
Get My Cookbook!
Ditch the dish and embrace the bowl with Soupified: Soups Inspired by Your Favorite Dishes!
Available in ebook, paperback and hardcover.
recipe link
My kitchen smelled so good when I made this-thank you for the instruction! Looking forward to trying this in lots of different dishes.