
This post may contain affiliate links or sponsored content. That means if you click on my link and buy something, I will earn a small commission from the advertiser at no additional cost to you. For more information, see our disclosure policy.
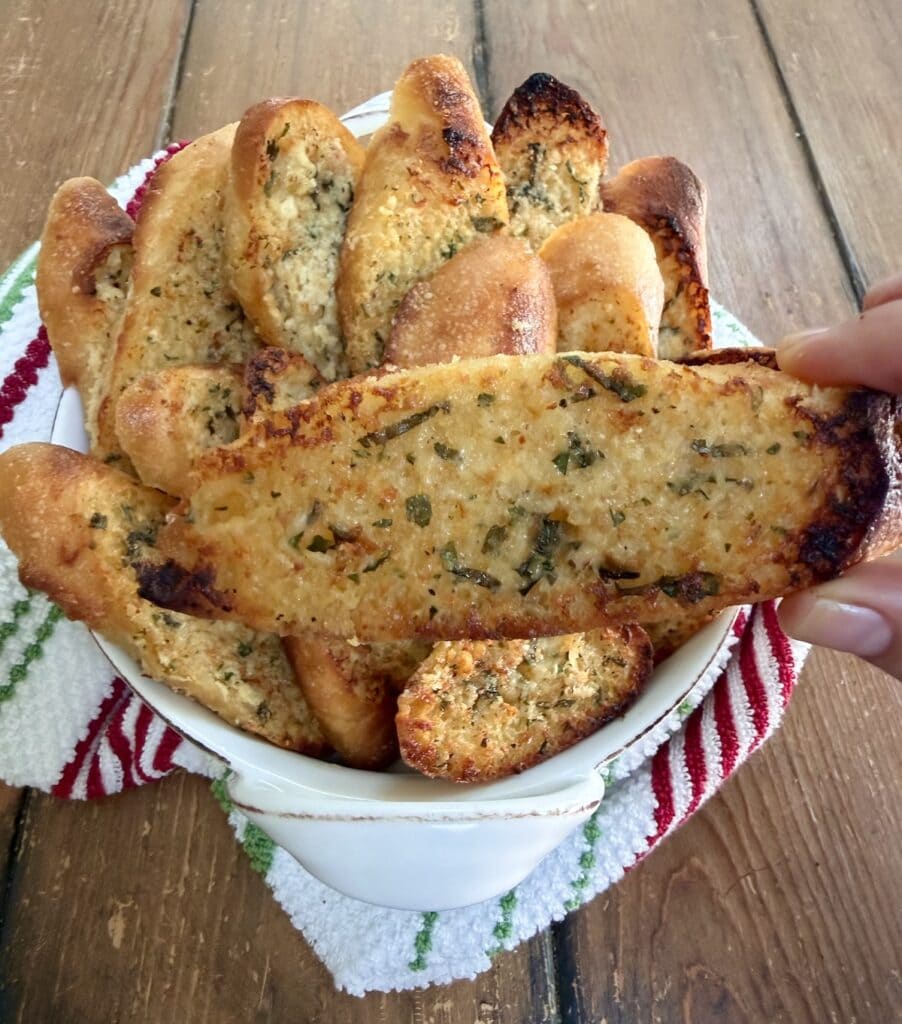
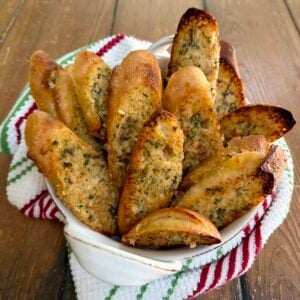
This Homemade Garlic Bread Baguette is crispy, buttery, cheesy and loaded with serious garlic flavor! Each slice is generously slathered with my highly-seasoned garlic butter–made with four forms of garlic, two Italian cheeses and fresh herbs–then broiled until bubbly, golden brown and deliciously crunchy.
I’ve been making this garlic bread for close to 20 years, and it’s still one of the dishes my family and friends request most. Serve it alongside pasta and red sauce for the ultimate Italian-American Sunday dinner, or just about anytime really good garlic bread is called for!
Keep In Mind Before You Start . . .
- Start with really good bread. I prefer a crusty French baguette or similar long loaf that’s sturdy enough to hold plenty of garlic butter and crisps beautifully under the broiler.
- Make sure the garlic butter is very soft and spreadable—and don’t skimp! Slather each slice generously so you get plenty of buttery, garlicky flavor in every bite.
- The recipe intentionally makes extra garlic butter. You’ll only need about 1 cup for one baguette, so refrigerate or freeze the rest for another day—or simply halve the Garlic Butter recipe if you don’t want as much extra.
- Don’t walk away from the broiler! The bread only needs a few minutes, and it can go from beautifully browned to burned very quickly.
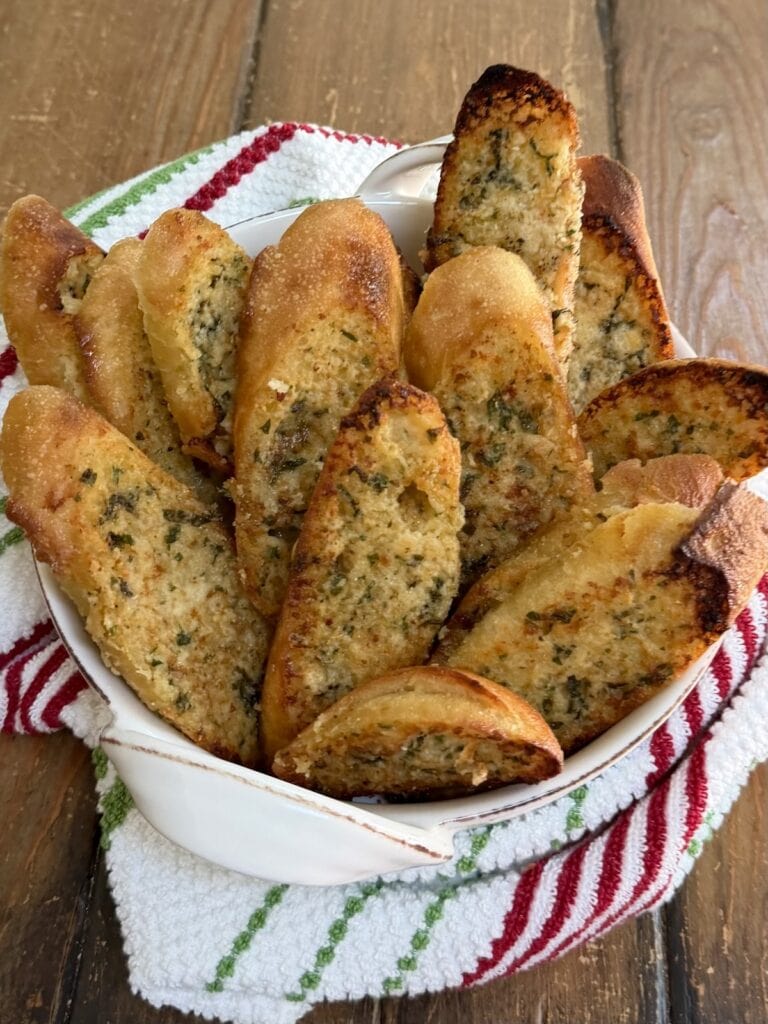
The Garlic Bread Everyone Asks For
I honestly don’t remember exactly when or why I first started making this garlic bread. I think it was probably inspired by a lifetime of cooking, traveling, eating lots of garlic bread—and being underwhelmed by a lot of it!
Over the years, though, this recipe has become somewhat legendary among my family and friends. It’s one of the dishes they request most often, and one of my best friends even calls it my “award-winning garlic bread”—although, for the record, it hasn’t actually won any awards. Yet. 😉
I love it so much that I even turned it into “Michele’s Garlic Bread Soup” for my cookbook, SOUPified: Soups Inspired by Your Favorite Dishes, a collection of soups inspired by classic and favorite dishes.
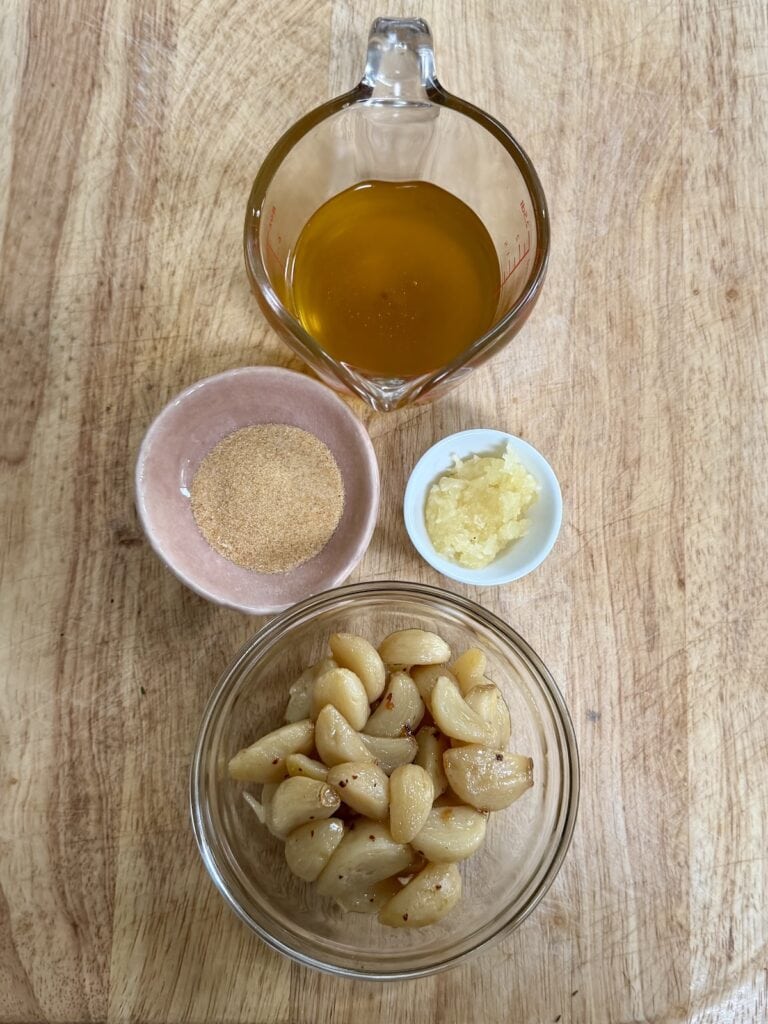
4 Forms of Garlic!
As a chef, it made sense to me to approach the garlic butter as a proper compound butter and build layers of flavor into it rather than simply mixing butter with some chopped garlic. Mine has four different forms of garlic, two Italian cheeses, fresh basil and parsley and a few other seasonings.
Is it a little more involved than basic garlic butter? Yes. Is it worth it? Absolutely. That’s exactly why I always make extra and stash it in the refrigerator or freezer for another day.
After all, garlic bread isn’t everyday food. It’s special. And if you’re going to eat it, it should be really, really good.
Trust me. This is the garlic bread that you always wish you had.
For a few other garlicky favorites, check out Spaghetti with Garlic and Extra-Virgin Olive Oil, Spicy Garlic Shrimp and Stuffed Baked Clams with Lemon Garlic Breadcrumbs
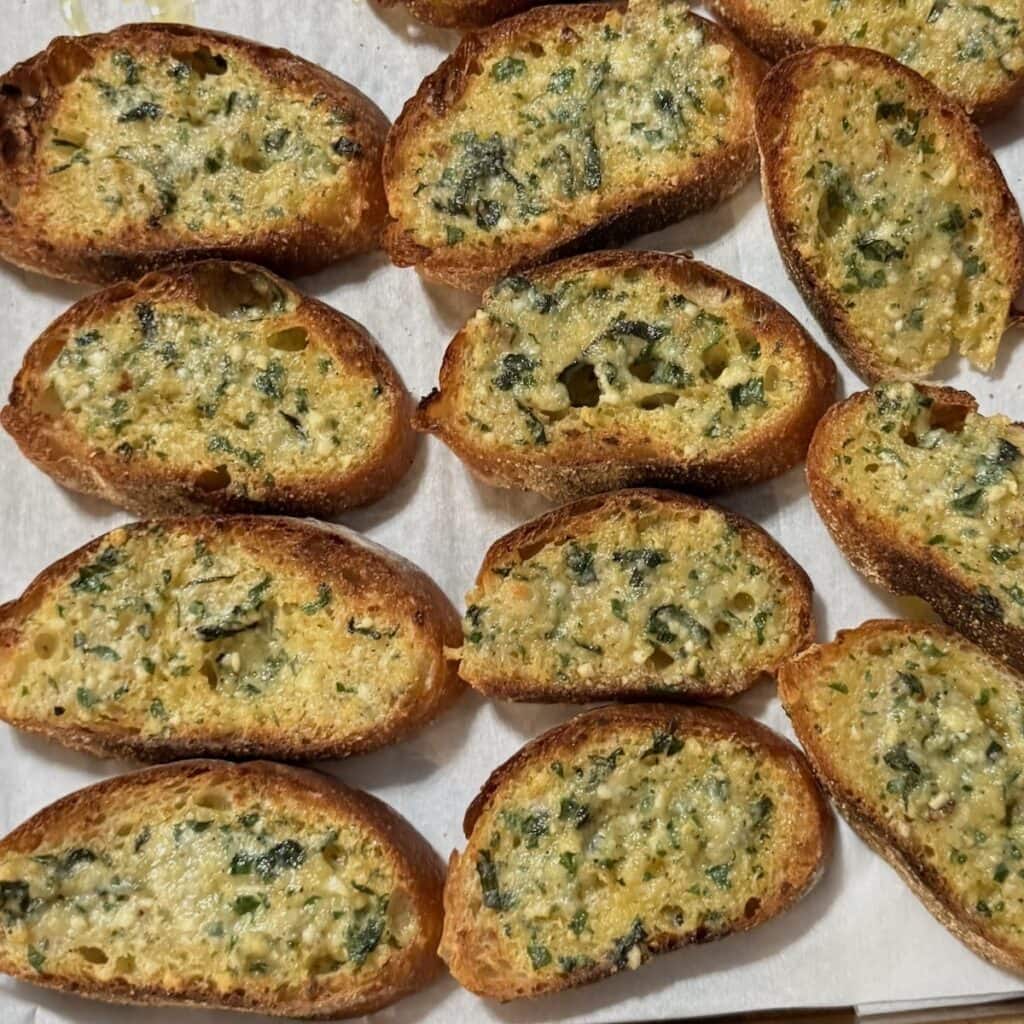
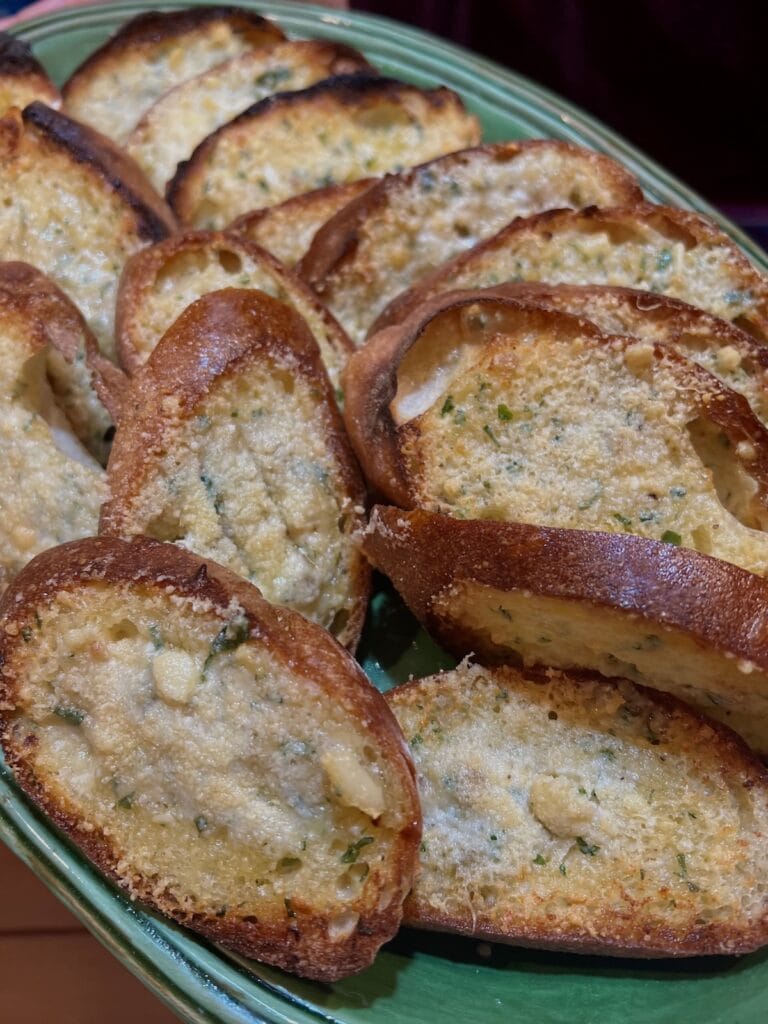
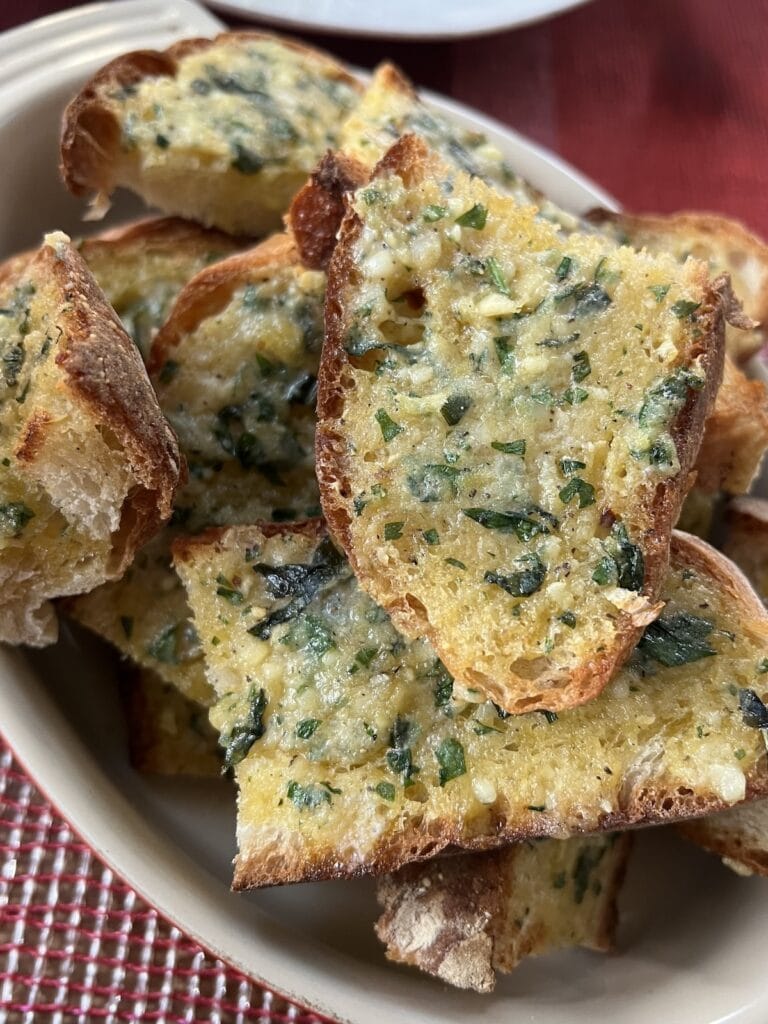
Main Ingredient Notes
There may be a few more ingredients in my homemade garlic bread than in more basic versions, but each one is there for a reason. Together, they create a deeply savory, garlicky compound butter with lots of flavor and texture.
Here’s what you’ll need:
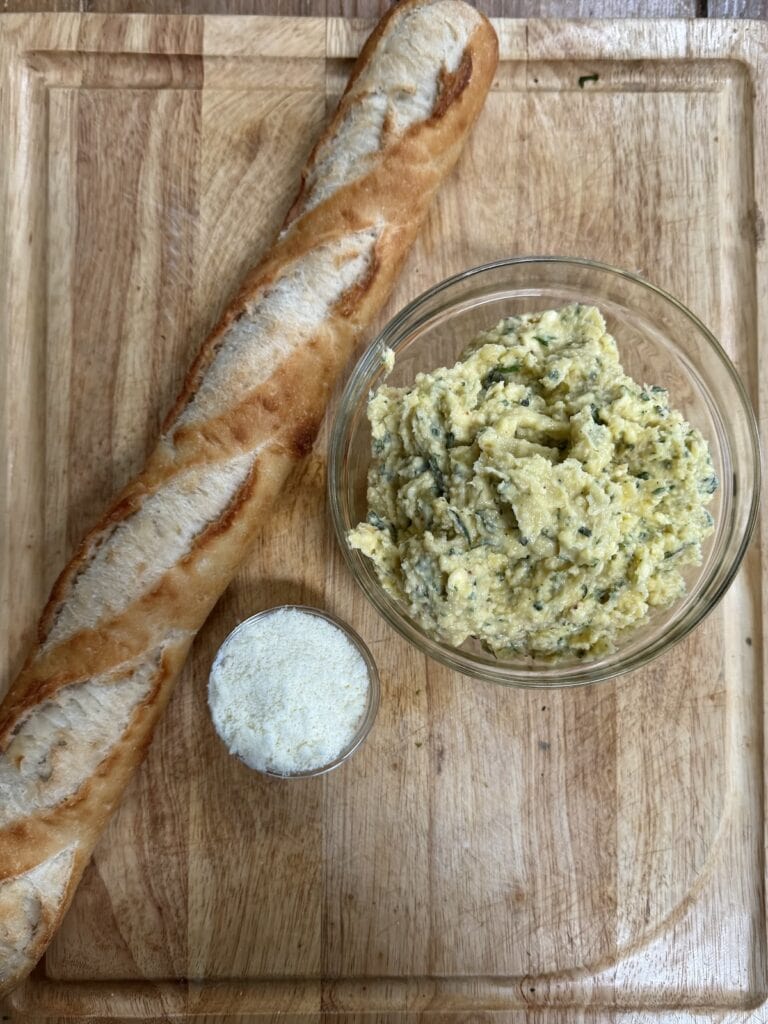
- Baguette: I generally use a French baguette or a similar long, crusty loaf. The circumference is just right for creating nice-sized pieces when sliced on the bias, and the texture is sturdy enough to hold plenty of garlic butter without tearing, yet not so dense that it doesn’t crisp up quickly under the broiler.
- Unsalted Butter: Since we’re adding two salty cheeses plus additional salt, unsalted butter gives you much more control over the final seasoning. Be sure it’s very soft before mixing and spreading. (FYI, I give tips on what to alter in the recipe if all you have is salted butter.)
- Garlic Confit + Garlic Oil: These bring a softer, mellower garlic flavor to the butter. The oil from making the confit is packed with garlic flavor and helps carry it throughout the mixture. I use my homemade Garlic Confit and Garlic Oil recipe for both.
- Fresh Garlic + Granulated Garlic: Yes, even more garlic! Fresh minced garlic brings that sharp, pungent bite that only raw garlic can, while granulated garlic adds another savory layer and distributes easily throughout the butter. Together with the confit and garlic oil, that’s four different forms of garlic in one very garlicky bread.
- Pecorino Romano + Parmigiano-Reggiano: Pecorino brings its characteristic sharp, salty flavor, while Parmigiano adds a slightly nuttier, savory richness. Grana Padano is a great substitute for the Parmigiano. In a pinch, you can also use just one cheese rather than two.
- Fresh Basil + Flat-Leaf Italian Parsley: Fresh herbs brighten up all that rich butter, garlic and cheese. They also make the homemade garlic bread extra beautiful! If necessary, you can use just basil or parsley rather than both.
- Crushed Red Pepper Flakes: Optional, but I like adding a small pinch for just a little background heat.
- Extra Pecorino Romano: Also optional, but highly recommended! I generally sprinkle a little more Pecorino over each buttered slice before broiling. It creates an extra savory, browned and crusty layer on top.
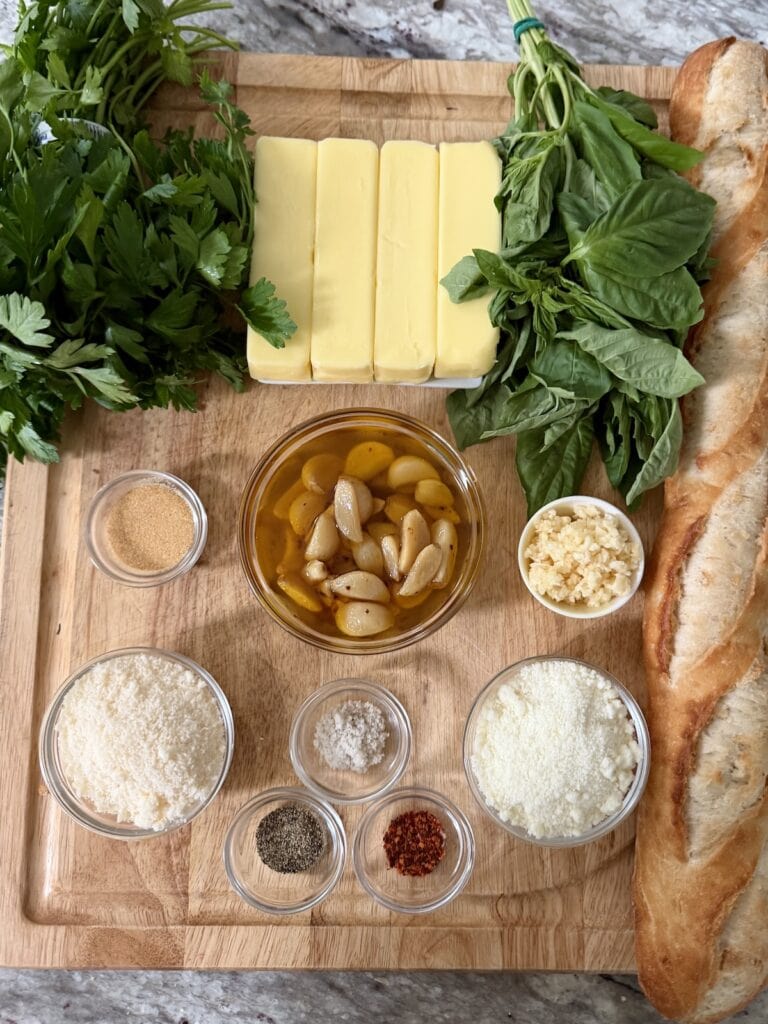
How to Make Garlic Bread Using a Baguette
Make the Garlic Butter
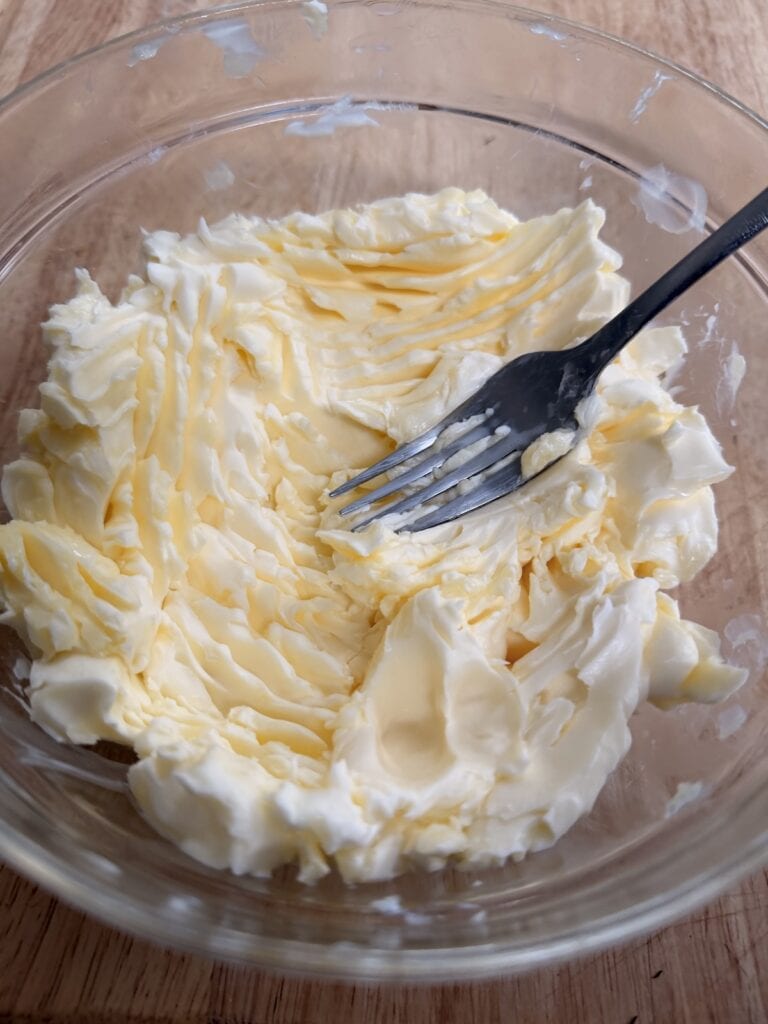
- Soften Butter at room temperature so that it is easily mashable with a fork.
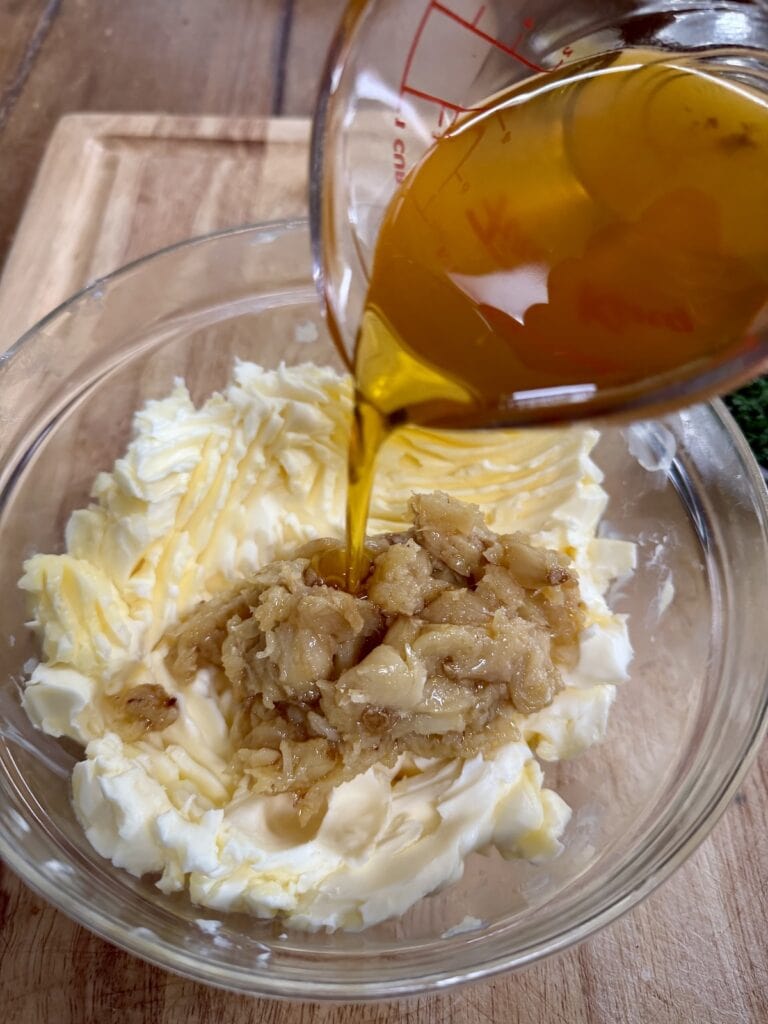
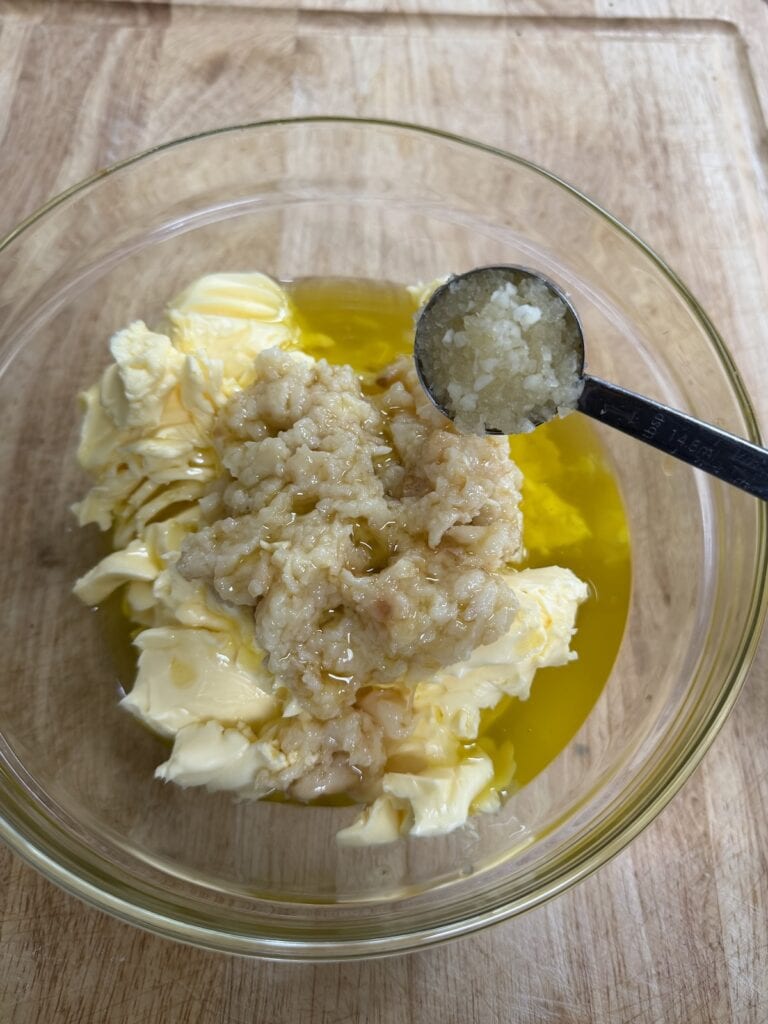
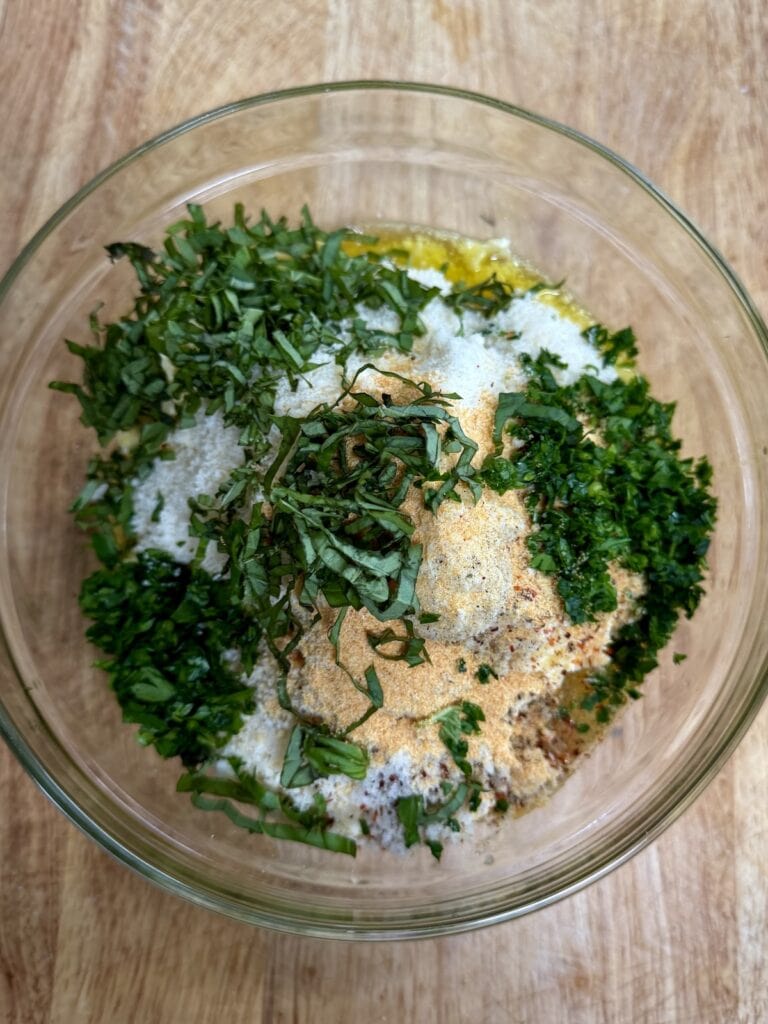
- Combine the softened butter, smashed garlic confit cloves, garlic oil, grated cheeses, fresh herbs, minced garlic, granulated garlic, salt, black pepper and crushed red pepper in a large bowl.
- Mash all the ingredients together and then mix with a spoon or spatula until all of the ingredients are evenly distributed throughout the butter.
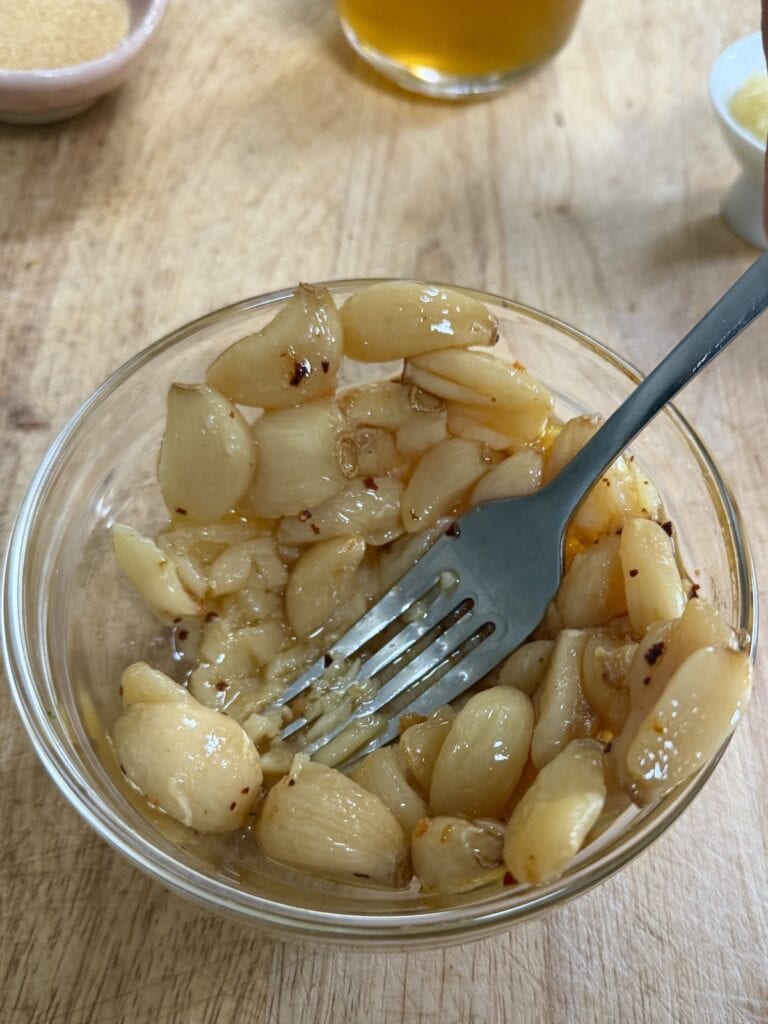
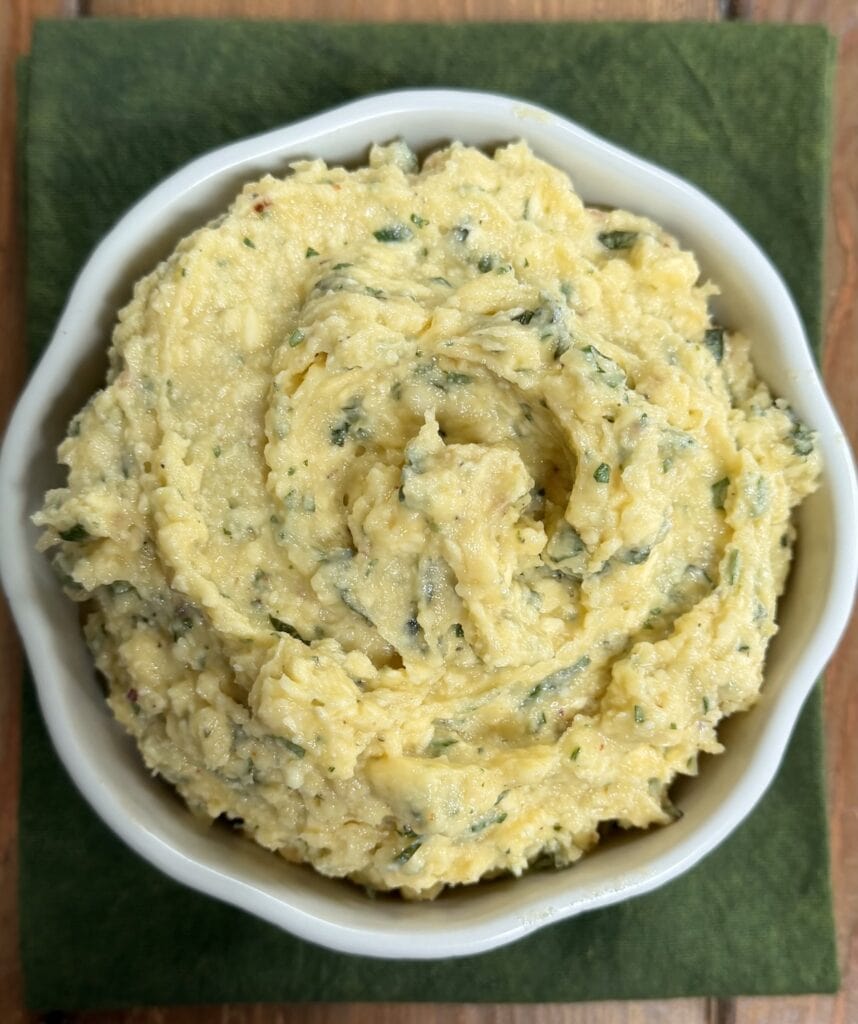
Once the garlic butter is made, putting this garlic bread together is really simple
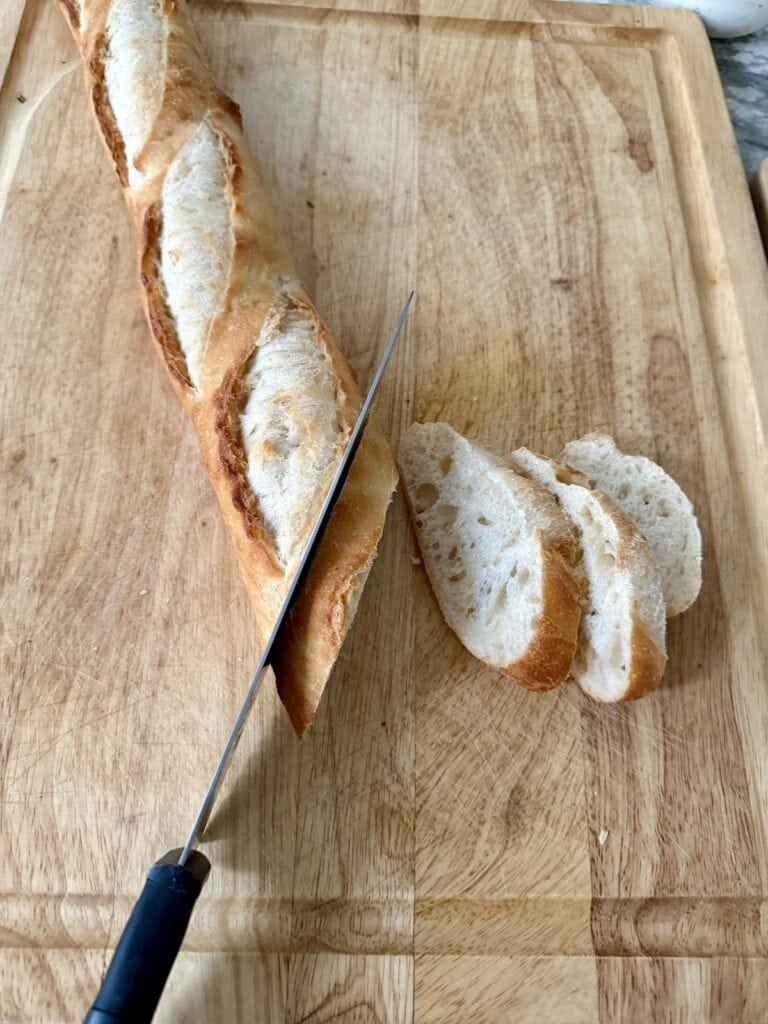
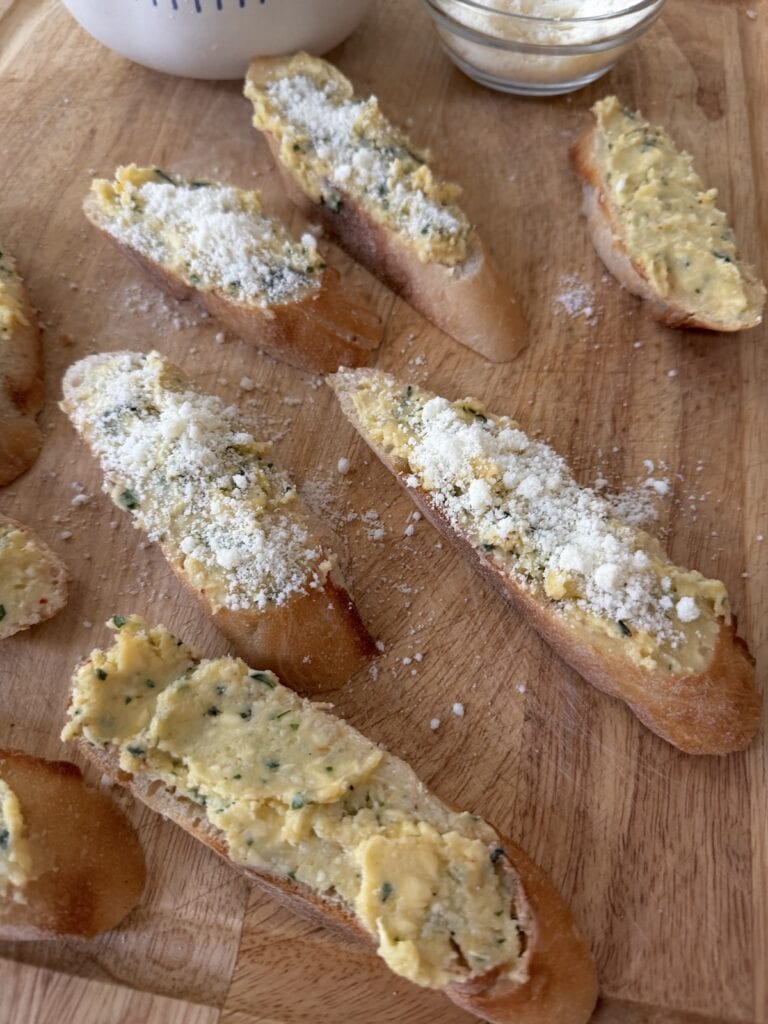
- Slice the baguette. Cut the bread on the bias into approximately ½-inch-thick slices. Cutting on an angle gives you a little more surface area for all that delicious garlic butter!
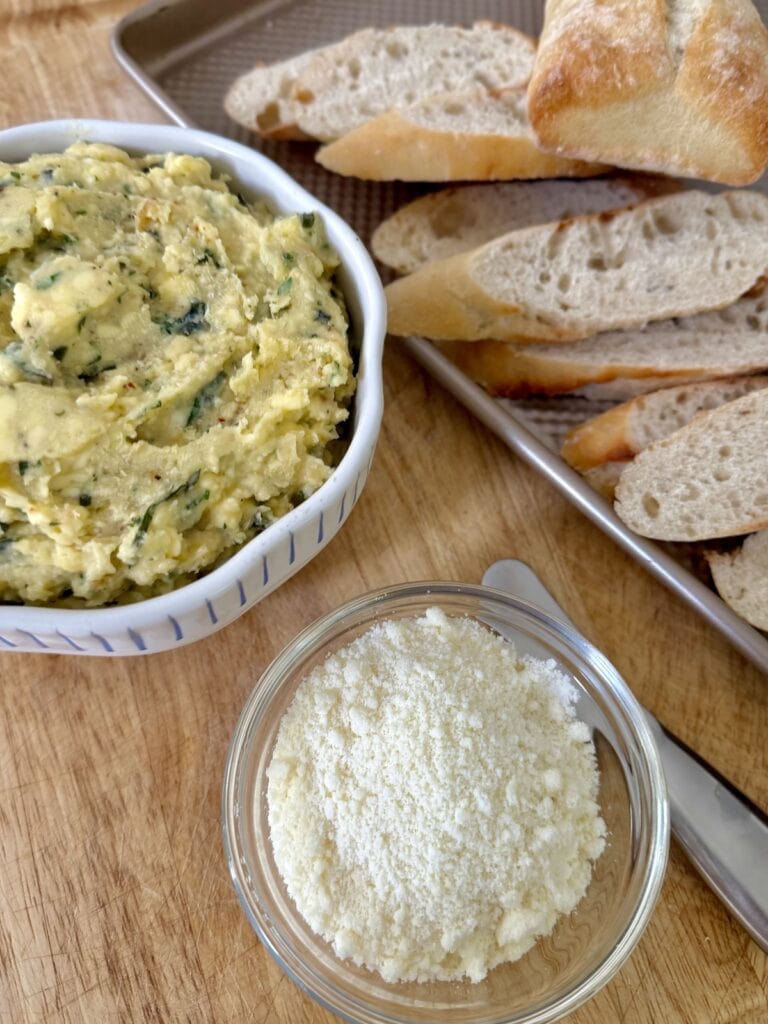
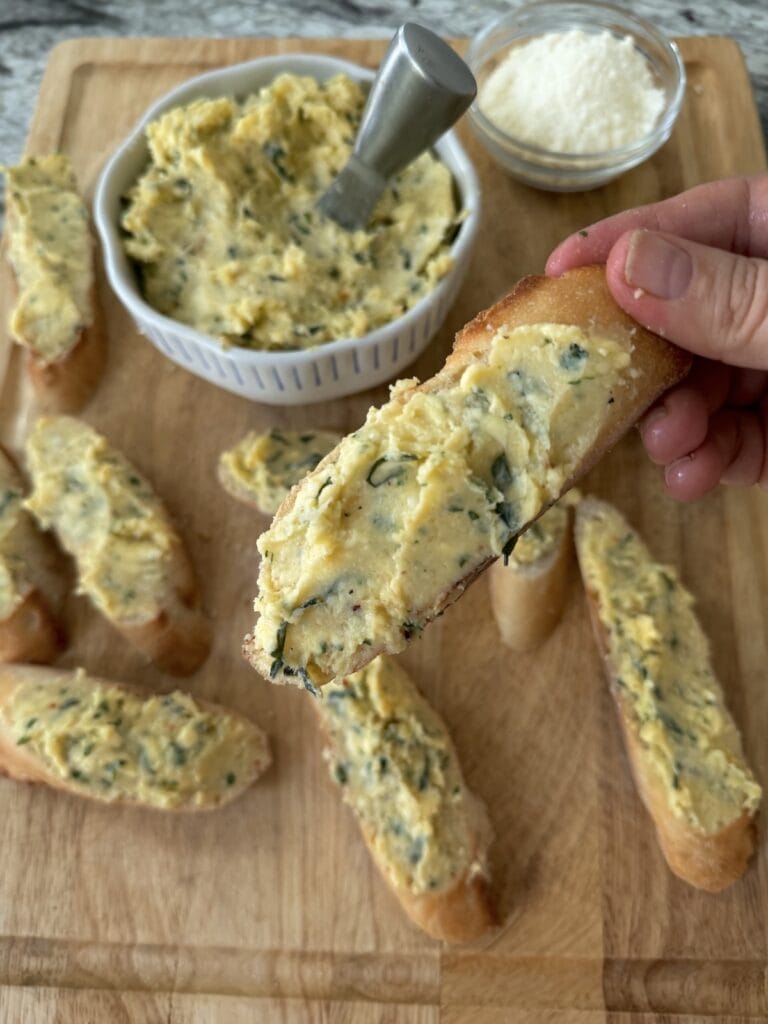
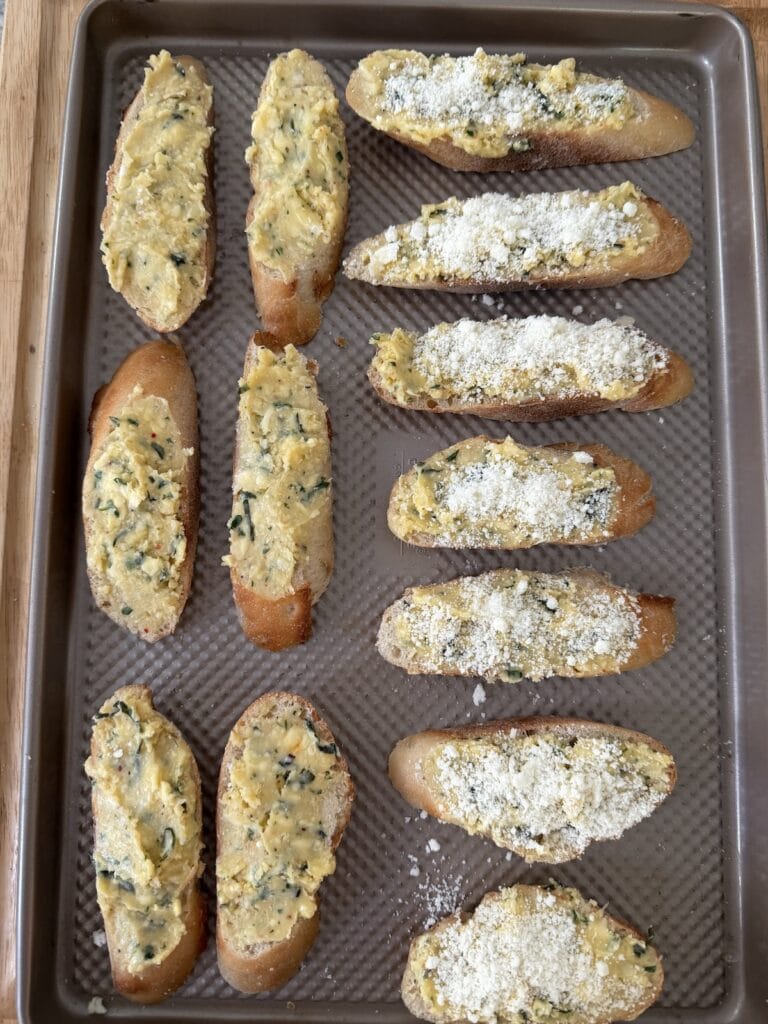
- Slather generously. Arrange the slices in a single layer on a sheet pan and spread each one generously with very soft, room-temperature garlic butter. Don’t hold back here.
Top with Cheese & Broil
- Add more cheese. If desired, sprinkle each slice with a little additional Pecorino Romano. I almost always do!
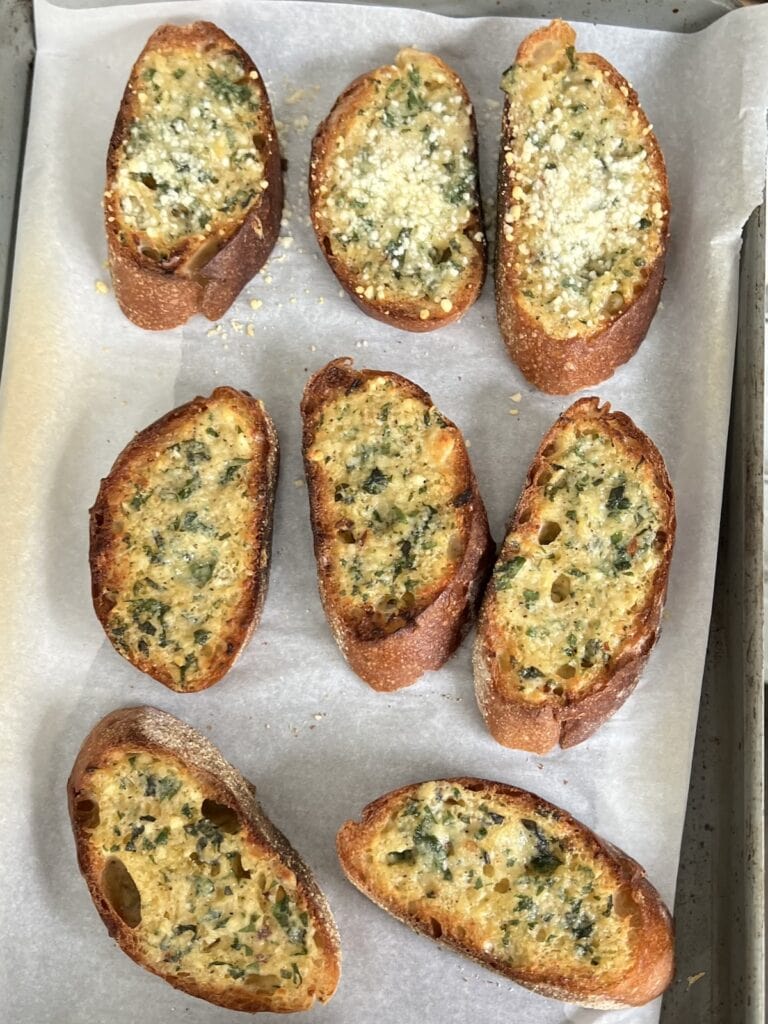
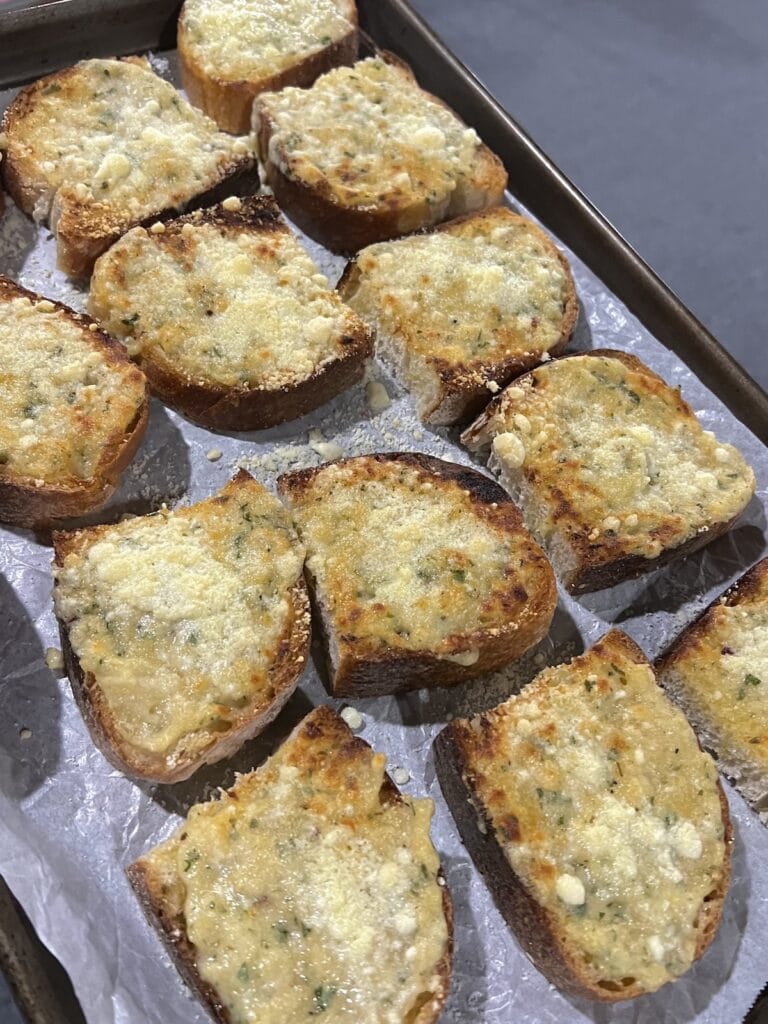
- Broil until brown and bubbly. Place the sheet pan under the broiler for just a few minutes, until the butter is bubbling and the tops are beautifully golden brown and crisp.
- Serve immediately. Garlic bread is at its absolute best hot from the oven, while the tops are still crispy and the butter is warm and melty.
Pro Tip
Don’t walk away once the garlic bread is under the broiler! It can go from perfectly browned to burned very quickly.
What’s the Best Bread for Homemade Garlic Bread?
My first choice for homemade garlic bread is a French baguette or a similar long, crusty loaf. It’s what I’ve always used for this recipe and, for me, it has just the right combination of size and texture.
When sliced on the bias, a baguette gives you nicely sized individual pieces with plenty of surface area for the garlic butter. The bread is also sturdy enough that it won’t tear when you’re generously slathering on the thick compound butter, but it’s not so dense that it won’t crisp up quickly under the broiler.
That said, you absolutely don’t need a French baguette to make great garlic bread! A crusty Italian pane di casa, semolina bread or sesame semolina bread would all be delicious here. If you’re starting with a wider loaf, just cut the slices into smaller pieces if necessary–you want something that’s easy to pick up and eat at the dinner table, not a sandwich-sized slab of garlic bread.
Whatever bread you choose, use a really good one. With a recipe this simple, the quality and texture of the bread make a difference.
Have black garlic on hand?
Definitely add some to the butter!
If you’re lucky enough to have some black garlic (garlic that is aged with specific heat and humidity) in your fridge, then definitely mash some and add it to the garlic butter for a very interesting twist. It’s sweet, savory and tangy with deep umami notes and flavors like molasses, balsamic vinegar and tamarind.
Plus, you’ll then have five forms of garlic going!
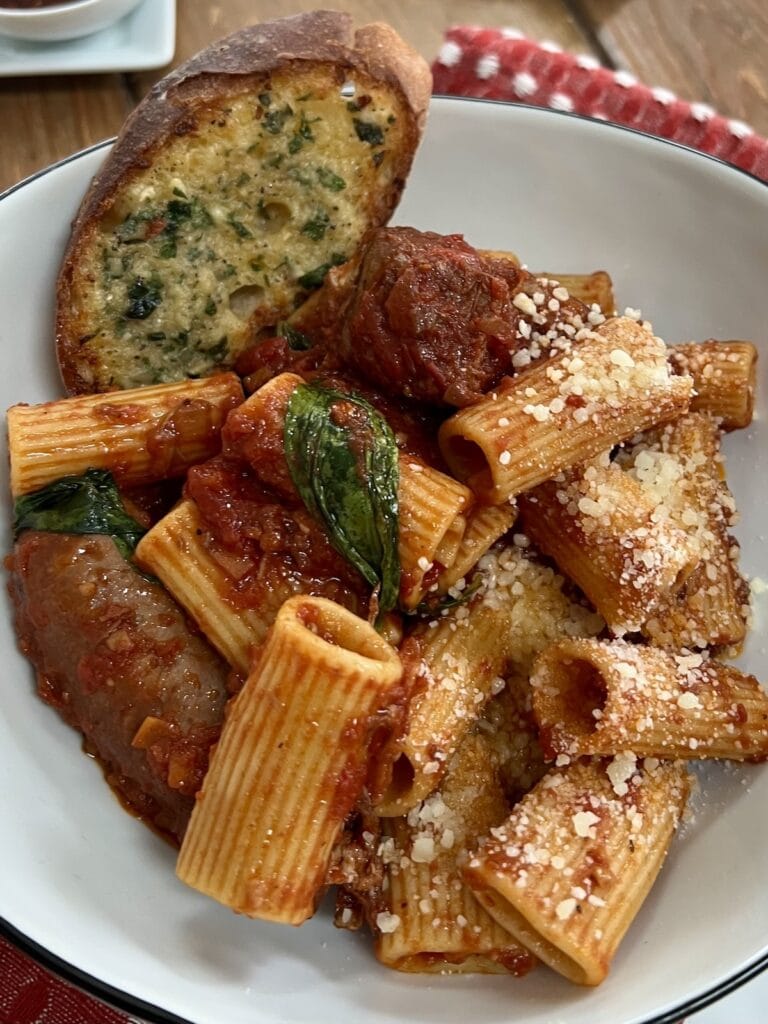
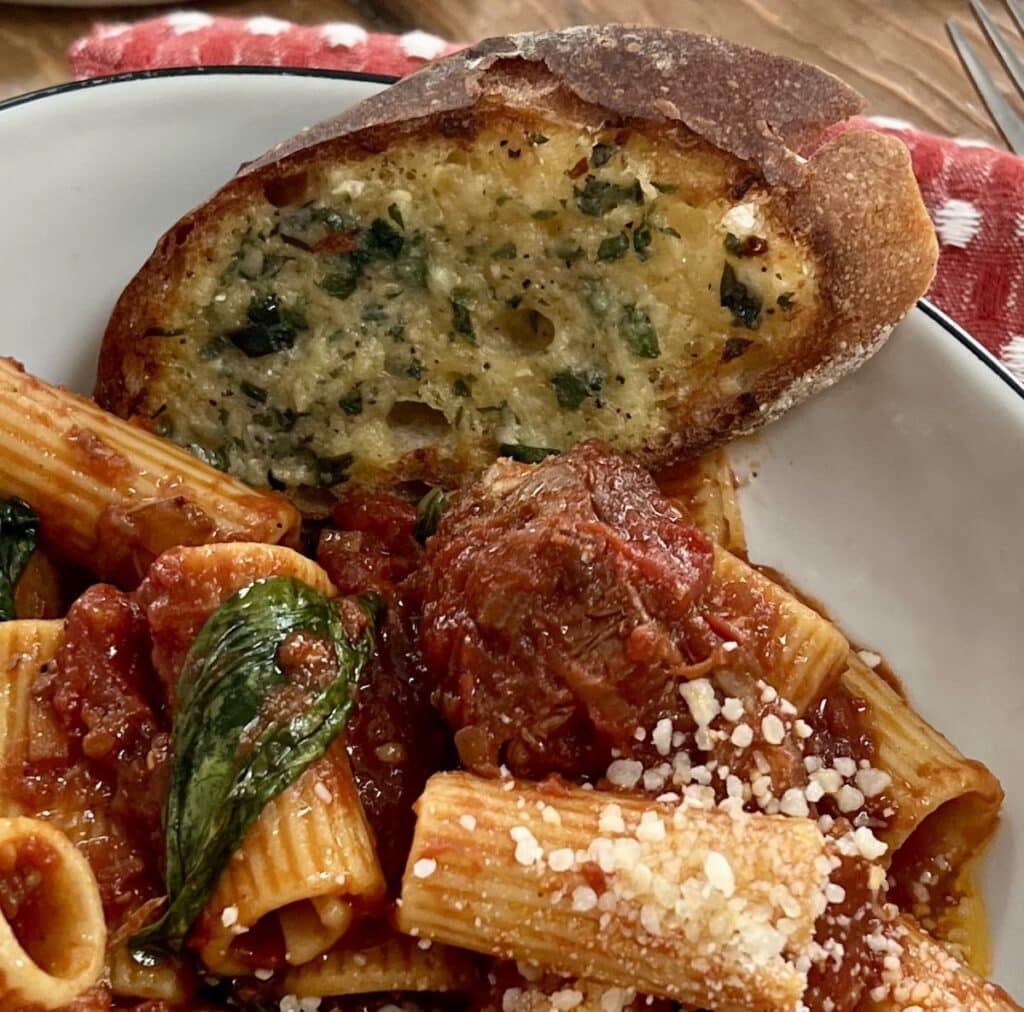
What to Serve With Garlic Bread
Garlic bread can straddle the line between appetizer and side dish. You’ll often find it listed with the antipasti at old-school Italian-American red sauce joints. But personally, I prefer to serve it with the main meal.
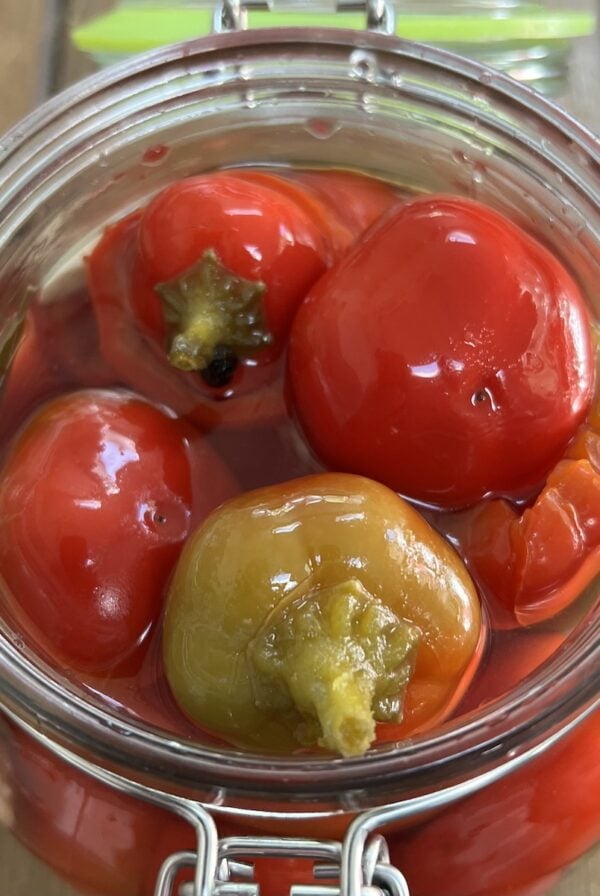
For antipasti like cheeses, cured meats, Italian roasted peppers or spicy garlic shrimp, I’d rather put out a good, plain rustic bread and save the garlic bread for what’s coming next.
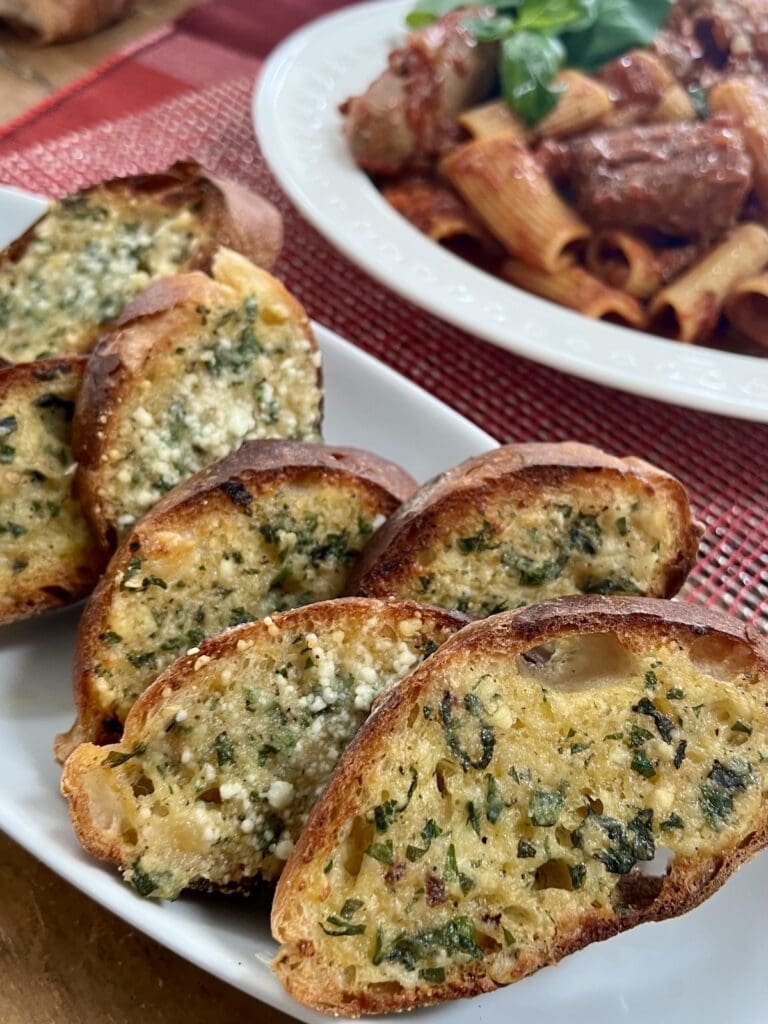
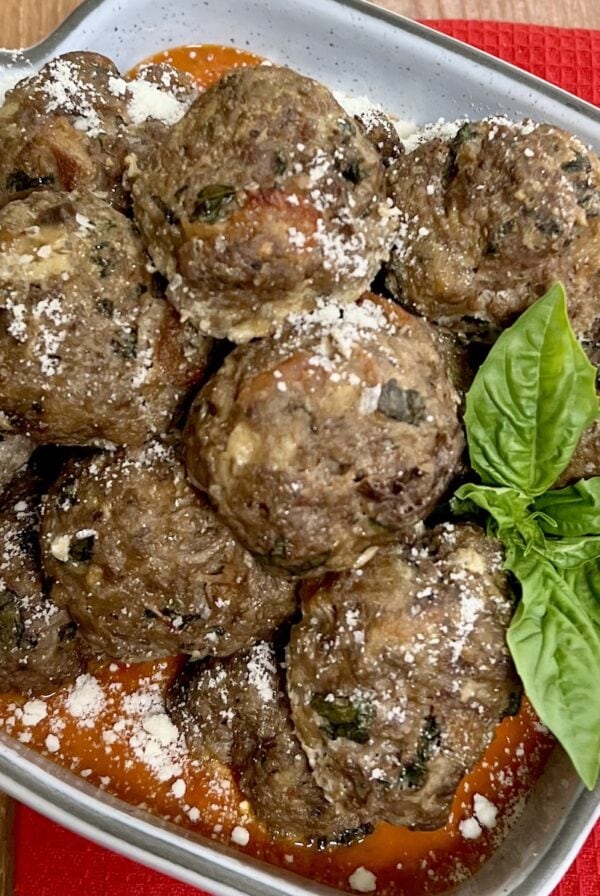
And what’s coming next can be almost anything! Garlic bread is a natural alongside pasta, especially Sunday gravy, meatballs, baked ziti, stuffed shells and other saucy Italian-American favorites. After all, we Italian Americans have never really had a problem with carbs served alongside more carbs. 😉
It’s especially good with anything that leaves a little extra sauce on the plate just begging to be scooped up.
Make Ahead, Storage & Freezing
One of the best things about this recipe is that you can do most of the work ahead of time.
- Garlic Butter: Make the garlic butter up to 1 week in advance and store it in an airtight container in the refrigerator. Let it soften thoroughly at room temperature before spreading it on the bread.
- Freeze the Extra: This recipe intentionally makes more garlic butter than you’ll need for one baguette. Freeze the extra in an airtight container for up to 3 months.
- See my Garlic Butter post for more detailed freezing, portioning and storage tips.
- Assemble Ahead: You can slice and butter the bread and arrange it on the sheet pan about 1 to 2 hours before serving, then broil it at the last minute.
- Leftover Garlic Bread: Store leftover cooked garlic bread in an airtight container or bag in the refrigerator for up to two days. Reheat it on a sheet pan in the oven or toaster oven at 350°F until warmed through and crisp again.
More Italian Anmerican Favorites
Take your pick! All of these dishes would be made even better with a little cheesy garlic bread:
Frequently Asked Questions
Absolutely! For a more traditional and gooey, cheesy garlic bread, sprinkle some shredded mozzarella, fontina or another good melting cheese over the garlic-buttered slices in place of the extra Pecorino Romano, then proceed with the recipe.
The garlic butter itself already contains Pecorino and Parmigiano, so you’ll still get plenty of that sharp, savory Italian cheese flavor underneath the melty cheese.
Yes. Although I prefer slicing and buttering each piece individually because it gives you more crispy, browned surface area, you can absolutely make this as a pull-apart loaf.
Cut the baguette crosswise into slices, but don’t cut all the way through the bottom–you want the loaf to stay intact. Generously spread the garlic butter between the slices, making sure to get some on both cut sides, then sprinkle a little Pecorino Romano between the slices and over the top, if desired.
Wrap the loaf in foil and bake at 400°F for roughly 15 minutes or until it’s hot throughout and the garlic butter has melted into the bread. Then open the foil and continue baking–or finish it briefly under the broiler–until the top is golden brown and crisp. Keep a close eye on it if you use the broiler!
The texture will be a little different from my usual method–softer and more buttery between the slices with a crisp exterior–but you’ll still get all of that great garlic butter flavor.
I prefer the garden-variety French baguettes commonly found in U.S. supermarkets and bakeries–a crusty, long loaf with enough width to give you nicely-sized pieces when sliced on the bias.
A very thin, narrow and hard baguette, like some of the traditional baguettes you’ll find in France, isn’t my first choice here. The slices can be quite small and there isn’t as much surface area for generously spreading the garlic butter.
Look for a baguette that’s crusty on the outside but not overly hard or dense, with enough structure that it won’t tear when you spread on the thick garlic butter. Similar long Italian-style loaves work beautifully, too.
Just be sure not to use a bread that is too soft as you want it to crisp up under the broiler after only a few minutes.
Mangia Bene!
After making this garlic bread for family and friends for close to 20 years, I can honestly say it never gets old. It still disappears quickly, people still ask me to make it, and I still have a hard time stopping at just one piece!
I hope it becomes just as loved at your table. And if your family starts requesting it every time you get together, don’t say I didn’t warn you. 😉
The Best Homemade Garlic Bread Baguette
Video
Equipment
- Garlic Press (optional)
Ingredients
For the Garlic Butter (makes about 4 cups):
- 1 pound unsalted butter, softened to room temperature
- 1 cup Garlic Confit cloves, smashed with a fork (See Notes.)
- ½ cup Garlic Oil, from making the Garlic Confit (See Notes.)
- ½ cup grated Pecorino Romano cheese , about 2 ounces
- ½ cup grated Parmigiano-Reggiano cheese , about 2 ounces
- 2-3 Tbsp chopped fresh basil leaves
- 2-3 Tbsp chopped fresh flat-leaf parsley
- 4 tsp finely minced fresh garlic , (or use a garlic press)
- 4 tsp granulated garlic
- 1 tsp salt, (omit if using salted butter)
- ¼ tsp ground black pepper
- ¼ tsp crushed red pepper flakes
For One Baguette:
- 1 French baguette, or similar long, crusty loaf
- About 1 cup Garlic Butter, softened to room temperature, or as needed
- 3-4 Tbsp grated Pecorino Romano cheese, or as needed for sprinkling (optional)
Instructions
- Prep and gather all ingredients according to specifications above. Make Garlic Confit and Garlic Oil if you don’t already have them on hand. (See Notes.)(Please see the section above in the blog post for Step-By-Step instructions with photos.)1 cup Garlic Confit cloves, ½ cup Garlic Oil
- Make Garlic ButterMake sure the butter is very soft and easily spreadable before beginning. Bring it to room temperature for at least 1 hour before using or as long as needed.1 pound unsalted butter
- Combine the softened butter, smashed garlic confit, garlic oil, grated cheeses, fresh herbs, minced garlic, granulated garlic, salt, black pepper and crushed red pepper in a large bowl.1 cup Garlic Confit cloves, ½ cup Garlic Oil, ½ cup grated Pecorino Romano cheese , ½ cup grated Parmigiano-Reggiano cheese , 2-3 Tbsp chopped fresh basil leaves, 2-3 Tbsp chopped fresh flat-leaf parsley, 4 tsp finely minced fresh garlic , 4 tsp granulated garlic , 1 tsp salt, ¼ tsp ground black pepper, ¼ tsp crushed red pepper flakes
- Use a fork to mash all the ingredients together and then mix with a spoon or spatula until all of the ingredients are evenly distributed throughout the butter.NOTE: At this point, you can use the garlic butter immediately or refrigerate it in an airtight container for up to one week. Bring it to room temperature before using.
- Prep Garlic BreadIf the garlic butter was refrigerated, let it sit at room temperature for about 1 hour, or until very soft and easily spreadable.
- Slice the baguette into approximately ½”-thick bias slices.1 French baguette
- Then, slather each piece of bread with a dollop of garlic butter. Be generous here and don’t hold back too much!
- (Optional) Then, sprinkle each buttered piece of bread with some Pecorino Romano cheese.
- Place the bread slices on a sheet pan and continue with the remaining slices of bread.NOTE: You can slice and butter the bread and arrange it on the sheet pan about 1 to 2 hours before serving, then broil it at the last minute.
- Broil Garlic BreadWhen you're ready to serve the garlic bread, position an oven rack near the top of the oven and turn the broiler to HIGH.
- Once the broiler is fully heated, place the sheet pan of bread under the broiler and broil for about 2 to 3 minutes, or until the tops are brown and bubbly. Every oven is different, so stay close and watch carefully–the bread can go from beautifully browned to burned very quickly. Rotate the sheet pan if necessary for even browning.
- Remove garlic bread from oven, transfer to a serving platter and serve immediately. Buon Appetito!
Notes
- A typical 12- to 16-ounce baguette sliced about ½-inch thick on the bias will yield approximately 16 to 22 slices. I consider one baguette about 8 servings, figuring roughly 2 to 2½ pieces per person, but this is only an estimate.
- Depending on the size of the bread slices and how generously you slather them, you’ll likely use about 2 to 3 teaspoons garlic butter and about ½ teaspoon grated Pecorino Romano per slice. There’s absolutely no need to measure this!
- For one baguette, plan on about 1 cup garlic butter and 3 to 4 tablespoons grated Pecorino Romano.
- The full Garlic Butter recipe makes about 4 cups—intentionally much more than you’ll need for one baguette. Depending on how generously it’s spread and the size of your bread slices, it’s enough for roughly four baguettes.
- I intentionally make a large batch because this compound butter is a little more involved ingredient-wise and has so many other uses. Refrigerate the extra for up to one week or freeze it for up to three months. If you don’t want as much extra, simply halve the Garlic Butter recipe.
- If you’re making these specifically for this recipe, place 1¼ cups peeled garlic cloves and ¾ cup extra virgin olive oil in a very small saucepan.
- Heat mixture over medium heat. Bring oil to the lightest simmer, then reduce heat to as low as possible.
- Continue to cook mixture over very low heat until garlic is very tender, but not falling apart. It should be only lightly browned. To test the garlic, pierce one clove with the tip of a sharp knife—it should meet with little to no resistance and be easily smashable. This could take about 30 to 45 minutes. Stir occasionally.
- My recommendation: Make a large batch and keep it on hand in the fridge. It has so many great uses!
- I generally use a French baguette or a similar long, crusty loaf.
- The circumference is just right for creating nice-sized pieces when sliced on the bias, and the texture is sturdy enough to hold plenty of garlic butter without tearing, yet not so dense that it doesn’t crisp up quickly under the broiler.
- A crusty Italian pane di casa, semolina bread or sesame semolina bread would all be delicious here. If you’re starting with a wider loaf, just cut the slices into smaller pieces if necessary—you want something that’s easy to pick up and eat at the dinner table, not a sandwich-sized slab of garlic bread.
- Just be sure not to use a bread that is too soft as you want it to crisp up under the broiler after only a few minutes.
- Grana Padano can be used in place of the Parmigiano-Reggiano
- Also, in a pinch, you can use just one cheese rather than two.
- In a pinch, you can use just fresh basil or parsley rather than both.
- If necessary, substitute about 2 teaspoons dried basil for the fresh basil and/or 2 teaspoons dried parsley for the fresh parsley. But keep in mind that dried parsley is noticeably less flavorful than fresh, so fresh is preferable.
- I’d advise against using the old container that’s been in your pantry forever–buy a new one! Freshness does matter with spices and dried herbs.
- Garlic Butter: Make the garlic butter up to 1 week in advance and store it in an airtight container in the refrigerator. Let it soften thoroughly at room temperature before spreading it on the bread.
- Freeze the Extra: This recipe intentionally makes more garlic butter than you’ll need for one baguette. Freeze the extra in an airtight container for up to 3 months.
- Assemble Ahead: You can slice and butter the bread and arrange it on the sheet pan about 1 to 2 hours before serving, then broil it at the last minute.
- Leftover Garlic Bread: Store leftover cooked garlic bread in an airtight container or bag in the refrigerator for up to two days. Reheat it on a sheet pan in the oven or toaster oven at 350°F until warmed through and crisp again.

love soup?
Get My Cookbook!
Ditch the dish and embrace the bowl with Soupified: Soups Inspired by Your Favorite Dishes!
Available in ebook, paperback and hardcover.



A winner EVERY SINGLE TIME!