
This post may contain affiliate links or sponsored content. That means if you click on my link and buy something, I will earn a small commission from the advertiser at no additional cost to you. For more information, see our disclosure policy.
Crunchy, tangy and just a little sweet, these Refrigerator Bread and Butter Pickles are easy to make and so much better than store-bought! Plus, there’s no canning required, so it’s a relatively quick process. Keep a jar in the fridge to add the perfect briny crunch to burgers, sandwiches and more.
Keep In Mind Before You Start . . .
- Use Kirby cucumbers for the best crunchy texture.
- Slice the cucumbers evenly and relatively thinly, about ¼” thick. A mandoline makes this easy, but a sharp knife works too.
- Don’t skip the salt and ice step! This traditional technique helps draw out excess moisture and keeps the pickles nice and crunchy.
- Keep the cucumbers mostly submerged in the brine as they cool and once transferred to jars.
- Be patient! The pickles are best after chilling in the refrigerator for about 24 hours.
- These are refrigerator pickles, not canned pickles. They are not shelf-stable and must be stored in the refrigerator.
- Make them your own! Leave the cucumber peel on or off and use either a straight or crinkle cut–whatever you prefer.
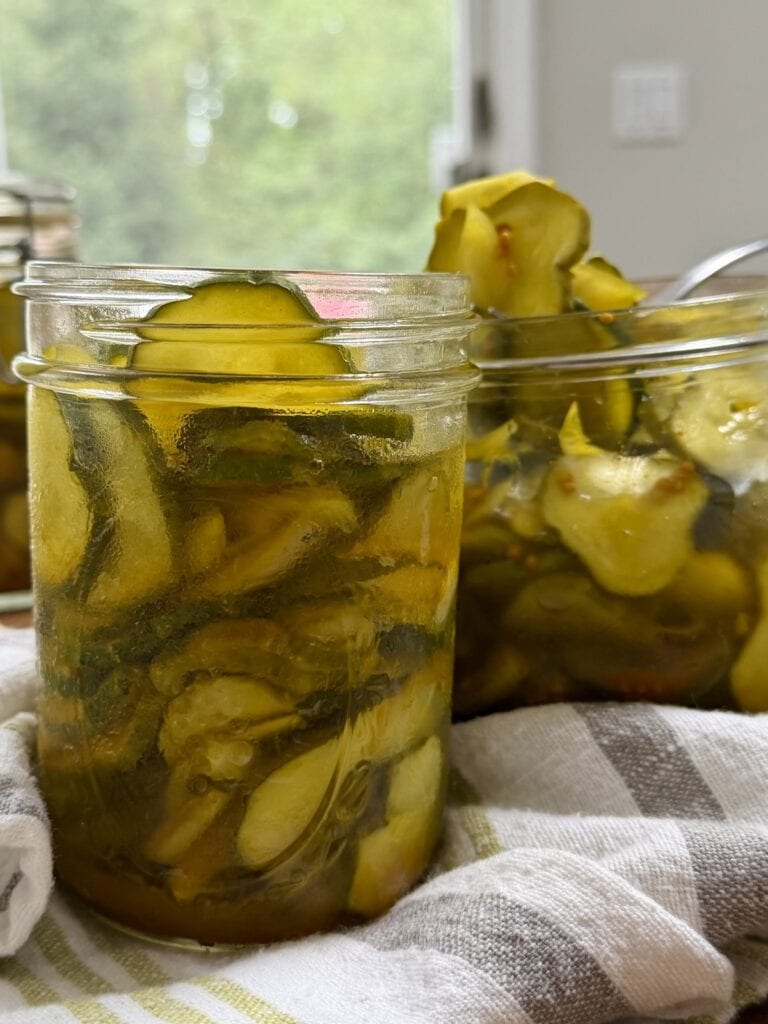
This Refrigerator Bread and Butter Pickles recipe comes from my Sicilian Aunt Mary. Now, bread and butter pickles may not exactly be an Italian specialty, but that didn’t stop Aunt Mary from making the absolute best version!
Her pickles were always crunchy and tangy with just the right balance of salty, briny and sweet. And, unlike many bread and butter pickles on the market, these are not overly sweet–which is exactly how I like them.
They’re one of those things that I love having tucked away in the fridge to add to all sorts of sandwiches and burgers. A few pickles add instant crunch, acidity, saltiness and just a hint of sweetness that can really wake up a sandwich.
And, since these are “refrigerator pickles”, there’s no canning involved. Just slice the cucumbers and onions, soak them with salt and crushed ice, drain them, then pour the warm sweet-and-sour vinegar brine over them. After a good chill in the refrigerator, they’re ready to enjoy!
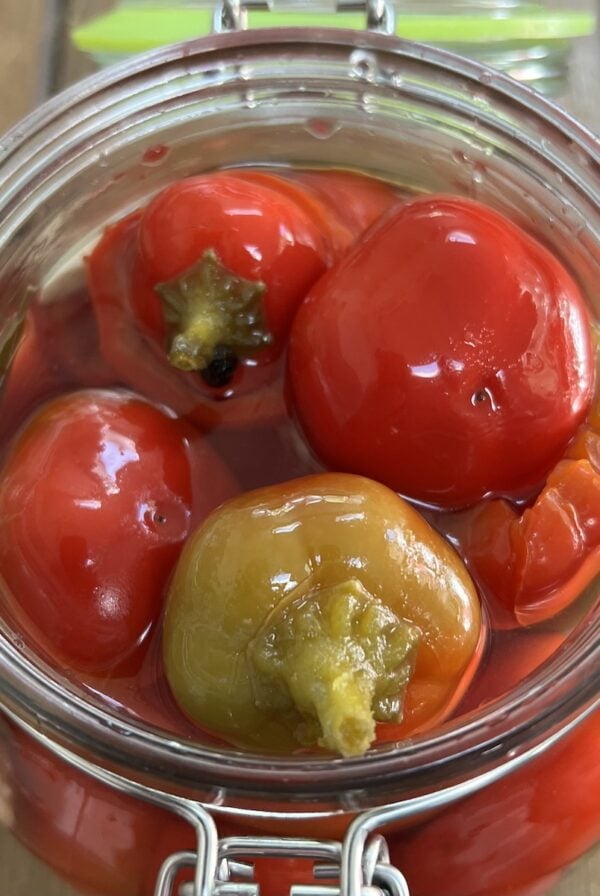
More Quick Pickled Recipes: Quick Pickled Cherry Peppers, Italian Marinated (Pickled) Mushrooms
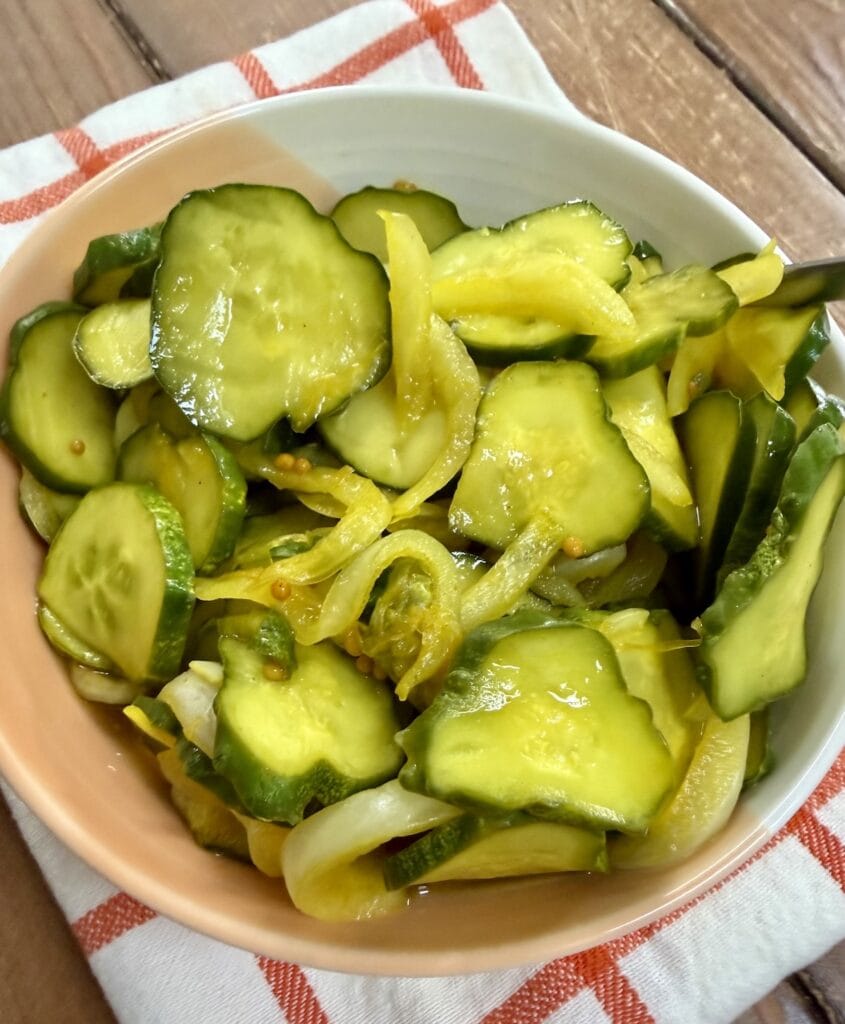
Bread and Butter Pickles vs. Dill Pickles
What’s the difference? Bread and butter pickles are generally sweet and tangy, while dill pickles are more savory and sour with little or no sweetness.
Bread and butter pickles typically contain sugar, vinegar and spices such as mustard seed and turmeric and often include sliced onions. Dill pickles get their signature flavor from dill and generally include garlic and other savory spices.
This recipe is less sweet than many traditional bread and butter pickles, with a great balance of tanginess, saltiness and just a touch of sweetness.
Why This Recipe Works
- They’re not overly sweet. With apple cider vinegar and a relatively modest amount of sugar, these pickles have a great sweet-and-sour balance without the cloying sweetness of some other bread and butter pickle recipes.
- The salt and ice help keep the cucumbers crunchy. The cucumbers and onions sit with kosher salt and crushed ice for two hours before they’re drained and combined with the brine.
- They’re incredibly easy. There’s no special canning equipment or complicated preserving process required.
- They’re full of flavor. Apple cider vinegar gives the brine plenty of tang while mustard seed, turmeric, garlic and onion round everything out.
- They’re great to make ahead. In fact, they’re even better after they’ve had about 24 hours to chill and soak up all that delicious brine.
Love all pickles? For an interesting pasta puttanesca recipe with dill pickles in place of capers, check out my innovative pickle puttanesca pasta.
Ingredients
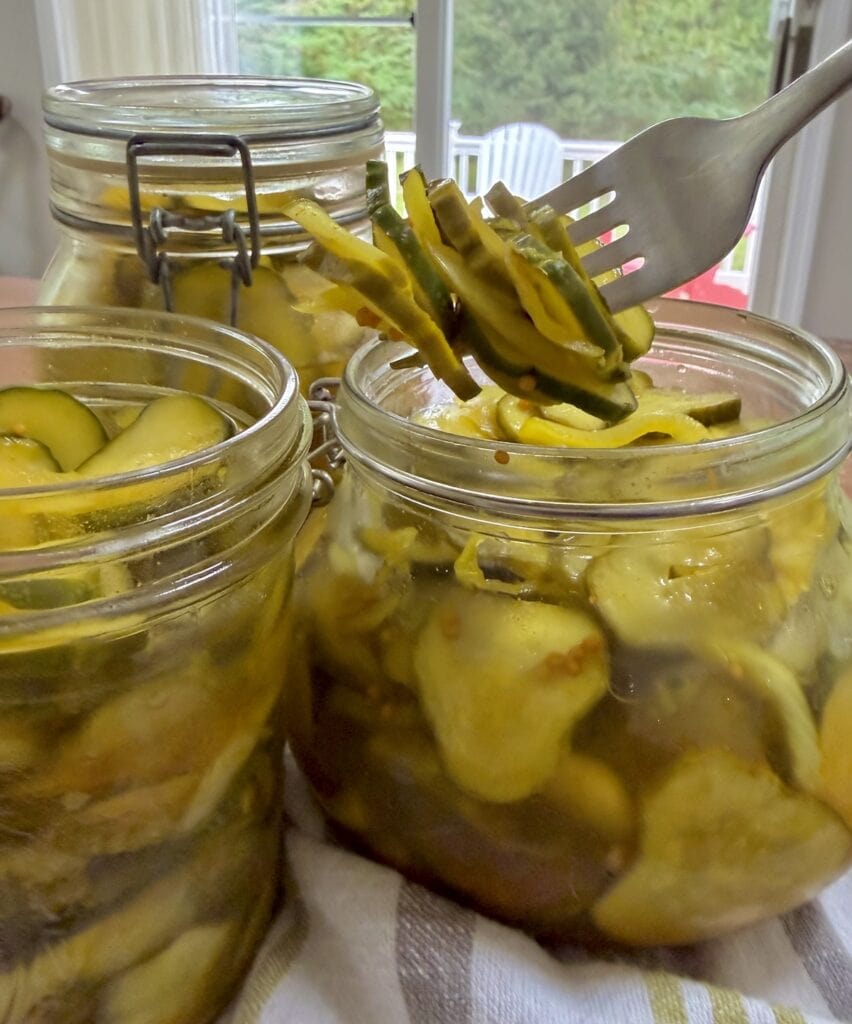
Here’s what you’ll need to make these easy homemade bread and butter refrigerator pickles:
- Kirby Cucumbers: Kirby cucumbers are my first choice for this recipe because they’re small, firm and wonderfully crunchy. Slice them evenly into rounds about ¼-inch thick.
- Onions: Sweet or Vidalia onions are preferred for their mild flavor and subtle sweetness, but regular yellow or Spanish onions work well too. Slice them very thinly.
- Garlic: A few smashed garlic cloves add another savory layer to the pickling brine.
- Kosher Salt: The cucumbers and onions are tossed with salt before pickling, which helps draw out excess moisture and contributes to their crisp texture. I prefer kosher salt, but pickling salt can also be used. Avoid iodized table salt, which can cloud the brine.
- Crushed Ice: The salted cucumber mixture is covered with crushed ice and allowed to sit for two hours. This step helps keep the finished pickles nice and crunchy.
- Apple Cider Vinegar: The tangy base of our bread and butter pickle brine.
- Sugar: Bread and butter pickles need some sweetness to balance the vinegar, but this recipe uses just enough without making the pickles overly sweet.
- Turmeric: Gives the pickles their characteristic golden color along with subtle earthy flavor.
- Mustard Seed: A classic bread and butter pickle spice that adds a mild, savory bite.
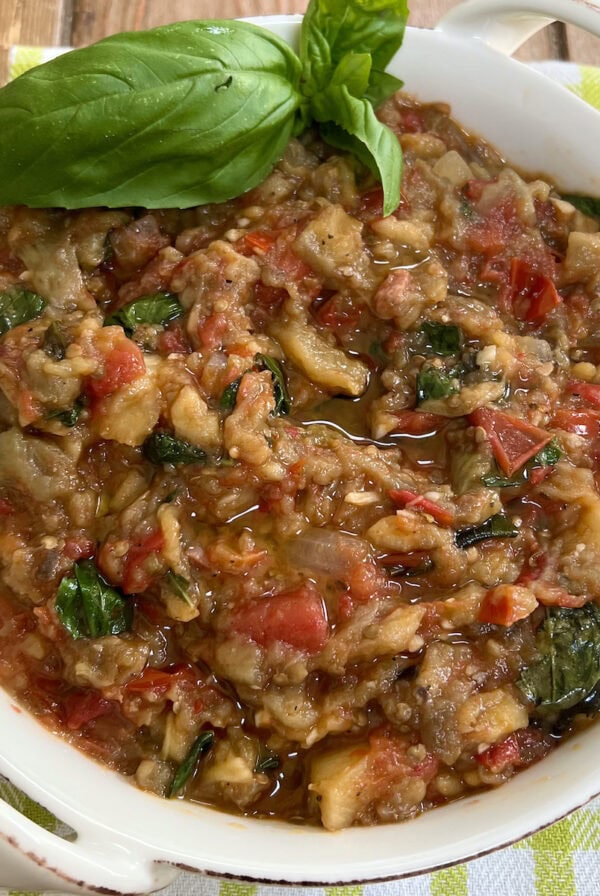
If your garden is overflowing with cucumbers, be sure to check out my Easy Tomato Cucumber Salad and Tuscan Panzanella Salad recipes.
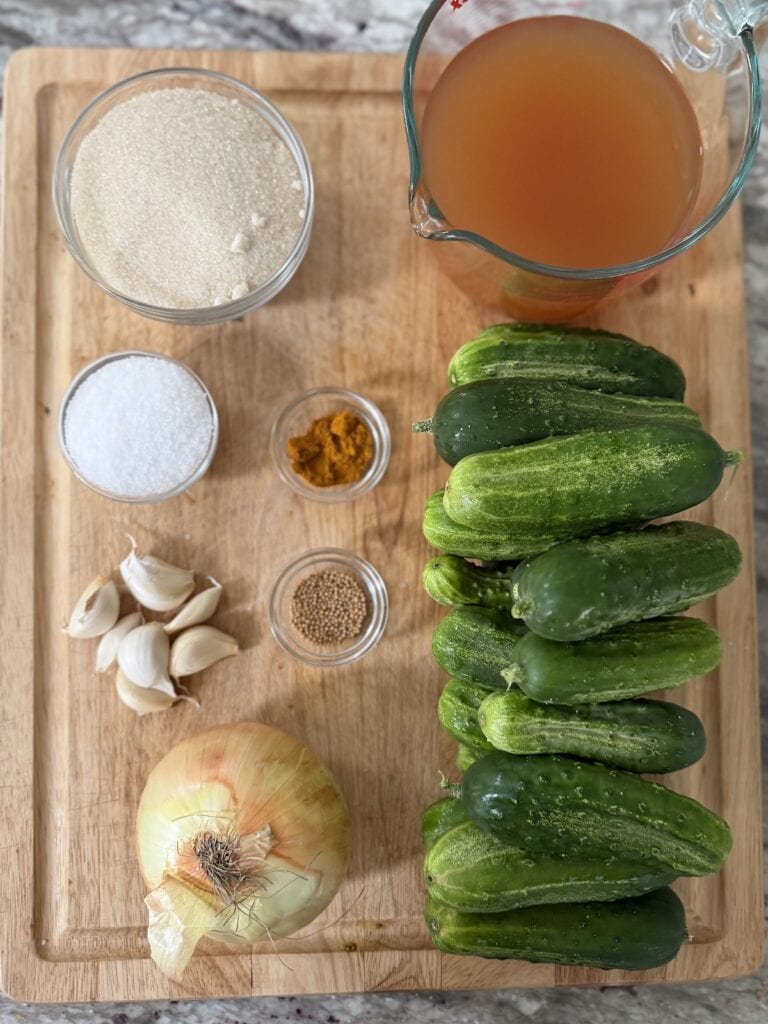
How To Make Bread and Butter Pickles
- Rinse the cucumbers, then cut off their ends and discard them. Then thinly slice each cucumber into rounds about ¼” thick each. Place the slices into a large bowl. (Peeling the cucumber is optional.)
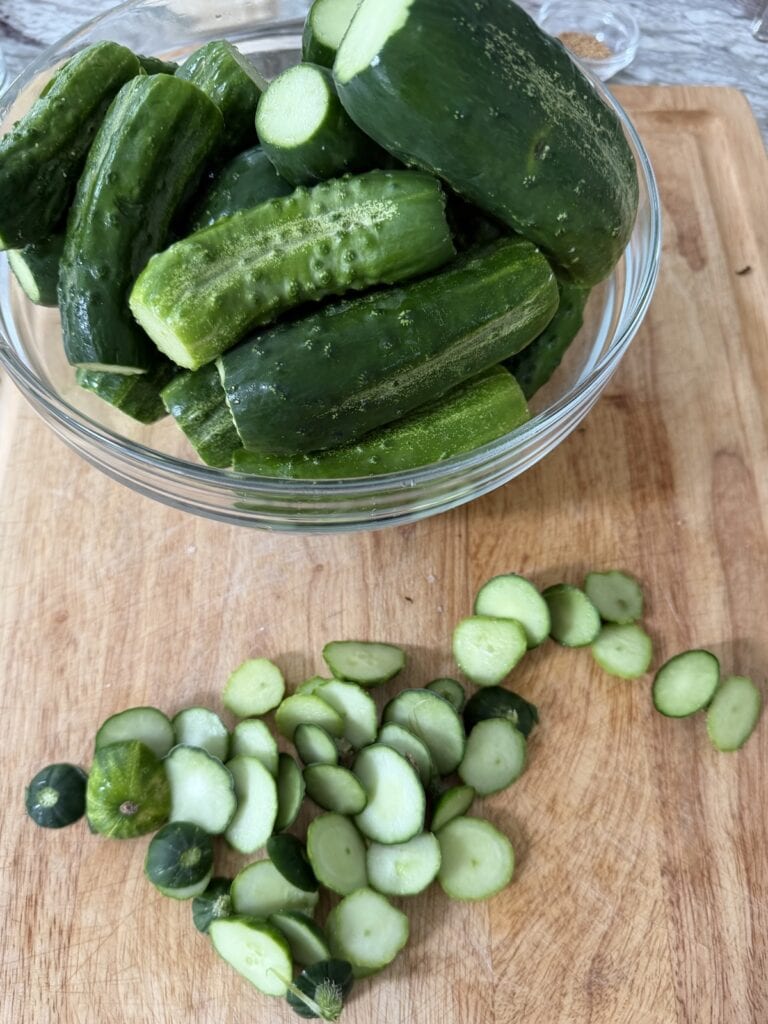
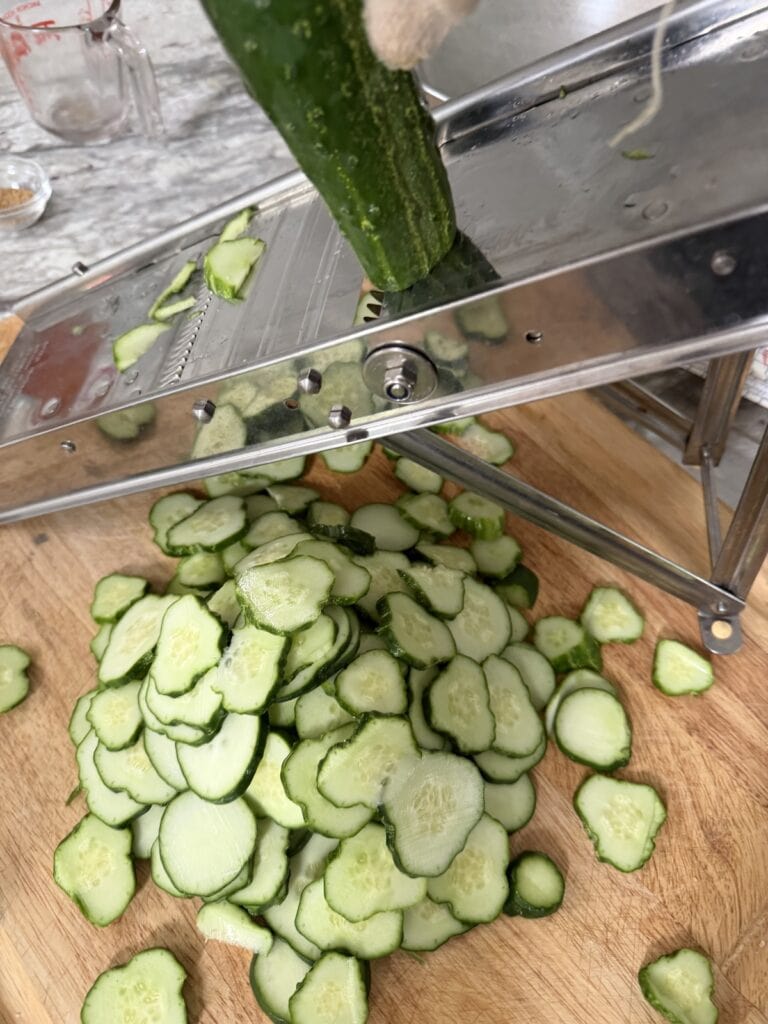
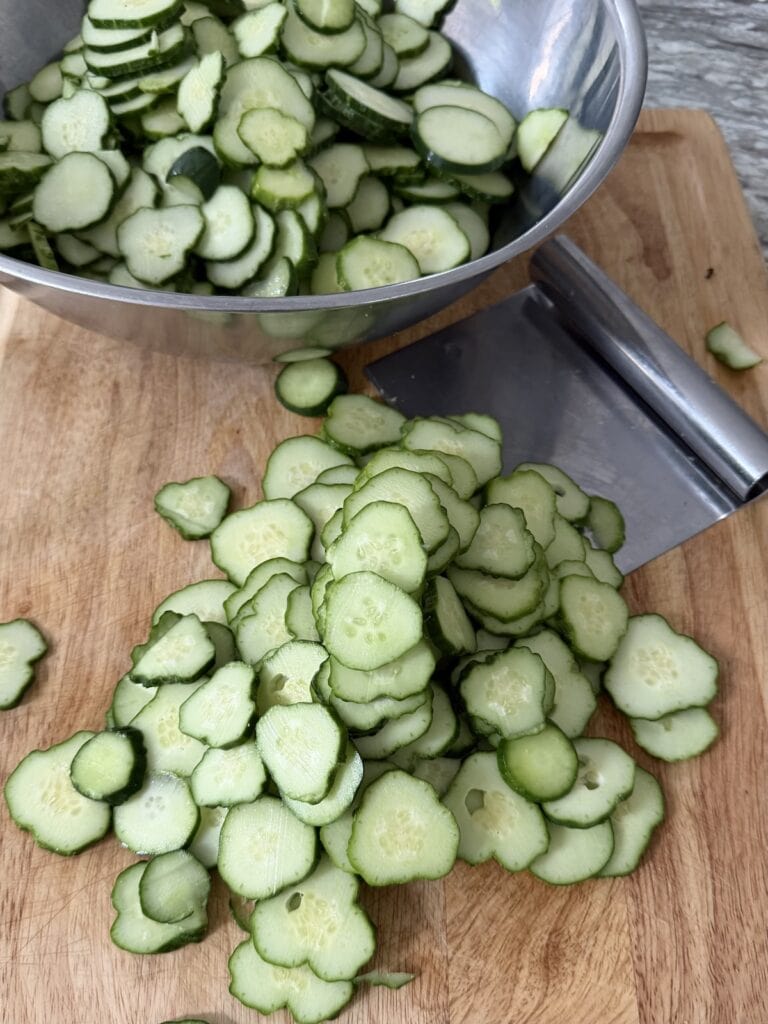
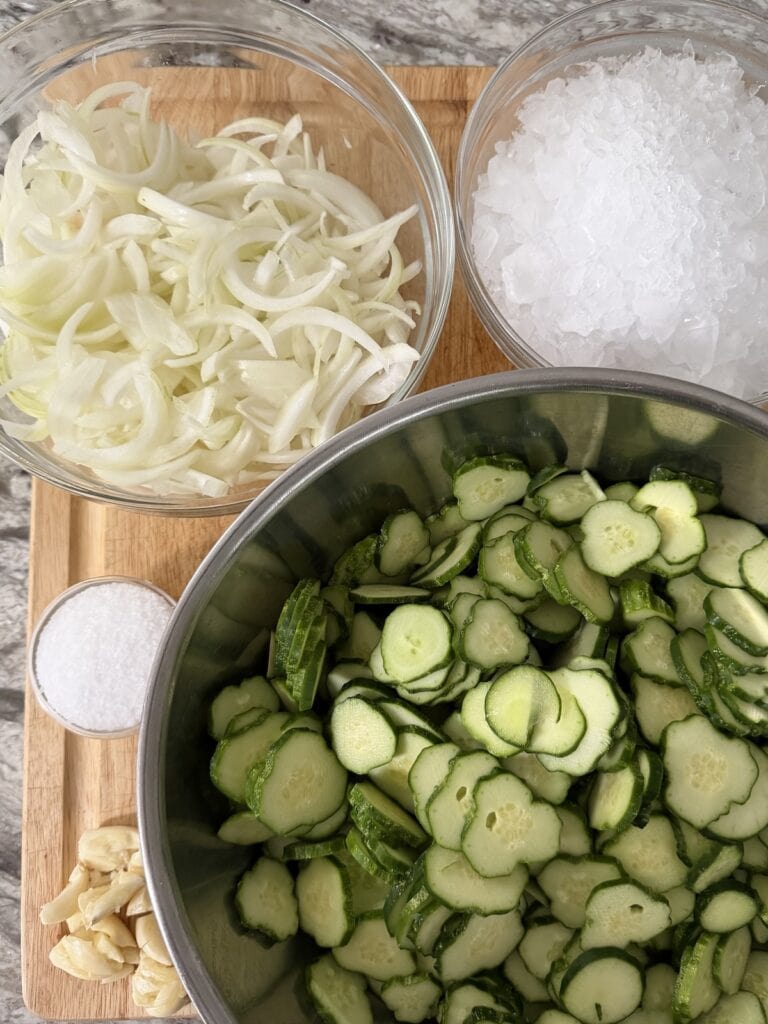
- Add the sliced onions, crushed garlic and salt to the sliced cucumbers.
- Then, add enough crushed ice over the top surface of the mixture to cover it. Toss all together well. Set the bowl aside for two hours, tossing it 2-3 times while it sits.
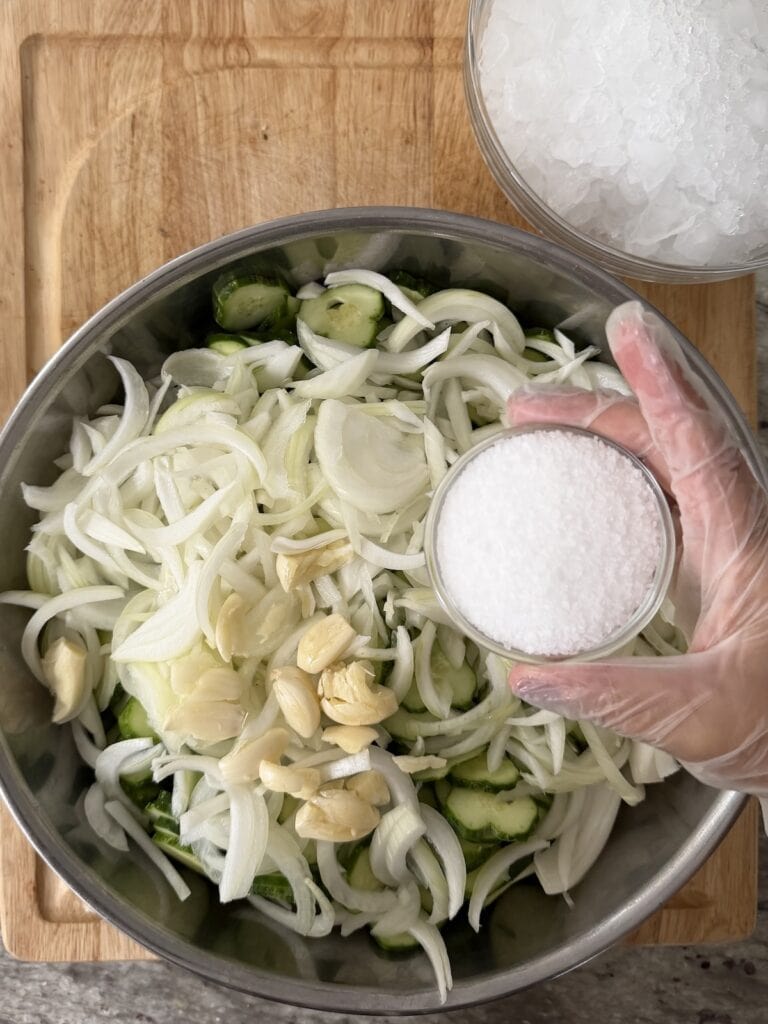
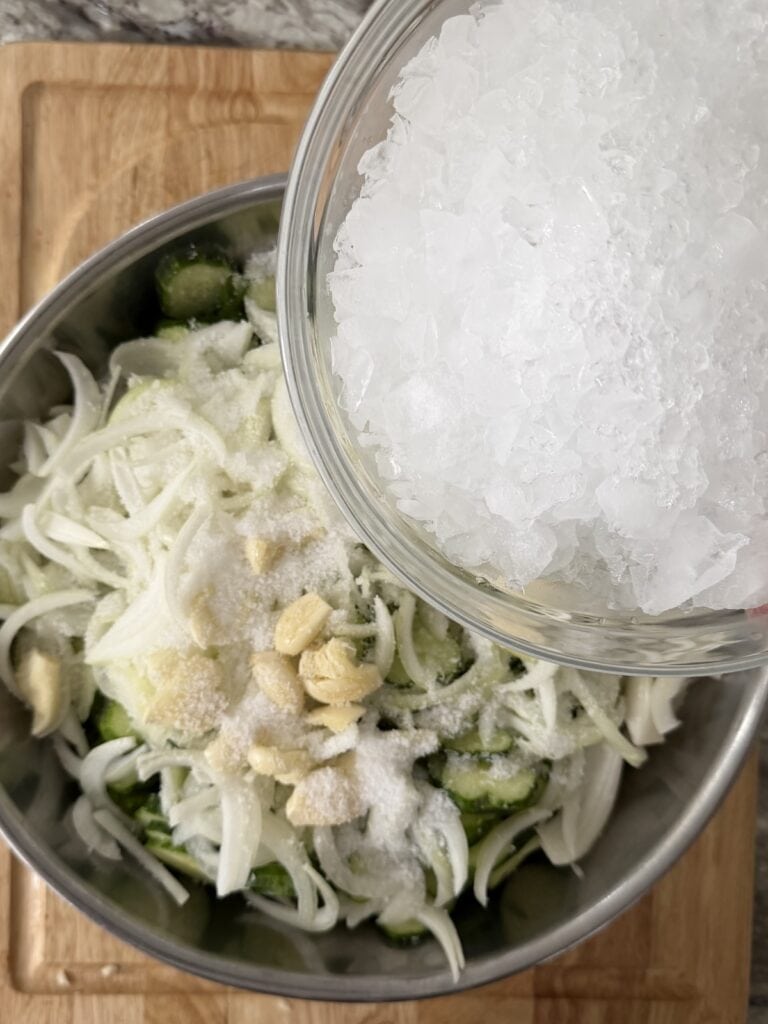
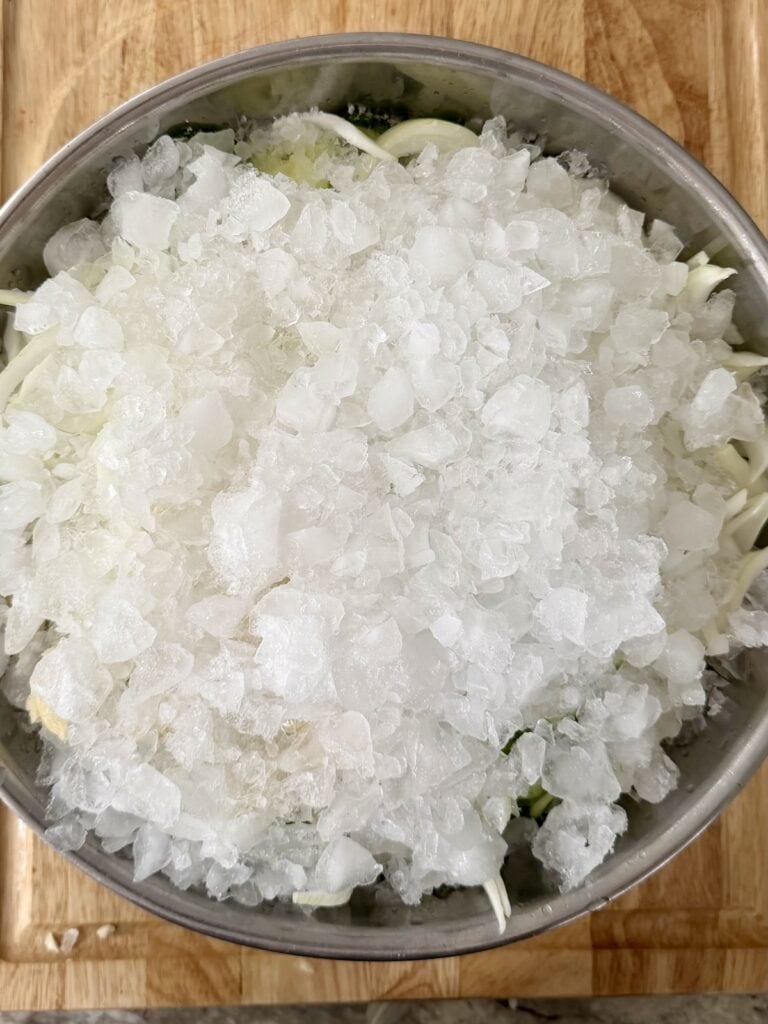
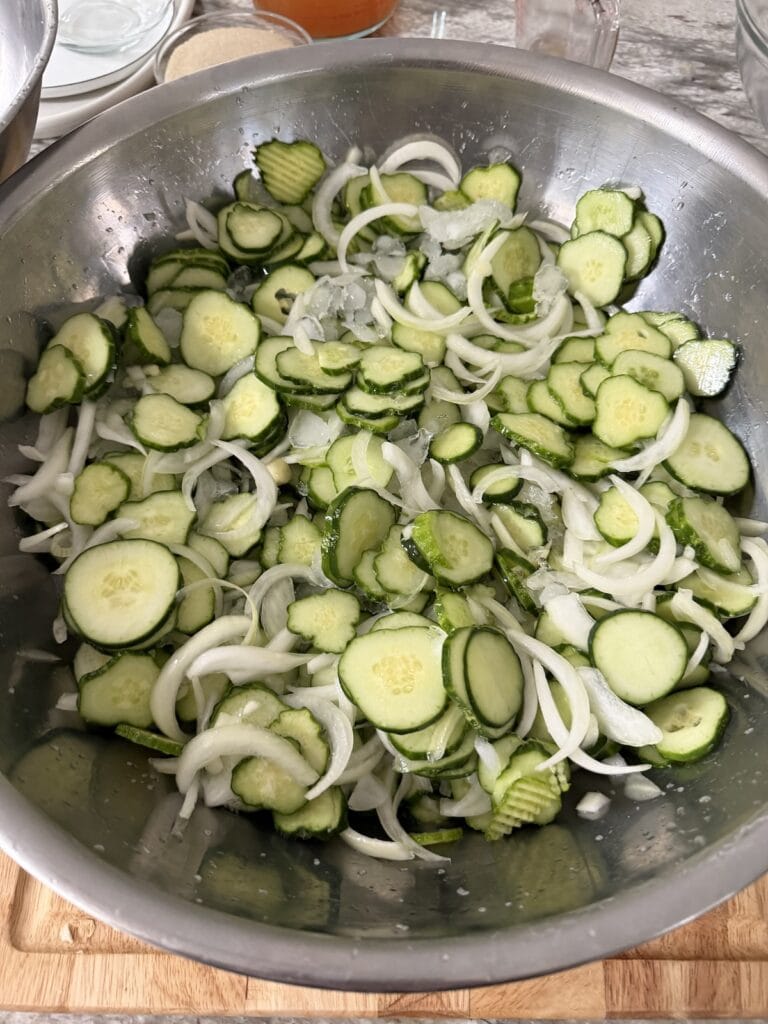
- After two hours pour the mixture into a large colander to drain it well. Once it’s well-drained, return the mixture to the large bowl.
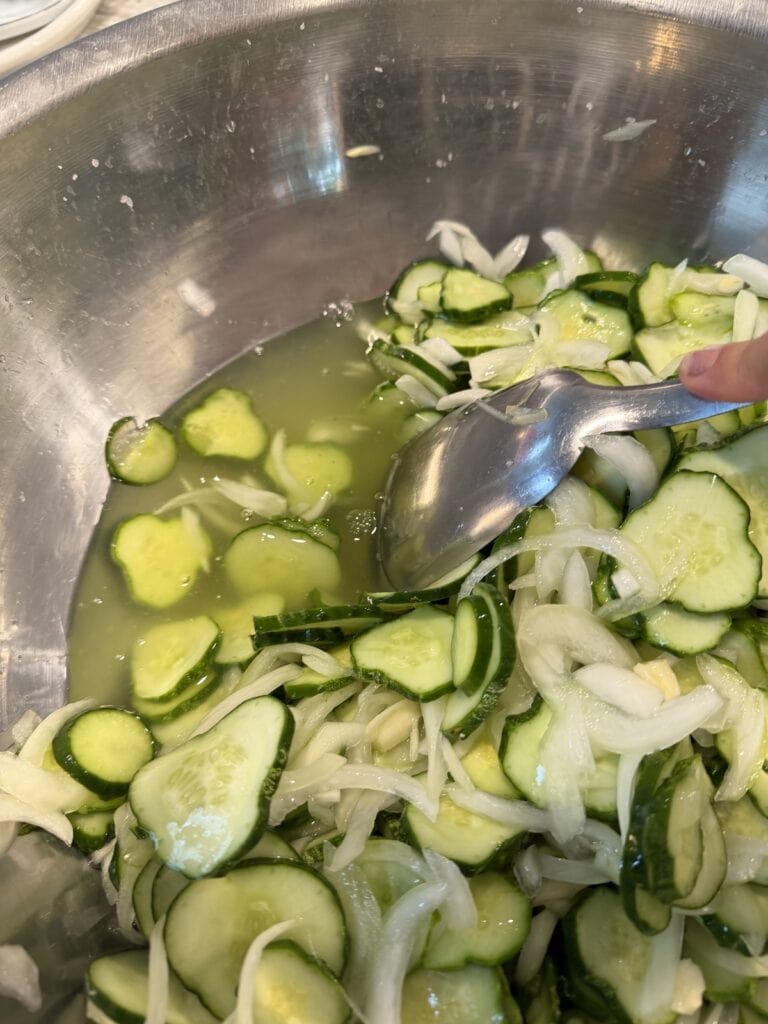
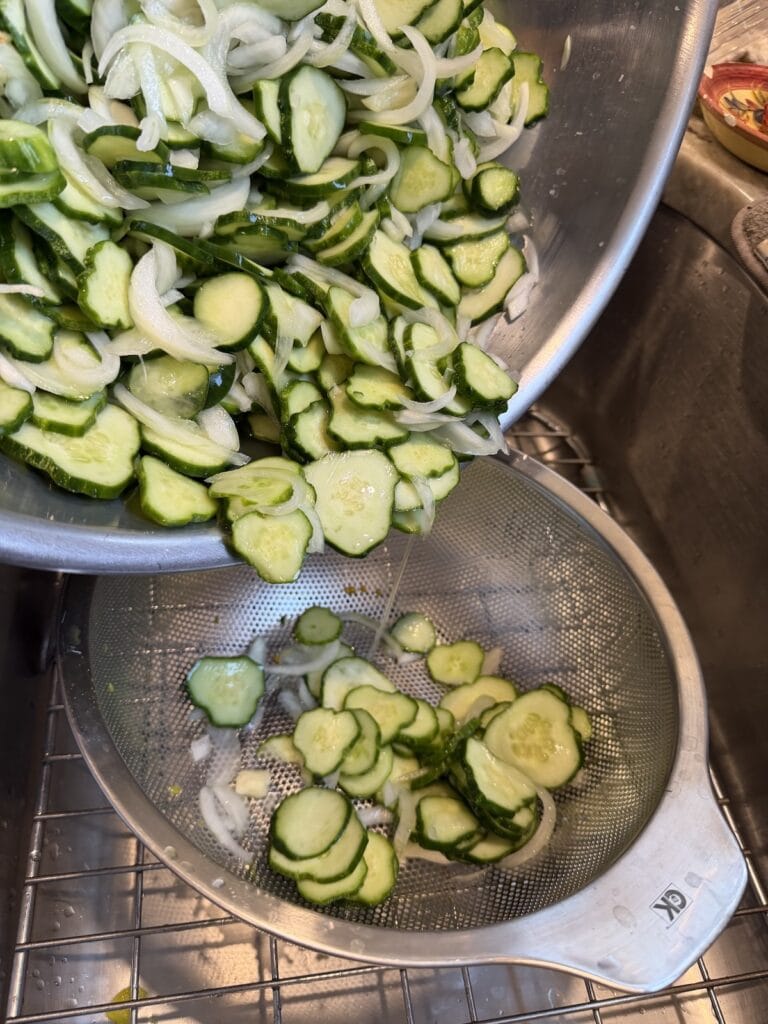
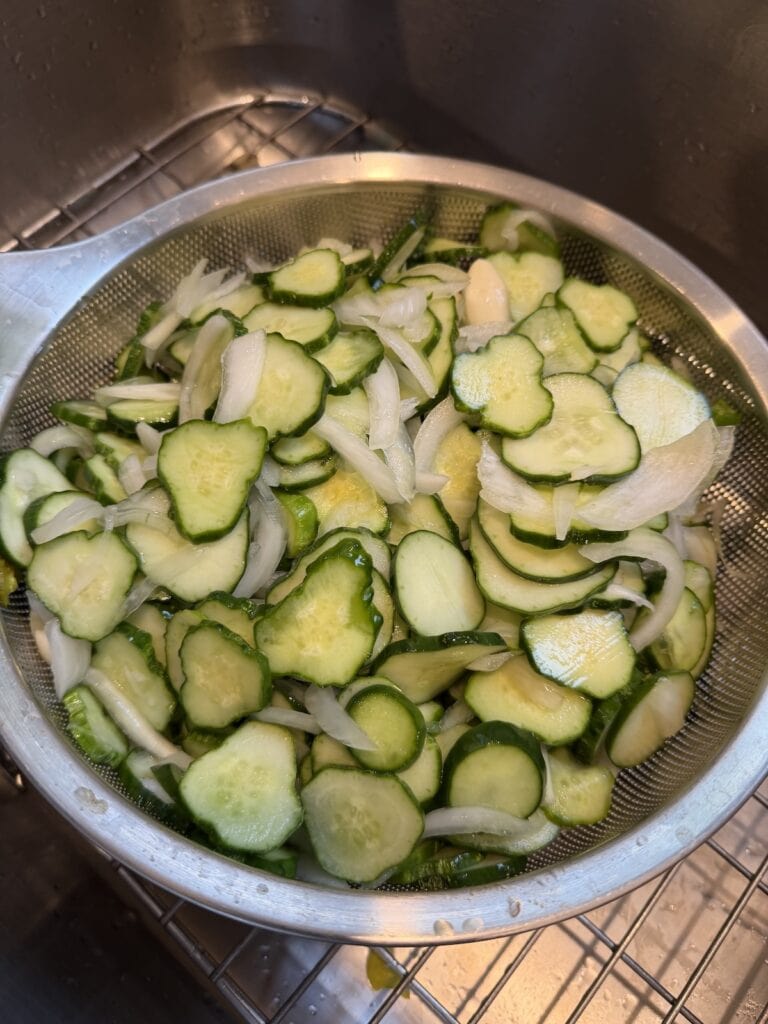
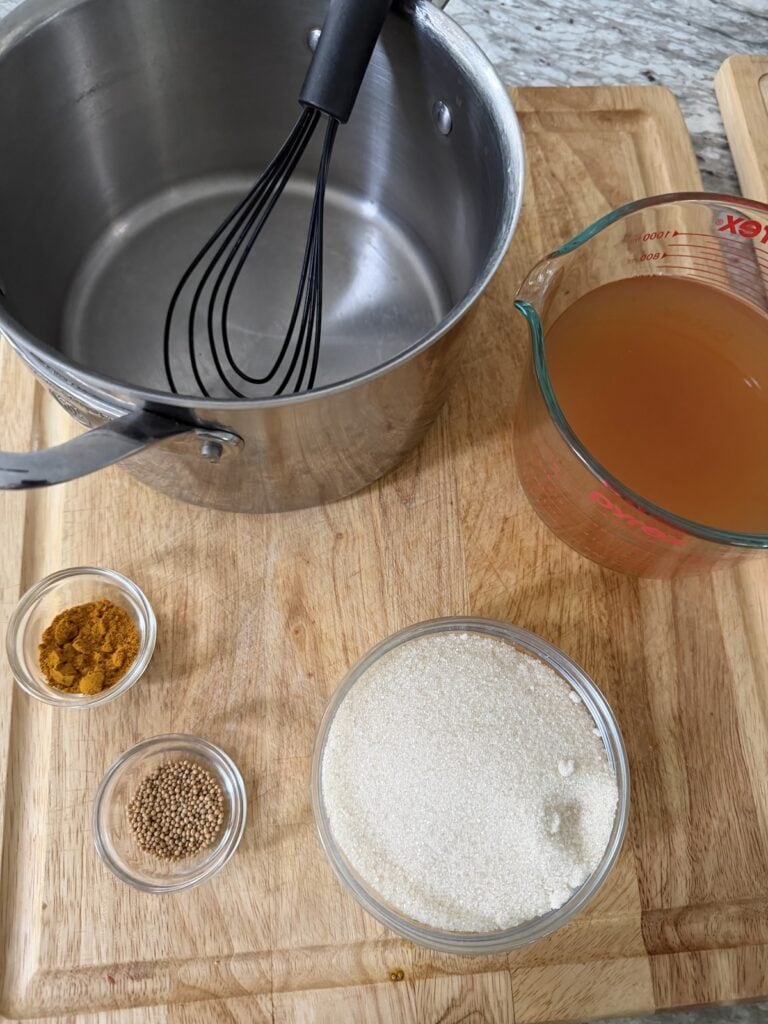
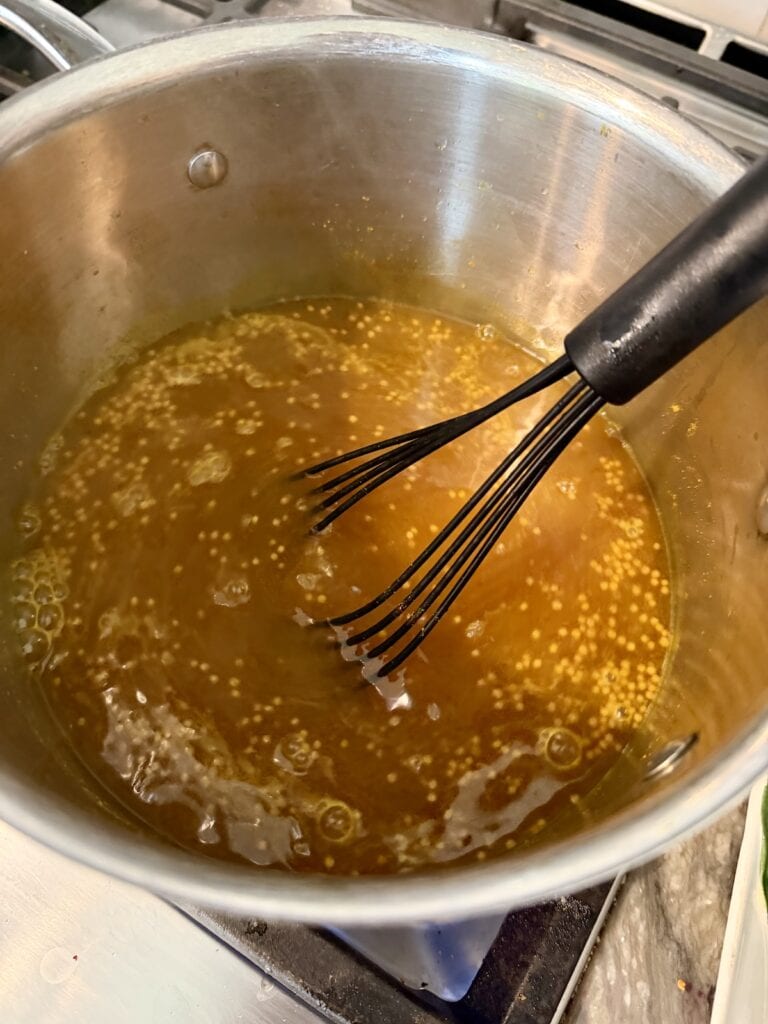
- Next, combine vinegar, sugar, turmeric and mustard seed in a pot over medium-low and heat just to a boil.
- Whisk until the sugar dissolves.
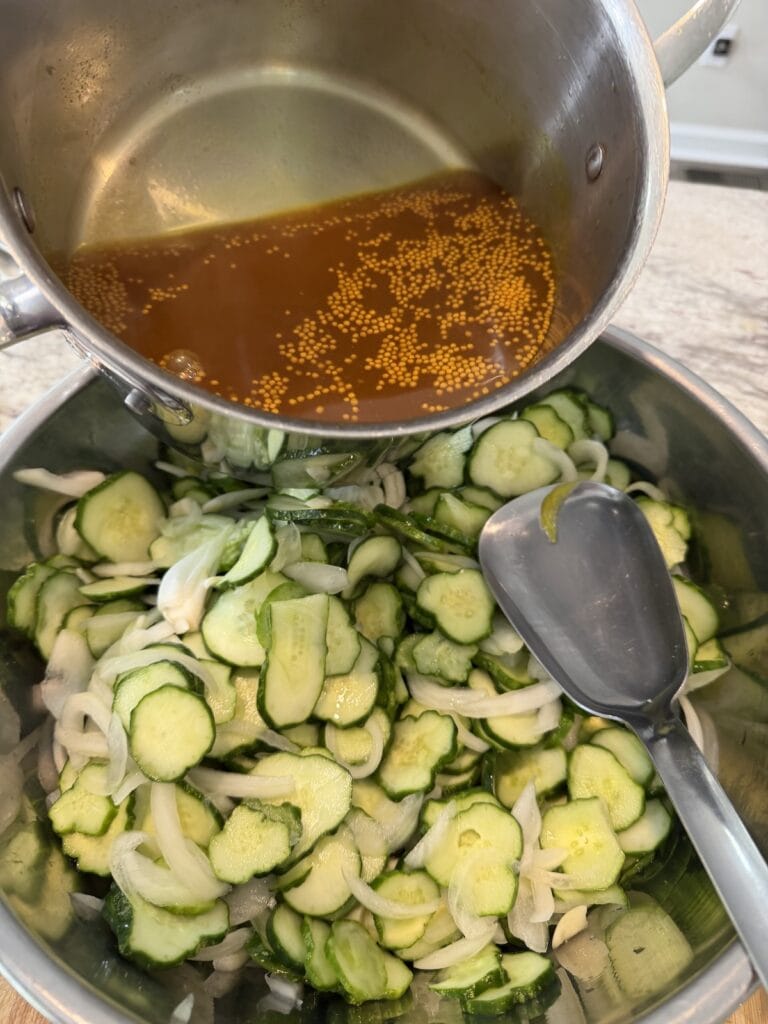
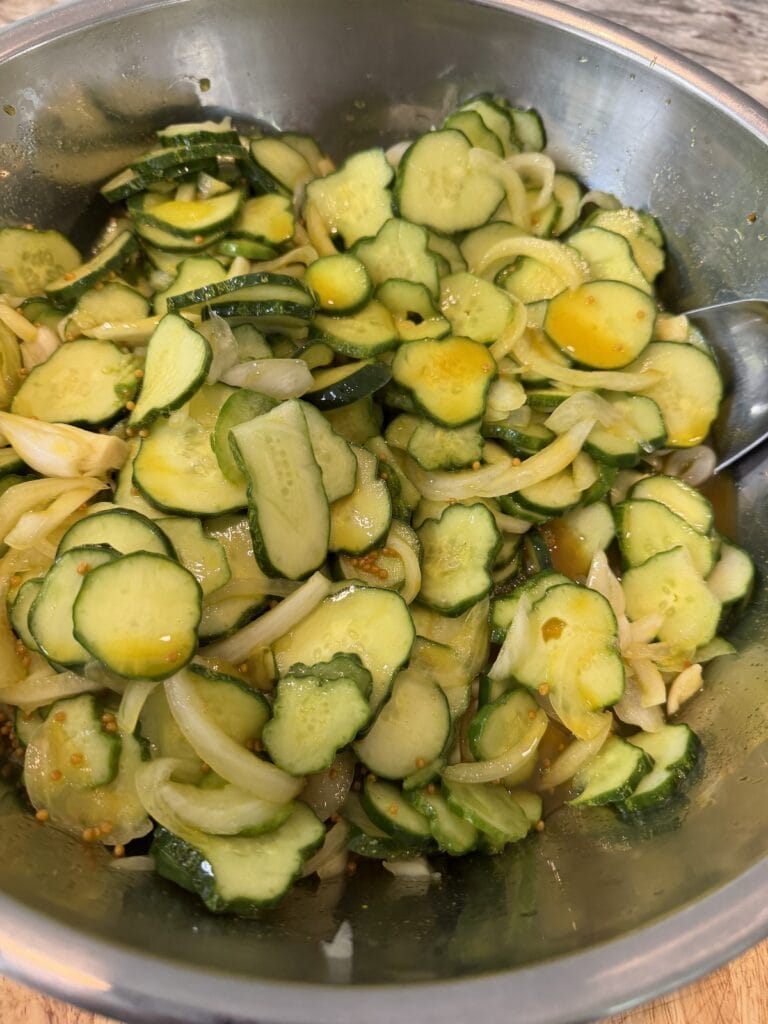
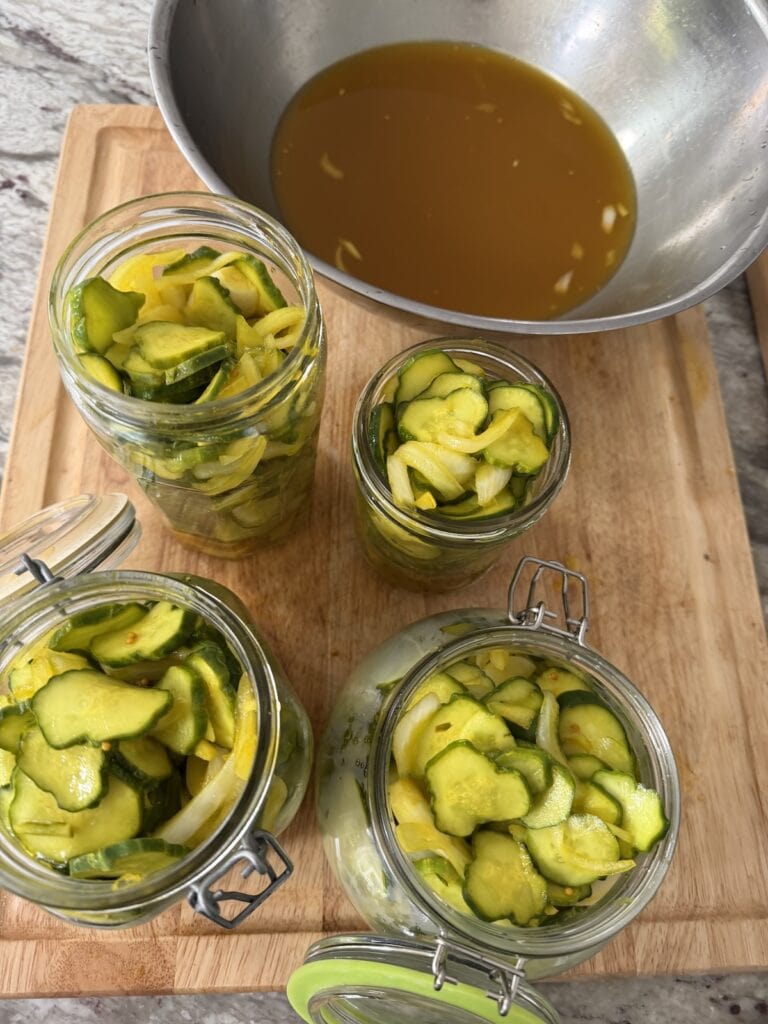
- Then, remove mixture from heat and pour it over the drained cucumber mixture. Give the mixture a stir, then let it sit at room temperature for 1-2 hours to let it cool. Stir the mixture every 15 minutes or so.
Pro Tip
Press the cucumber mixture down to immerse it in the brine while cooling.
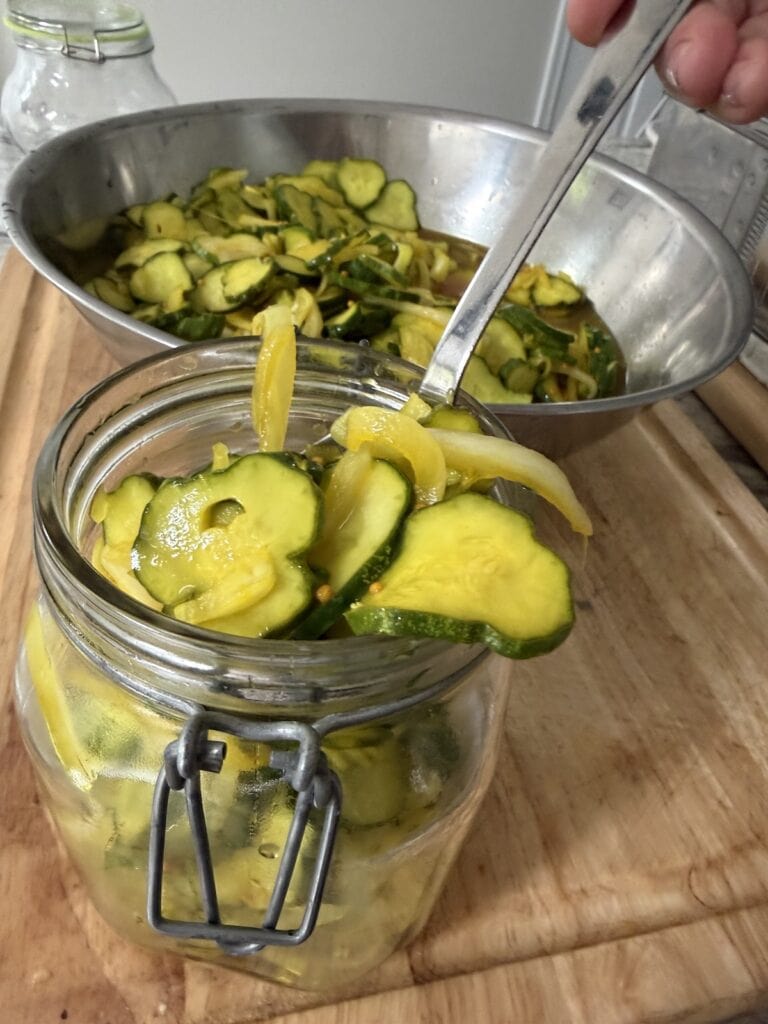
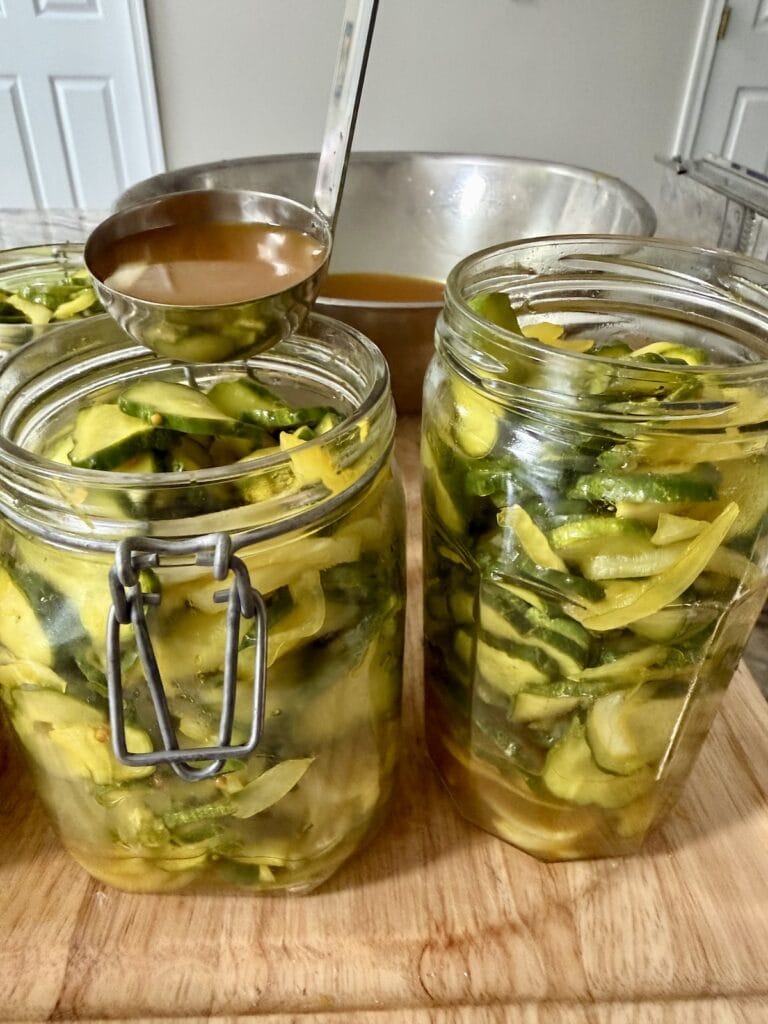
- Once the mixture has cooled, transfer both the pickle/onion mixture and brine to glass jars or containers, making sure the pickles are mostly covered in brine.
- Cover and store the pickles in the refrigerator. They’re best after chilling about 24 hours. That’s it!
Frequently Asked Questions
A refrigerator pickle is simply a pickle that is made without traditional water-bath canning. The cucumbers are combined with a vinegar-based brine and then stored directly in the refrigerator.
This makes refrigerator pickles very easy to prepare since you don’t need to go through the canning process. But there’s an important difference: refrigerator pickles are not shelf-stable.
These bread and butter pickles must be stored in the refrigerator and should not be kept at room temperature like properly canned pickles.
Kirby cucumbers are one of the best cucumbers for pickling and my first choice for this recipe. They’re small and firm with relatively thin skin and fewer seeds than many slicing cucumbers. Most importantly, they have a great crunchy texture that holds up well to pickling.
Look for fresh, firm Kirby cucumbers without soft spots or wrinkled skin for the best results.
If you can’t find Kirby cucumbers, another small pickling cucumber is the best substitute.
Persian cucumbers can also work well since they’re small, thin-skinned and crunchy. English cucumbers can be used in a pinch, but they’re generally softer and contain more moisture so the finished texture may not be quite as crisp.
Regardless of the variety, choose the freshest, firmest cucumbers you can find.
No, you do not need to peel the Kirby cucumbers. Their skin is relatively thin and adds nice color and texture to the finished pickles.
That said, peeling the cucumbers is completely optional. You can peel them fully, leave them unpeeled or even remove alternating strips of skin for a striped appearance. It’s really a matter of personal preference.
Yes. While apple cider vinegar is my preferred vinegar for this recipe and gives the pickles their characteristic tangy flavor, you can substitute distilled white vinegar for a cleaner, sharper vinegar flavor.
I would not recommend strongly flavored or sweet vinegar such as balsamic vinegar for this recipe. I also don’t love white or red wine vinegar here.
Since these are refrigerator pickles and not canned for shelf storage, we’re not relying on the vinegar for safe shelf-stable canning. Regardless of which vinegar you use the finished pickles must remain refrigerated.
The crushed ice is an important part of what gives these bread and butter pickles their wonderfully crisp and crunchy texture.
As the cucumbers sit with the kosher salt, the salt draws out some of their excess moisture. The ice keeps the cucumber mixture very cold during this two-hour process, which helps the cucumbers stay firm and crisp rather than becoming soft or limp.
So, while it may seem like an unusual step, don’t skip the ice! It’s one of the keys to that satisfying crunch in the finished pickles.
If you don’t have crushed ice, regular ice cubes will work, too. You can use them whole or place them in a zip-top bag and crush them with a rolling pin or other heavy object. If you don’t have access to ice at all, I recommend waiting until you do for the best results.
While you technically can eat these pickles once they’re completely chilled, they’re best after about 24 hours in the refrigerator. This gives the cucumbers and onions time to absorb the sweet-and-tangy brine and allows all the flavors to come together.
And they even get better as they sit!
If properly stored in the refrigerator in a clean, airtight container or jar, these bread and butter pickles will last for at least one month. The pickles do not freeze well.
Keep the pickles mostly submerged in their brine and use a clean fork or slotted spoon whenever removing them from the jar.
Keep in mind that this is not a canning recipe. These pickles are not shelf-stable and must be stored in the refrigerator at all times.
No. This recipe was developed specifically as a refrigerator pickle and has not been tested for safe canning. For general information and tested recipes for canning pickles, check out this page.
More Recipes with Garden Veggies
Ready To Make These Refrigerator Bread and Butter Pickles?
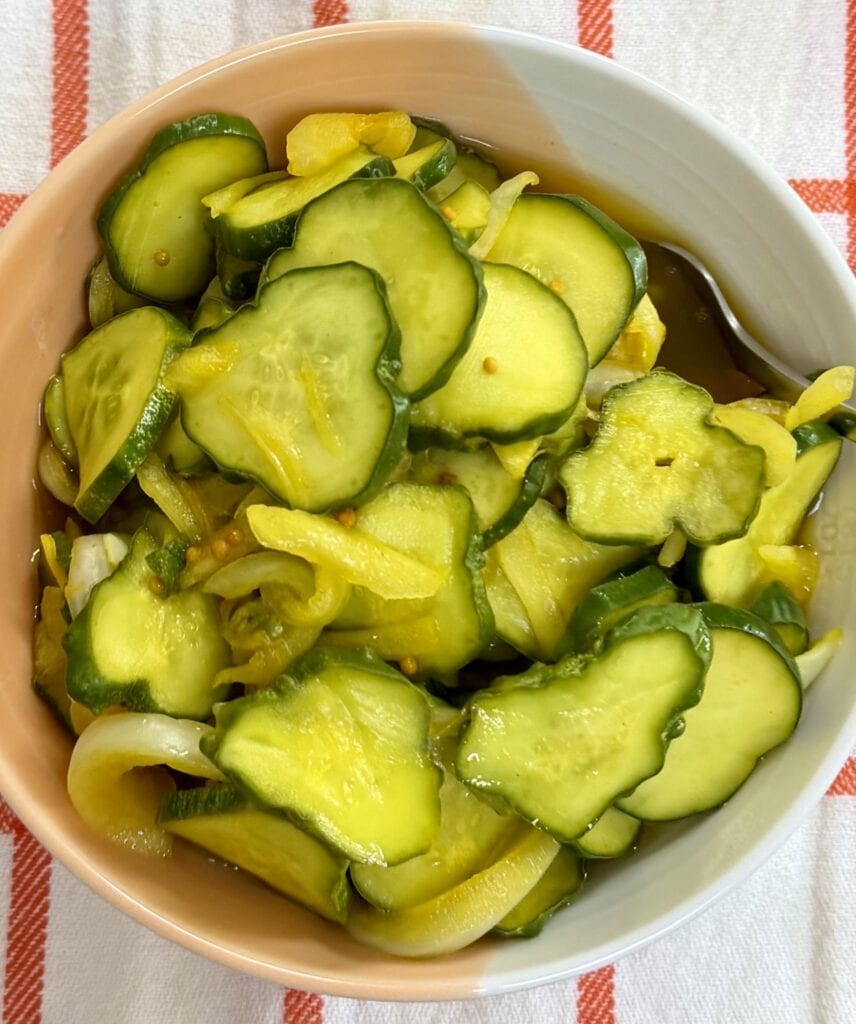
If you love a good crunchy pickle but find most bread and butter pickles a little too sweet, I hope you’ll give my Aunt Mary’s recipe a try. They’re tangy, briny, crunchy and just sweet enough and one of my favorite things to keep on hand for sandwiches and burgers.
Quite honestly, I enjoy making them year round, but I particularly love to make them during the summer with my homegrown cucumbers.
And, while they might not be Italian, Aunt Mary certainly knew how to make them delicious!
Mangia bene!
Refrigerator Bread and Butter Pickles
Video
Equipment
- Glass Containers with Lids (optional)
- Glass Jars (optional)
Ingredients
- About 4 pounds Kirby cucumbers
- About 1½ pounds sweet or yellow onions, very thinly sliced/julienne
- 6-8 cloves garlic, peeled and smashed with the back of a knife
- ⅓ cup kosher salt
- Crushed ice, (enough to cover)
- 3 cups apple cider vinegar, (24 fluid ounces)
- 1¼ cups granulated sugar
- 1½ tsp ground tumeric
- 1½ tsp mustard seed
Instructions
- Gather all ingredients. Rinse the cucumbers, then cut off their ends and discard them. Then thinly slice each cucumber into rounds about ¼” thick each. Place the slices into a large bowl. (Peeling the cucumber is optional.) NOTE: I used a mandoline (with a cut glove to protect my hands) but you can also slice them with just a knife. The key is to slice them into pieces of even thickness.(Please see the section above in the blog post for Step-By-Step instructions with photos.)About 4 pounds Kirby cucumbers
- Add the sliced onions, crushed garlic and salt to the sliced cucumbers.About 1½ pounds sweet or yellow onions, 6-8 cloves garlic, ⅓ cup kosher salt
- Then, add enough crushed ice over the top surface of the mixture to cover it. Toss all together well. Set the bowl aside for two hours, tossing it 2-3 times while it sits.
- After two hours pour the mixture into a large colander to drain it well. Once it’s well-drained, return the mixture to the large bowl.
- Next, combine vinegar, sugar, turmeric and mustard seed in a pot over medium-low and heat just to a boil. Whisk until the sugar dissolves.3 cups apple cider vinegar, 1¼ cups granulated sugar, 1½ tsp ground tumeric, 1½ tsp mustard seed
- Then, remove mixture from heat and pour it over the drained cucumber mixture. Give the mixture a stir, then let it sit at room temperature for 1-2 hours to let it cool. Stir the mixture every 15 minutes or so.NOTE: Press the cucumber mixture down to immerse it in the brine.
- Once the mixture has cooled, transfer both the pickle/onion mixture and brine to glass jars or containers, making sure the pickles are mostly covered in brine. They will likely settle once in the jar for a bit.NOTE: Use as much brine as needed to fill the jars. You can discard any extra.
- Cover and store the pickles in the refrigerator. They are best after chilling about 24 hours and will last for at least one month under refrigeration. Use a slotted spoon or fork to remove them from jar or container as needed. That’s it! Buon Appetito!
Notes
- Total recipe time above does not include cooling time after the pickles have been made fyi.
- This recipe yields about 10-11 cups drained pickles. They’re best after about 24 hours in the refrigerator.
- I did a straight cut on the cucumbers, but you can certainly do a crinkle cut if you have the tools and that’s what you prefer.
- Be sure to slice the cucumbers relatively thinly, about ¼” thick.
- While sweet or Vidalia onions are preferred, you can also use yellow/Spanish onions.
- If properly stored in the refrigerator in an airtight container, the pickles will last for at least one month. They do not freeze well.
- *NOTE: This is not a canning recipe and the pickles must be stored in the refrigerator. They are NOT shelf-stable and should not be stored at room temperature.

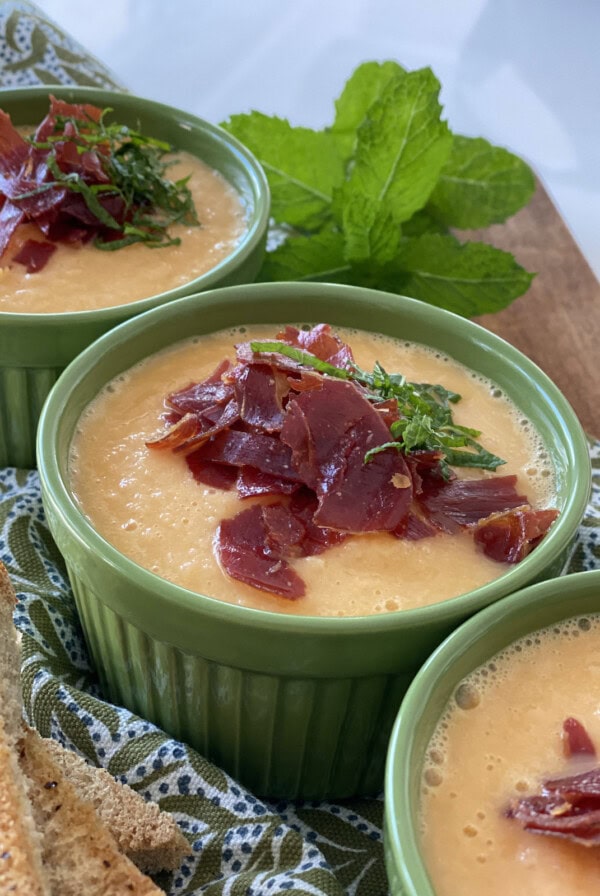
love soup?
Get My Cookbook!
Ditch the dish and embrace the bowl with Soupified: Soups Inspired by Your Favorite Dishes!
Available in ebook, paperback and hardcover.

Love love love this recipe and the pickles are so great on almost every sandwlich!