This post may contain affiliate links or sponsored content. That means if you click on my link and buy something, I will earn a small commission from the advertiser at no additional cost to you. For more information on this, please click here.
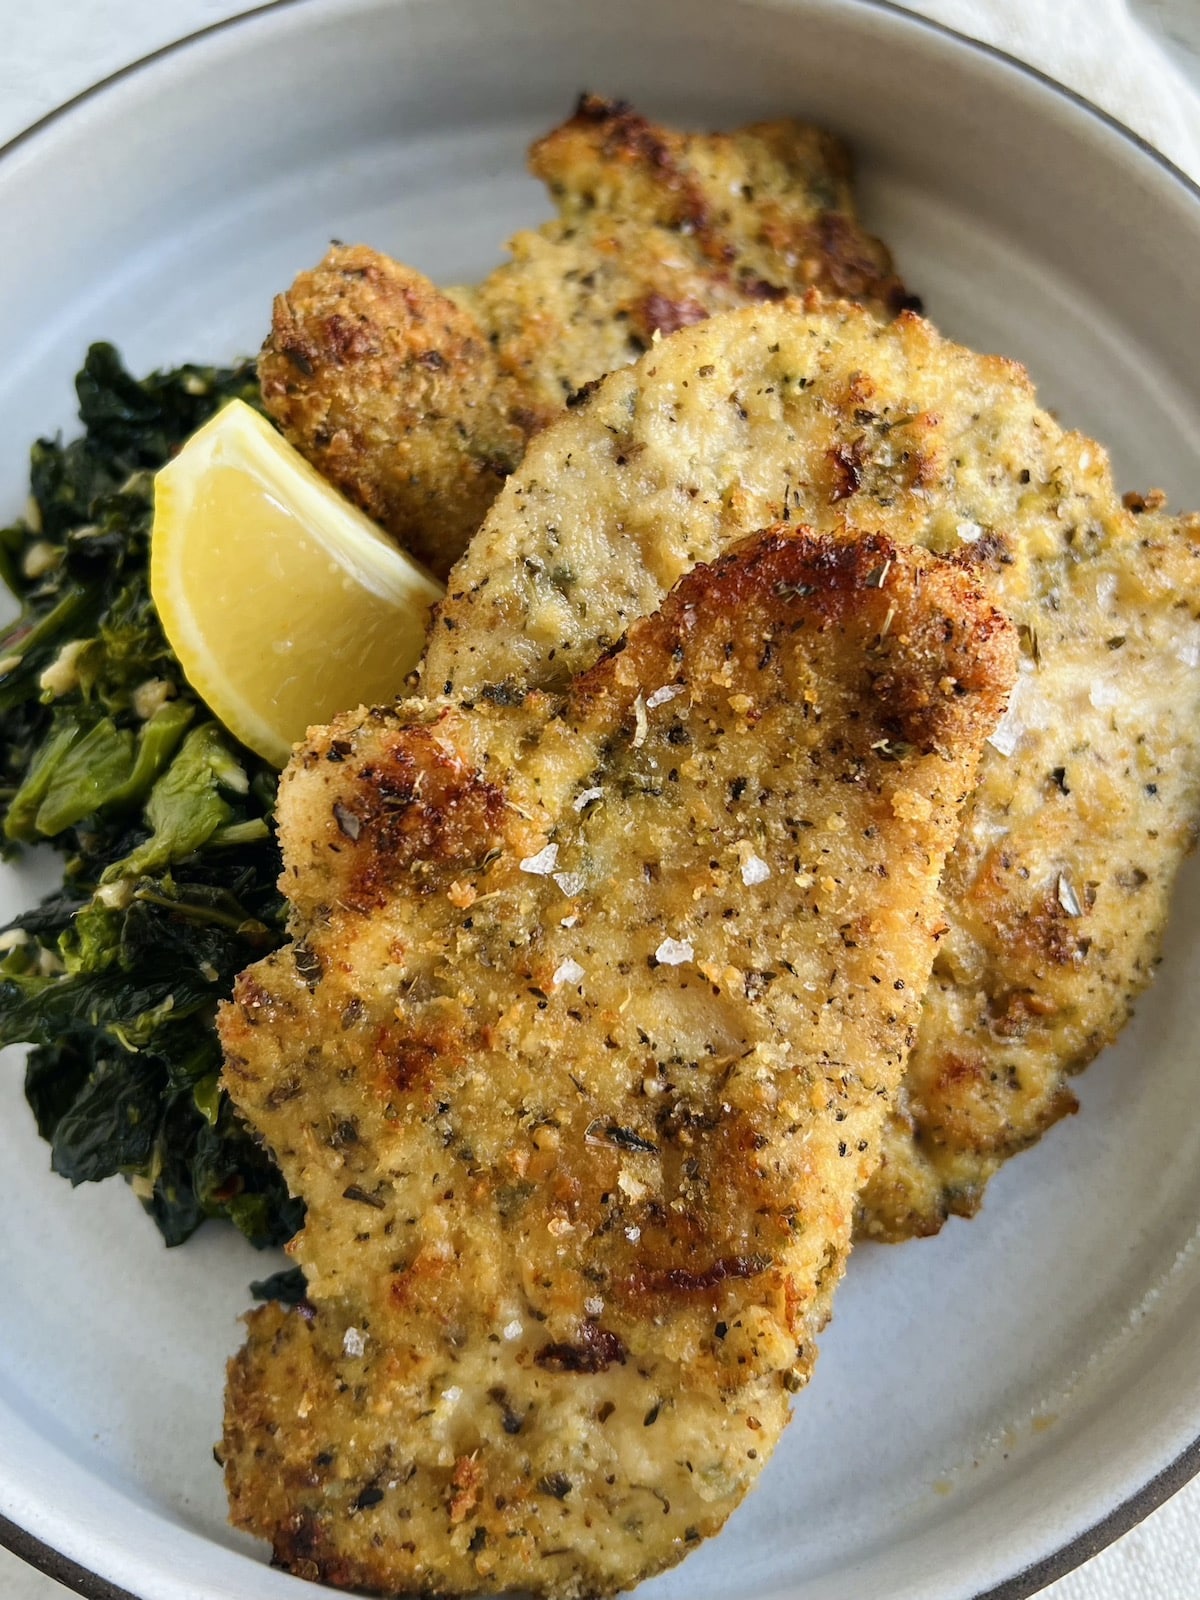
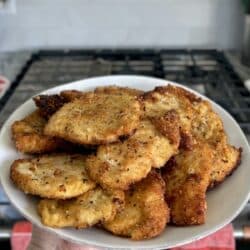
With all the flavor and crispy texture but none of the mess of frying, these Italian Baked Chicken Cutlets will not disappoint. Thin pieces of chicken breast are coated in egg, pecorino and parsley, then cheesy, seasoned breadcrumbs before being roasted until golden on the outside and tender and juicy on the inside.

There are few things better than biting into a crispy, golden and juicy chicken cutlet.
This is basically a lightened-up version of my fried chicken cutlets recipe–for when you want all the chicken cutlet feels but are, quite honestly, just not in the mood to fry!
The baking technique and seasoned pecorino breadcrumbs in this simple recipe make these roasted cutlets almost indiscernible from the fried version. You can think of it as a “baked fried chicken cutlet” that will satisfy your cravings for something crunchy and fried.
You’ll love their crispy, clean texture, enticing aroma and savory flavor as much as the fact that you won’t have to clean your kitchen from top to bottom from greasy splashes!
With only few, significant ingredients, this recipe is mostly about ingredient quality and technique. Seasoning the breadcrumbs yourself, including grated cheese and fresh herbs in the egg mixture and roasting at a high heat in the lower part of the oven make all the difference here!
Why You’ll Love This Recipe
- Everybody loves them! It is one of the most beloved comfort foods out there.
- Cooks quickly with no mess! Baking is definitely the way to go if you are not in the mood to fry or clean up as much in the kitchen. Plus, it uses way less oil!
- Versatile: There are so many ways that you can serve baked cutlets. From turning them into chicken parm to making it the star of a sandwich with broccoli rabe and fried peppers or simply pairing it with roasted potatoes or spaghetti with garlic and oil, you’ll be amazed at the many ways that you can enjoy this dish.
- Perfect for Meal Prep! Make a big batch of these cutlets and enjoy them throughout the week. They’ll hold up to five days in the refrigerator or up to three months in the freezer in an airtight container. It’s a great way to have something delicious ready in a pinch, especially so that you can make either skillet chicken parmesan or one of my favorite chicken cutlet sandwiches!
Ingredients for Baked Chicken Cutlets
Here are the ingredients we’ll be using for these Italian Baked Chicken Cutlets:
- Chicken: Start with boneless skinless chicken breasts, that are then sliced and gently pounded to make a thin cutlet. Almost all supermarkets these days sell pre-sliced, thin chicken cutlets, so this is also an option that will save some time.
- Breadcrumbs, Pecorino Cheese, Dried Herbs and Spices: One of the main reasons why these baked Chicken Cutlets are so delicious is the homemade seasoned breadcrumbs. They’re so easy and can be made with ingredients that you probably already have on hand. Once you make your own, you will likely never go back to the store-bought version! My main advice–use good quality spices and dried herbs. If they have been in your cupboard for several years and look sketchy–replace them! Having said all this, you can, of course, use store-bought seasoned Italian bread crumbs rather than make them from scratch, but the taste will not be the same.
- Eggs and Milk: Eggs in this recipe act as a binder during the breading process and give the breadcrumbs something to hold onto. The milk adds moisture and a bit of richness. The pecorino cheese and parsley are also added to this mixture, adding beautiful layers of flavor. Grated parmesan cheese can be used as well.

How to Make Baked Chicken Cutlets, Step-by-Step
Here are the main steps for making this oven baked chicken cutlet recipe:
- Prep and gather all ingredients according to specifications above. Then, make the seasoned breadcrumbs by mixing all the breadcrumb ingredients together in a large bowl until well-combined.
- PRO-TIP: These can be made several hours or days in advance and held in the refrigerator in an airtight bag or container.
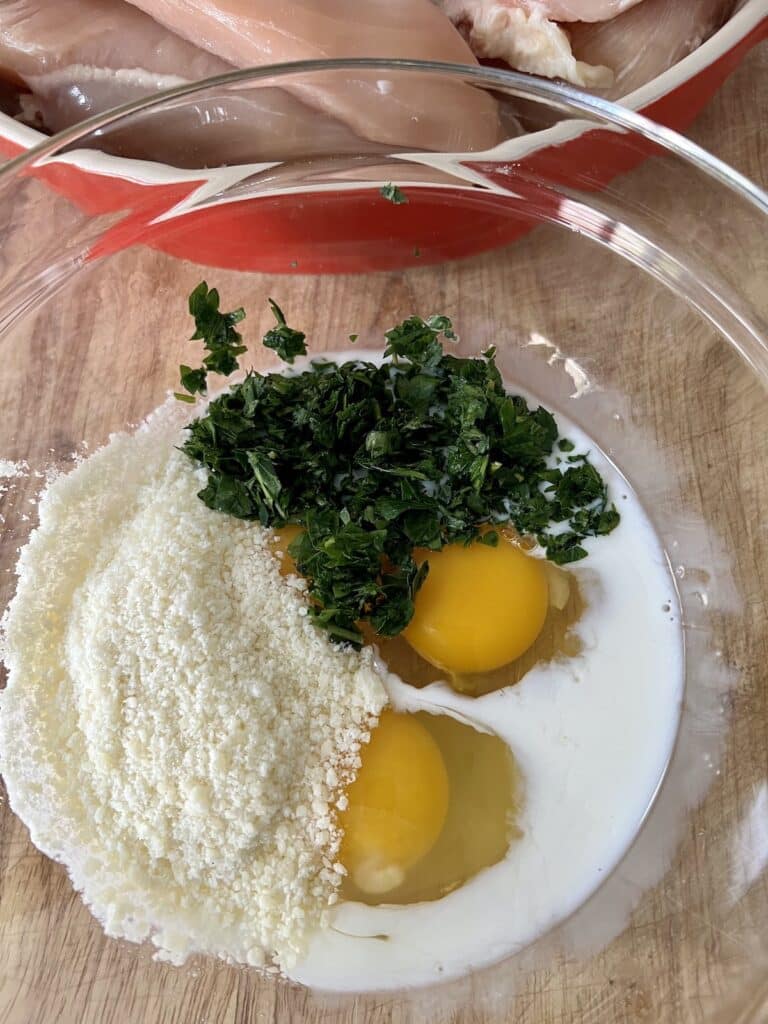
- Whisk the eggs, cheese, parsley and milk together in a large bowl until well-combined, and set this aside.

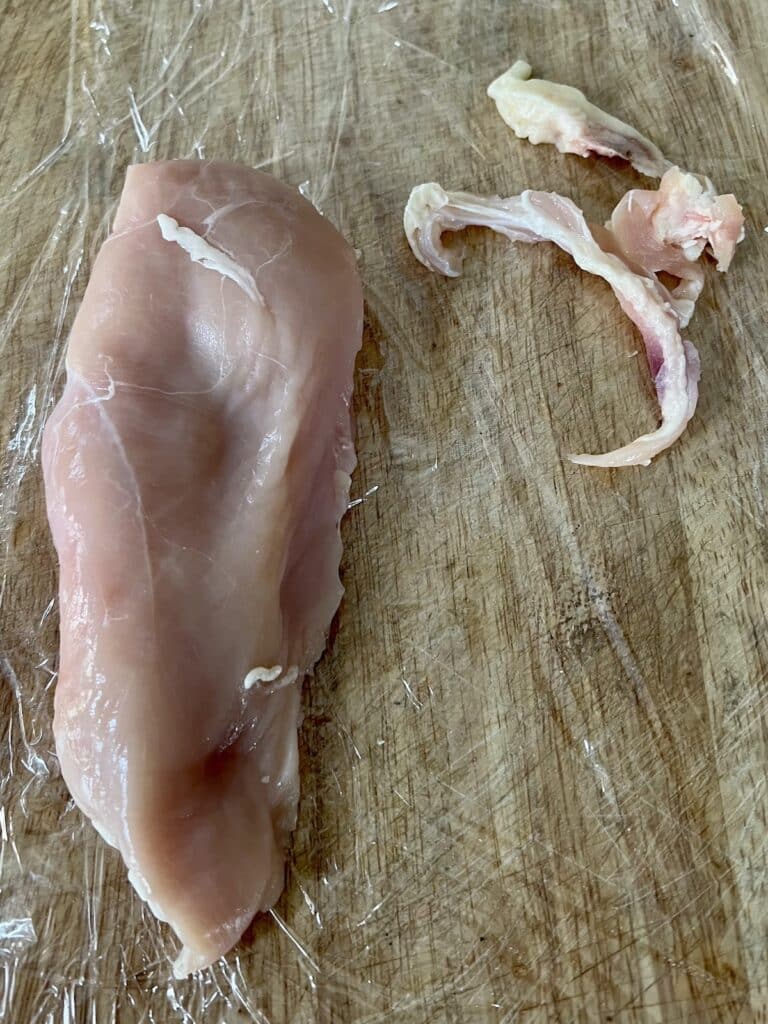
- Remove and discard all large pieces of fat from the chicken breasts.
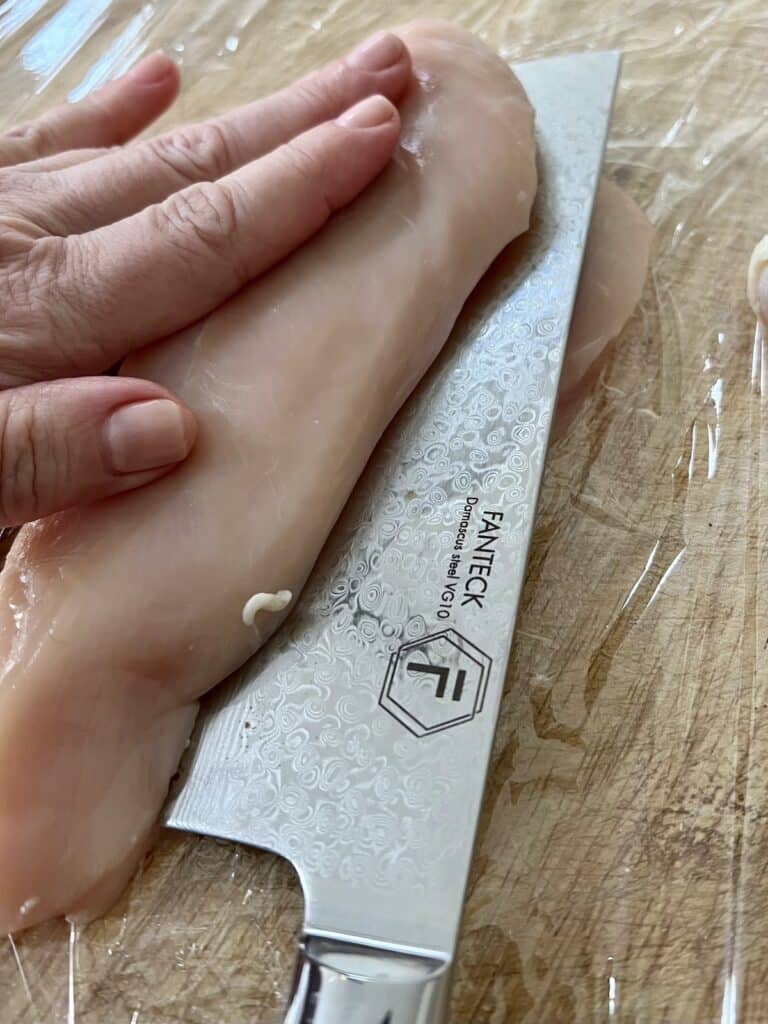
- Then, carefully cut chicken breast in half horizontally, through the center, using a sharp knife. You want to create two thinner pieces of breast meat–the knife should be parallel to the cutting board.
- PRO-TIP: If you’re nervous about slicing the chicken, consider wearing a cut-resistant glove covered by a latex glove. Alternatively, you can purchase pre-sliced, thin chicken cutlets.
- PRO-TIP: If you freeze the chicken breasts for 20 minutes or so before slicing them, they will firm up and be easier to slice (or chop, dice, etc. for any recipe!)
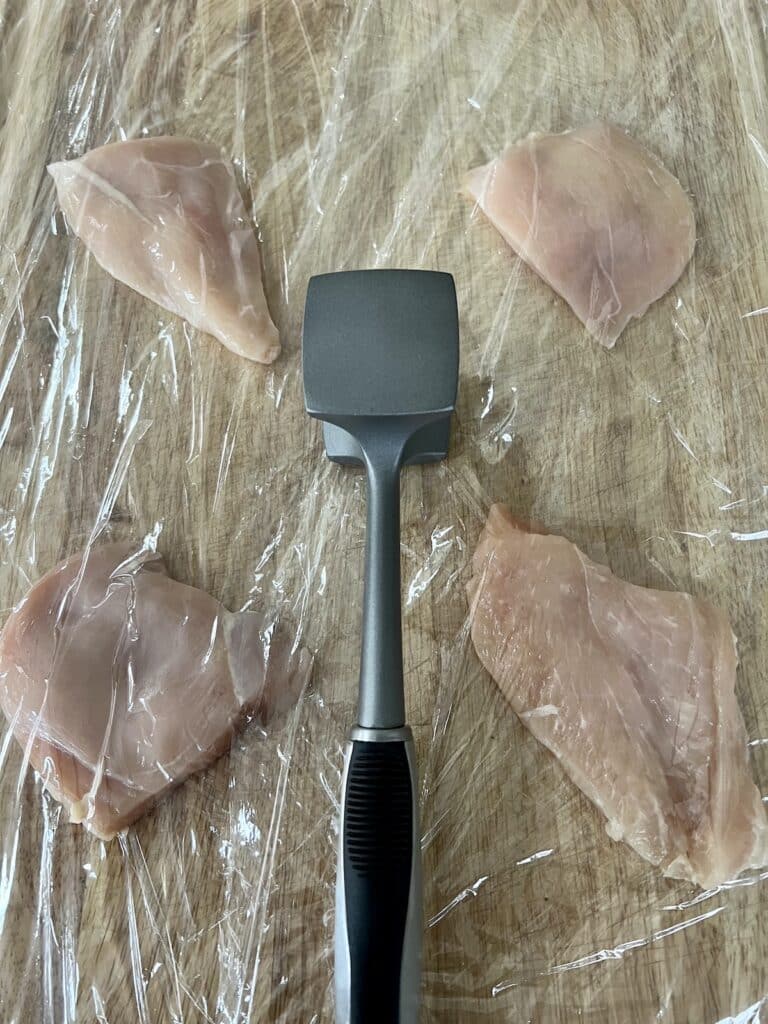
- Then, place the pieces of chicken in between plastic wrap and use either a meat mallet, meat tenderizer or a rolling pin to CAREFULLY pound the breasts thinner–to approximately ½” thickness, at most.
- PRO-TIP: Don’t be too aggressive during this step, as it is easy to break the tender breast meat into an unrecognizable mush.


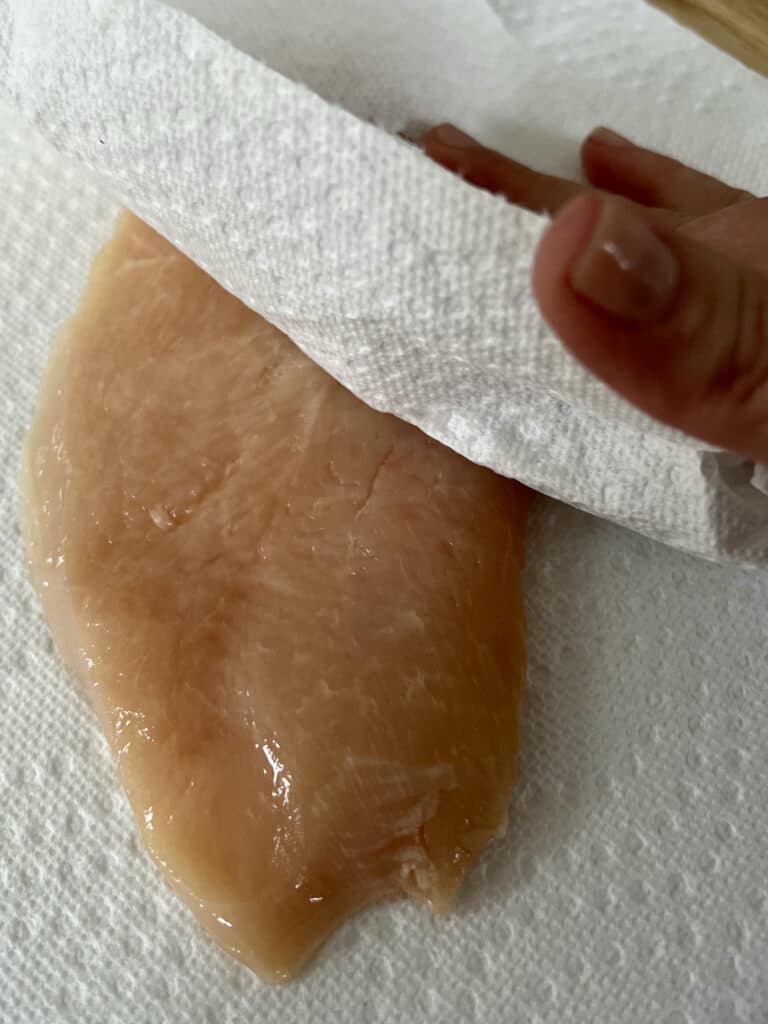
- Once the breasts are at the appropriate thickness, pat both sides dry with a paper towel and sprinkle both sides with some salt and black pepper.
- PRO-TIP: If the breast pieces are too large for you after being pounded, cut them down into smaller pieces.

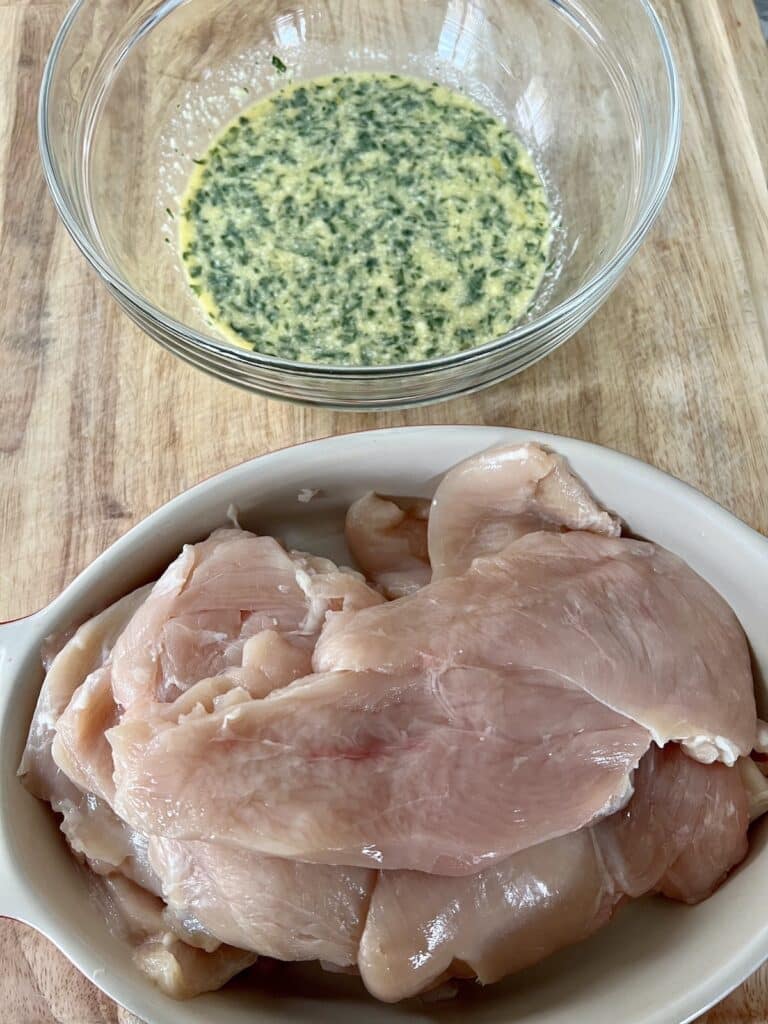
- Place the thin, seasoned chicken cutlet pieces in the reserved egg mixture, ensuring that each both sides of each piece is thoroughly coated. This can be done a few hours in advance of frying and held in the refrigerator.

- Place rack in lower third of oven and preheat to 425°F. If you have a convection option, use it as it will create a browner crust.
- PRO-TIP: The high heat and low oven rack placement are to ensure that the cutlets crisp up and brown, similar to as if they had been fried.
- Then, set up a breading station by arranging the following: bowl of chicken in egg mixture, then shallow bowl (or sheet pan) of seasoned breadcrumbs, then a baking sheet.

- Using either your hand or a fork/tongs, transfer each piece of chicken from the egg mixture, one-by-one, to the breadcrumbs. Thoroughly coat both sides, patting it down to ensure that the breadcrumbs adhere. Then, place the breaded chicken on a sheet pan. Continue doing this for all the chicken pieces.
- PRO-TIP: If you are using your hands for this, use one hand for the wet egg mixture and the other for the dry breadcrumb mixture. This will keep things neater and more streamlined.
- PRO-TIP: This method is actually not a classic breading procedure that starts out with flour before the egg. I’ve tried it both ways and prefer omitting the flour. The breading becomes a bit too thick with the flour added.


- Spray or rub a parchment-lined rimmed baking sheet liberally with oil.
- Gently shake off any excess breadcrumbs from each piece of breaded chicken breast. Then carefully transfer each piece to the oiled parchment paper in a single layer. Use two sheet pans if necessary.

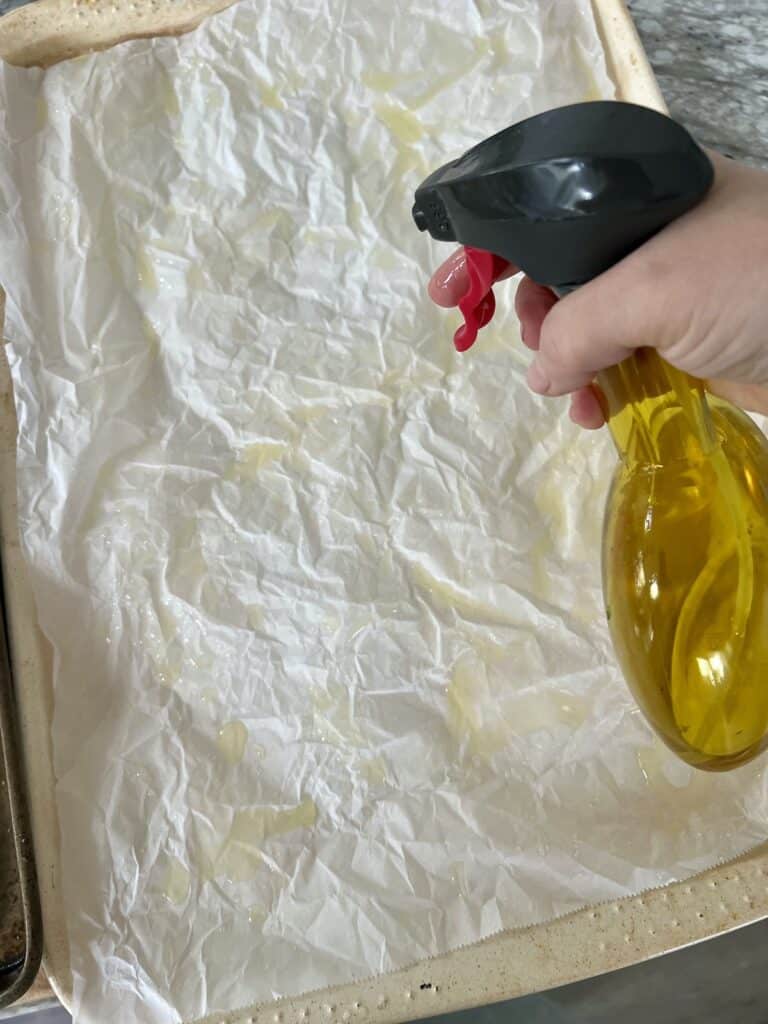
- Next, spray the top side of each cutlet liberally with oil as well.
- Bake the cutlets for 15 minutes. Then, turn each piece over and continue baking for another 10 minutes or until the cutlets have reached an internal temperature of 165°F at their thickest part, which you can test with a meat thermometer.
- PRO-TIP: If you prefer that the cutlets are a bit browner, you can place them under the broiler (on a low setting) for a minute or two. But, pay close attention and do not walk away during this step as they can burn very quickly!
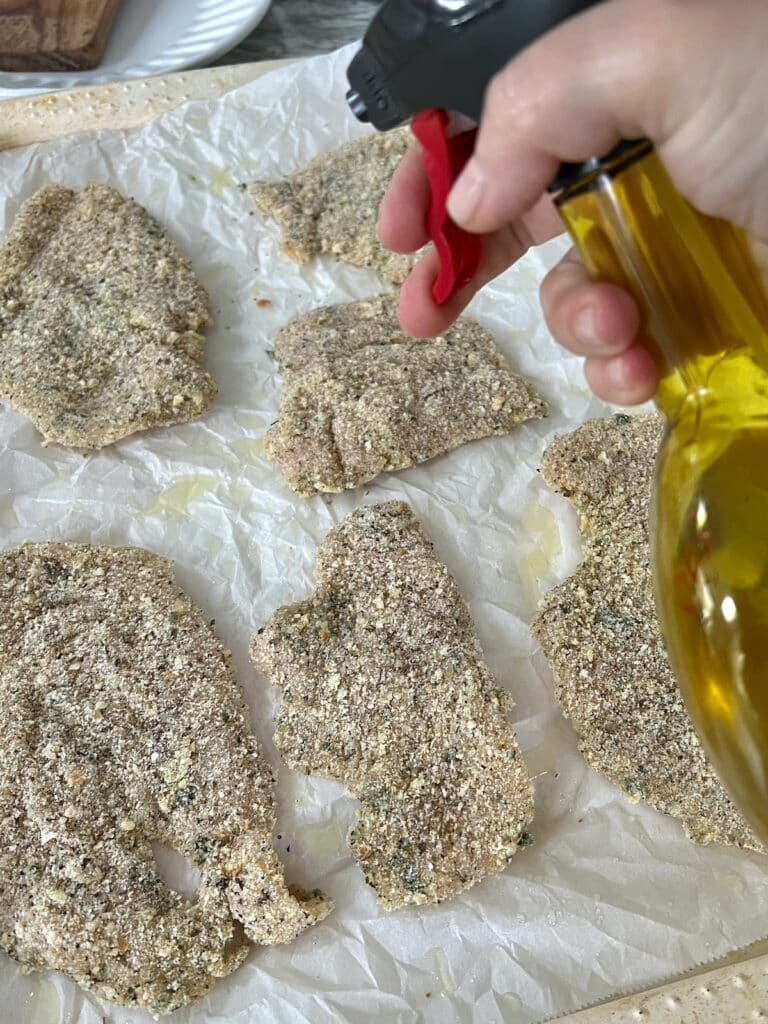

- Sprinkle the baked breaded chicken cutlets very lightly with some salt, if desired. Then, they are ready to eat! That’s it!

Frequently Asked Questions
For a crispy chicken cutlet that is very similar to frying, I suggest baking chicken cutlets at a high temperature of 425°F for about 25 to 30 minutes. Turn them over once during the cooking process.
Chicken cutlets are simply boneless, skinless chicken breasts that have either been sliced in half horizontally or pounded out very thin, or both.
Yes, but recognize that the result will be a bit different. Panko is made from a crustless white bread that is processed into flakes and then dried. They have a dryer and flakier consistency than regular breadcrumbs and result in lighter and crunchier fried food. Regular breadcrumbs are processed into a finer crumb than panko and are not as dry and flaky as panko.
If you would like to substitute panko for regular (fine) breadcumbs, a 1:1 substitution usually does the trick.
I’ve always found that adding salt to either an egg mixture or breadcrumb mixture for frying any type of cutlet always ends up sinking to the bottom of the mixture and never makes it on to the eggplant/chicken/veal, etc. So, I don’t add it at the beginning of the cooking process. Rather, I salt the cutlets lightly once they come out of the frying pan. Much better!
Yes. Fry chicken cutlets in a skillet in hot oil until the chicken is golden brown on one side, then turn it over and do the same on the other side. You’ll need to work in batches and may need to add additional oil during the frying process. The cutlets are done once they’ve reached an internal temperature of 165°F at their thickest part. Once browned and finished, transfer the fried chicken cutlets to a rack placed over a sheet pan. This will help the chicken cutlets to maintain their crispiness rather than placing them on a paper towel. You can also check out my fried Italian chicken cutlet recipe here.

Serving Suggestions and Storage
There are so many great ways to enjoy these crispy oven baked chicken cutlets. Some favorites are:
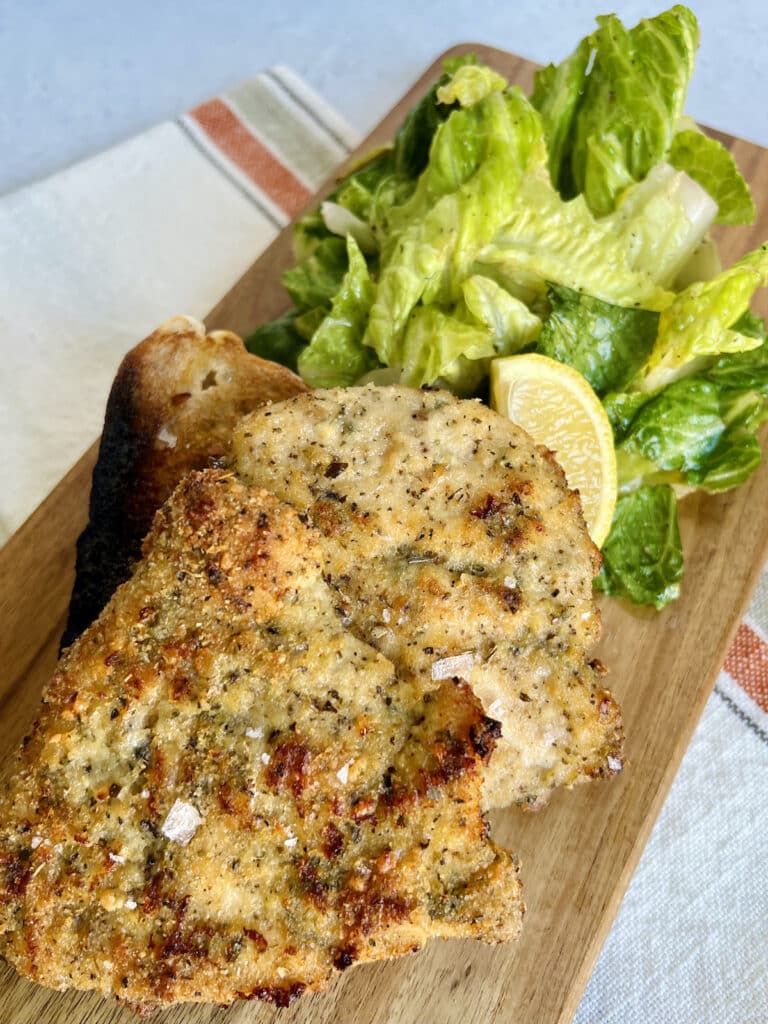
- Paired with a simple green salad and lemon wedges to squeeze over the chicken.
- Like a classic chicken Milanese–topped with a simple arugula salad tossed with lemon, extra virgin olive oil and shaved parmigiano cheese.
- Shingled in a baking dish or a skillet with tomato basil sauce and mozzarella, provolone and pecorino cheeses for a classic Italian American chicken parm. Serve this in a hero roll or with a simple pasta like spaghetti aglio e olio or linguine with pesto
- As an entrée served with mashed or roasted potatoes, fried or roasted peppers, roasted vegetables, sautéed broccoli rabe or green beans.
- Turn them into any number of types of sandwiches (my favorite way) – there are so many options! Lettuce/tomato/onion/mayo, with broccoli rabe, roasted peppers and provolone cheese, with fresh mozzarella and pesto… Having extra chicken cutlets for sandwiches is the number one reason to make a double batch!
To store, refrigerate the crispy chicken cutlets in an airtight container for up to 5 days or freeze them in an airtight freezer container for up to 3 months. The chicken will lose is crispiness once refrigerated or frozen, but will still be delicious.
To reheat these chicken breast cutlets and crisp them up, place them in an oven proof baking dish or on a sheet pan and bake at 350° for 10 to 12 minutes or until crispy and heated.

TOP TIPS for Baked Chicken Cutlets
- Use thin cutlets (½” thickness max) of even thickness. Slice and pound them or buy already thin chicken breasts. Even thickness will prevent uneven cooking.
- Use a wide, shallow vessel such as a pasta bowl or a baking sheet to do the breading. Make it easy on yourself.
- Pat the breading onto each piece of chicken to make sure it sticks.
- Place the oven rack in the lower part of the oven and be sure to roast at a high heat to ensure that the cutlet browns and crisps up properly.
- Also, spraying the parchment paper and tops of the cutlets with oil is key to contributing to a crispy cutlet.
- Make extra! You will be happy you did. Leftover cutlets can be held in refrigerator for up to 5 days.
More Delicious Italian American Recipes

More Great Recipes to Try
I hope that you are enjoying my Italian food blog and all of my Italian recipes and Italian-American recipes!
If you’ve tried these Baked Chicken Cutlets or any recipe here, please let me know how it went in the comments. I love hearing from you!
FOLLOW ME on FACEBOOK and INSTAGRAM to see more delicious food and what might be going on behind the scenes!
Crispy Baked Chicken Cutlets, Italian-Style
Equipment
- 1 Cut Resistant Glove (optional)
- 1 Tongs
- 1 Spray Bottle for Oil (optional)
Ingredients
- 2 large eggs
- 3 Tbsp grated Pecorino Romano cheese
- 3 Tbsp chopped flat-leaf parsley
- 2 Tbsp whole milk
- About 2 pounds boneless, skinless chicken breast (about 3 large breasts)
- Pinch salt and black pepper
- 1½ cups Seasoned Breadcrumbs (see recipe below)
- Oil for spraying (See Note below.)
- Salt flakes or coarse salt, for finishing (optional)
For the Seasoned Breadcrumbs:
- 1 cup plain breadcrumbs (fine texture)
- ½ cup grated Pecorino Romano cheese
- 1 Tbsp dried oregano
- 1 Tbsp dried basil
- 1 Tbsp garlic powder
- 1 Tbsp onion powder
- 1 tsp ground black pepper
Instructions
- Prep and gather all ingredients according to specifications above. Then, make the seasoned breadcrumbs by mixing all the breadcrumb ingredients together in a large bowl until well-combined. These can be made several hours or days in advance and held in the refrigerator in an airtight bag or container.(Please see the section above in the blog post for Step-By-Step instructions with photos.)1 cup plain breadcrumbs, ½ cup grated Pecorino Romano cheese, 1 Tbsp dried oregano, 1 Tbsp dried basil, 1 Tbsp garlic powder, 1 Tbsp onion powder, 1 tsp ground black pepper
- Next, whisk the eggs, cheese, parsley and milk together in a large bowl until well-combined. Set this aside.2 large eggs, 3 Tbsp grated Pecorino Romano cheese, 3 Tbsp chopped flat-leaf parsley, 2 Tbsp whole milk
- Remove and discard all large pieces of fat from the chicken breasts. Then, carefully slice each chicken breast in half horizontally, through the center, using a sharp knife. You want to create two thinner pieces of breast meat–the knife should be parallel to the cutting board. (See photo above.)About 2 pounds boneless, skinless chicken breast
- Then, place the pieces of chicken in between plastic wrap and use either a meat tenderizer/mallet or a rolling pin to CAREFULLY pound the breasts thinner–to approximately ½” thickness, at most. The cutlets should have relatively the same thickness all around. Don’t be too aggressive during this step, as it is easy to break the tender breast meat into an unrecognizable mush.
- Once the breasts are at the appropriate thickness, pat both sides dry with a paper towel and sprinkle both sides with some salt and black pepper. (NOTE: If the breast pieces are too large for you after being pounded, cut them down into smaller pieces, as desired.)Pinch salt and black pepper
- Place the thin, seasoned chicken cutlet pieces in the reserved egg mixture, ensuring that each both sides of piece is thoroughly coated. This can be done a few hours in advance of baking and held in the refrigerator.
- Place rack in lower third of oven and preheat to 425°F. If you have a convection option, use it as it will create a browner crust.
- Then, set up a breading station by arranging the following: bowl of chicken in egg mixture, then shallow bowl (or sheet pan) of seasoned breadcrumbs, then a sheet pan. Using either your hand or a fork/tongs, transfer each piece of chicken from the egg mixture, one-by-one, to the breadcrumbs and thoroughly coat both sides, patting it down to ensure that the breadcrumbs adhere, then place the breaded chicken on a sheet pan. Continue doing this for all the chicken pieces. (NOTE: If you are using your hands for this, use one hand for the wet egg mixture and the other for the dry breadcrumb mixture to keep things neater and more streamlined.)1½ cups Seasoned Breadcrumbs
- Spray or rub a parchment-lined, rimmed sheet pan liberally with oil.Oil for spraying
- Gently shake off any excess breadcrumbs from each piece of breaded chicken. Then carefully transfer each piece to the oiled parchment paper in a single layer. Use two sheet pans if necessary.
- Next, spray the top side of each cutlet liberally with oil as well.
- Bake the cutlets for 15 minutes. Then, turn each piece over and continue baking for another 10 minutes or until the cutlets have reached an internal temperature of 165℉ at their thickest part, which you can test with a meat thermometer. This time will vary based on your individual oven.
- If you prefer that the cutlets are a bit browner, you can place them under the broiler (on a low setting) for a minute or two. But, pay close attention and do not walk away during this step as they can burn very quickly!
- Sprinkle the cutlets very lightly with some salt, if desired. Then, they are ready to eat! Buon Appetito!Salt flakes or coarse salt,
Notes
- If you’re nervous about slicing the chicken, consider wearing a cut-resistant glove (linked above) covered by a latex glove. Alternatively, you can purchase pre-sliced, thin chicken cutlets.
- If you freeze the chicken breasts for 20 minutes or so before slicing them, they will firm up and be easier to slice (or chop, dice, etc. for any recipe!)
- You may have extra seasoned breadcrumbs left over. They can be held for several weeks in the refrigerator in an airtight bag or container ONLY IF THEY HAVE NOT TOUCHED THE CHICKEN! If they have touched the chicken, then you cannot reuse these breadcrumbs. If you use seasoned breadcrumbs frequently, I suggest making a double or triple batch and then you will have them whenever you need.
- The amount of egg/milk and breadcrumb mixtures is an approximation and will vary based on how thinly or thickly you slice the chicken. The thinner you slice them, the more surface area that there is to coat and the more of each mixture that you will need. And, it’s the opposite with thicker slices. I prefer thinner slices because they are crispier and so much more fun to eat!
- If you’d like some picante, sprinkle a pinch of cayenne pepper into the egg mixture.
- I suggest using olive oil (pure or virgin) or a neutral oil with a high smoke point, such as avocado oil, when spraying the parchment paper and tops of the cutlets. I don’t suggest using extra-virgin olive oil as it will smoke at the high oven temperature.
- To store, refrigerate the breaded baked chicken cutlets in an airtight container for up to 5 days or freeze them in an airtight freezer container for up to 3 months. The chicken will lose is crispiness once refrigerated or frozen, but will still be delicious.
- You can fry these chicken cutlets instead of baking them. To do this, heat oil in a large skillet. Then, carefully place breaded cutlers in the hot oil, one at a time, making sure to not crowd the pan or pile the chicken on. Fry a few pieces at a time–only as many as will fit in one layer. Fry until the chicken is golden brown on one side, then turn it over and do the same on the other side. This will take about 4 to 5 minutes per side. You will need to work in batches and may need to add additional oil during the frying process. The chicken cutlets are cooked once they’ve reached an internal temperature of 165°F at their thickest part, which you can test with a meat thermometer. Once browned and finished, transfer the fried chicken cutlets to a rack placed over a sheet pan. This will help the chicken cutlets to maintain their crispiness rather than placing them on a paper towel. You can also check out my fried Italian chicken cutlet recipe here.

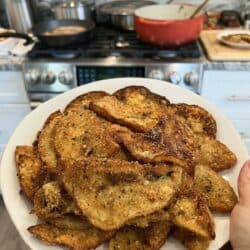

These came out so crispy and perfect! Probably my new way to do cutlets for a crowd so I’m not standing over a stove for hours!
The chicken cutlet was excellent and so easy! Love your receipes!
Delicious and oh, so simple! You would never know the cutlets weren’t fried!
I made this chicken cutlet dinner tonight for my husband & I . We loved it so much it definitely will be on our menu a lot.
Loved this recipe. I will be using the seasoned bread crumbs mixture in all future recipes! The cutlets came out golden and crispy while the center was juicy. This is a great weeknight meal because the prep is easy, and the cutlets are ready in about 30 minutes with no frying in oil. Thanks, Michele, for an incredibly delicious recipe!
Hi there! I love your recipes and the attention to detail you show. I cook very much the same as you do (I’m 78) it’s old school cooking, authentic. I share the recipes with my daughter.
Best to you
Loved your tip about baking in the bottom part of the oven and higher heat-made all the difference and it was almost identical to fried cutlets I’ve made over the years.