This post may contain affiliate links or sponsored content. That means if you click on my link and buy something, I will earn a small commission from the advertiser at no additional cost to you. For more information, see our disclosure policy.
Want to make the most unique Sour Cream Cheesecake out there? Well, this is it!
This recipe has a cake crust as the base for the creamiest vanilla-infused cream cheese filling and oh-so-tangy and delicious, sweet sour cream topping! It was our standard cheesecake growing up and the nostalgia for it still lives on today! A perfect recipe to share with family and friends on holidays and special occasions that’s easy to make and can be made well in advance and frozen.

This old-fashioned dessert screams comfort, nostalgia and innovation simultaneously!


If you’ve never had a sour cream topped cheesecake, then you’re missing out!
This is the cheesecake recipe that my mom always made when she wasn’t in the mood for her Sicilian-style ricotta cheesecake. It’s creamy, smooth and rich with the most delicious, tangy sour cream topping that makes you wonder why all cheesecakes are not, quite honestly, topped with sour cream…
What sets this recipe apart from all others that I’ve seen is that it really is like two cakes in one!
The crust is actually a thick cake batter, unlike the graham cracker crusts generally used with most cheesecakes.
Plus, this dessert is made extra special with the tangy, sweet sour cream topping applied twice! First, after the cheesecake is nearly done and removed from the oven, topped with flavored sour cream and returned to the oven for a few minutes.
And second, after the cake has been chilled for an extra creamy and rich accent. (This second “topping” is one that I added to my mom’s original recipe after testing it several times.)
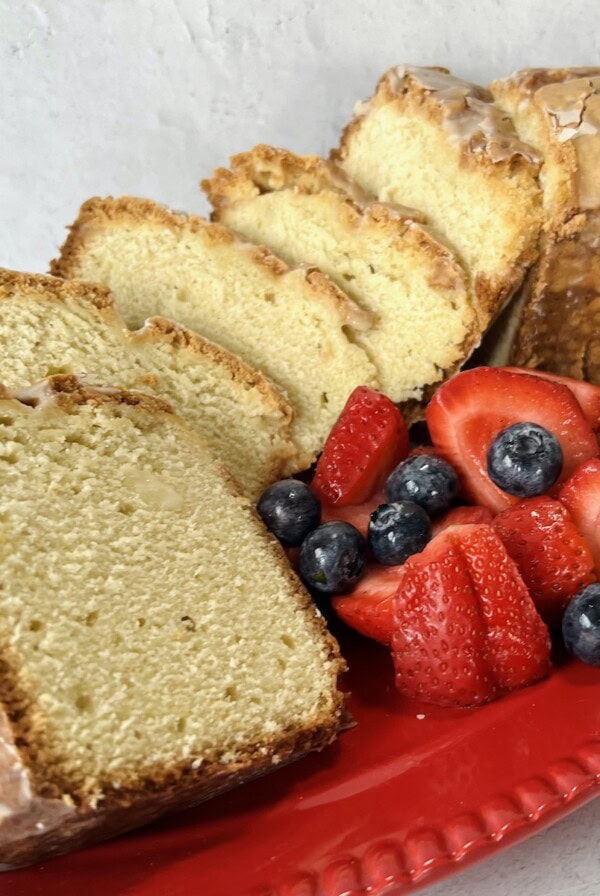
By the way, if you love sour cream, check out my old-fashioned, sour cream pound cake recipe-so good!

Why You’ll Love This Dessert
- Very unique with a cake crust! You and your guests will be wowed by the great flavors and textures.
- The sour cream topping adds amazing tangy flavor and the best creamy texture.
- Plus, no need to worry about any cracks which are often typical with cheesecakes!
- Nothing fancy! It’s made with basic pantry ingredients and kitchen equipment.
- It’s the perfect make-ahead dessert for busy days or holidays as it can easily store for several days in the fridge and up to three months in the freezer, easing the overload of tasks often accompanying any big event.
This may just be the last cheesecake recipe that you ever make! I hope you fall in love with it like I did all those years ago as a little girl growing up Jersey. Mangia bene!

How to Make Sour Cream Cheesecake
The steps in this recipe are very simple, but there is some time needed to both bake and chill the cheesecake, so plan accordingly.
- Make The Cake Base/Crust: Place a rack in the center of the oven and preheat oven to 325°F. Grease and flour the bottom and sides of a 10” fluted pie dish and set aside.
- Sift the flour, baking powder and salt together.
- In a large mixing bowl, cream the butter and sugar together. This can either be done in stand mixer with the paddle attachment or a regular bowl with a hand mixer.
- Add the eggs one at a time, beating after each addition. Then, blend in the milk and vanilla extract.
- Next, gradually fold in the sifted dry ingredients and blend well.
- Once all ingredients are well-incorporated, set this cake batter aside and then make the cream cheese filling.
Pro-Tip
It’s best that the eggs and sour cream are at room temperature for this recipe. Be sure to let them sit out for 1 to 2 hours prior to using.
The butter and cream cheese must be softened at room temperature and should both be very soft prior to starting this recipe.


- Make The Cream Cheese Filling: Combine the softened cream cheese and sugar and cream together on low. This can either be done in stand mixer with the paddle attachment or a regular bowl with a hand mixer.
- Add the sour cream and vanilla extract and continue to mix.
- Add the eggs one at a time, beating after each addition.
- Beat until well-mixed.
Pro-Tip
The pesto can be made up to one week in advance and held in an airtight container in the refrigerator. Just bring it to room temperature before using in this recipe.


- Prepare and Bake the Cheesecake: Pour the cake batter into a greased-and-floured, 10” deep pie dish. Spread it out on the bottom and sides as evenly as possible. It doesn’t need to be perfect–this is a rustic-style cheesecake!
- Then, carefully pour or spoon the cream cheese filling into the dish and spread it out evenly over the cake batter.
- Transfer the pie dish to a middle rack of a 325°F preheated oven. Bake for 40-50 minutes or until a knife/toothpick/cake tester inserted slightly off center comes out clean. It should be just barely jiggly in the center and a little golden at the edges.


- Make The Sour Cream Topping: While the cheesecake is baking, make the sweetened sour cream by mixing together the sour cream, sugar and vanilla extract in a bowl with a spoon or small whisk until smooth.
- Remove the cheesecake from the oven. Then, spoon a little more than half of the sour cream topping over the surface of the cheesecake and spread it to the outer edges.
- Return the pie dish to the oven and continue to bake another 8-10 minutes or until the sour cream has firmed up a bit.
- Cover and refrigerate the remaining sour cream topping, which will be added after the cake has chilled.
- Remove cheesecake from oven and let it cool at room temperature for a bit. Once the pie dish is cool to the touch, transfer the cheesecake to the refrigerator and chill, uncovered at first until it is 100% set. After it’s set, you can cover it with plastic wrap.


- Final Topping and Serving: Chill Sour Cream Cheesecake at least 3-4 hours in the refrigerator prior to serving to set properly.
- When ready to serve, spread the remaining sour cream topping over the entire cooled cheesecake.
- Then, run a knife around the edge of the cake to loosen it from the sides of the pan. Portion with a knife and serve.
Pro-Tip
For a really clean slice, use a sharp, smooth (not serrated) knife and run it under hot water then wipe it dry before every slice.)


Love Sweets? Check out:
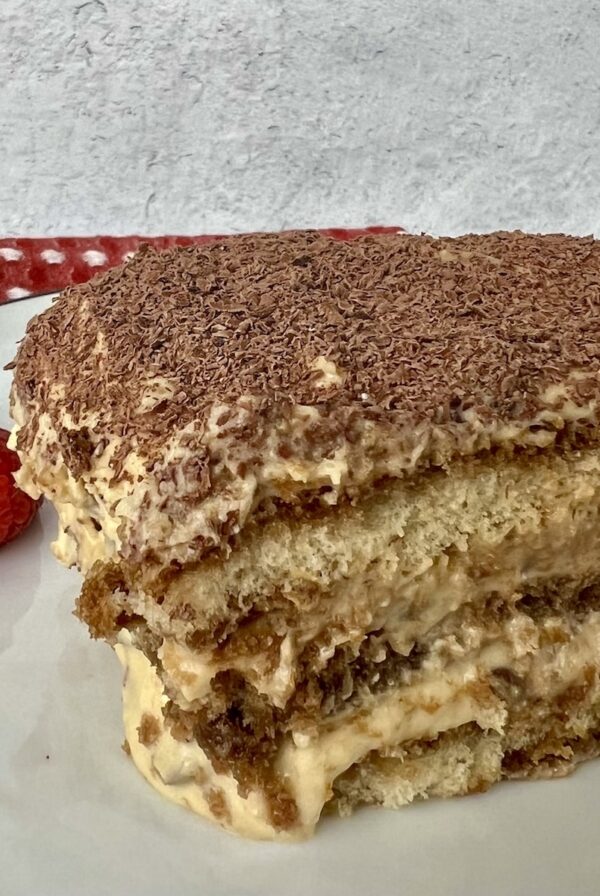
- Authentic Italian Tiramisu
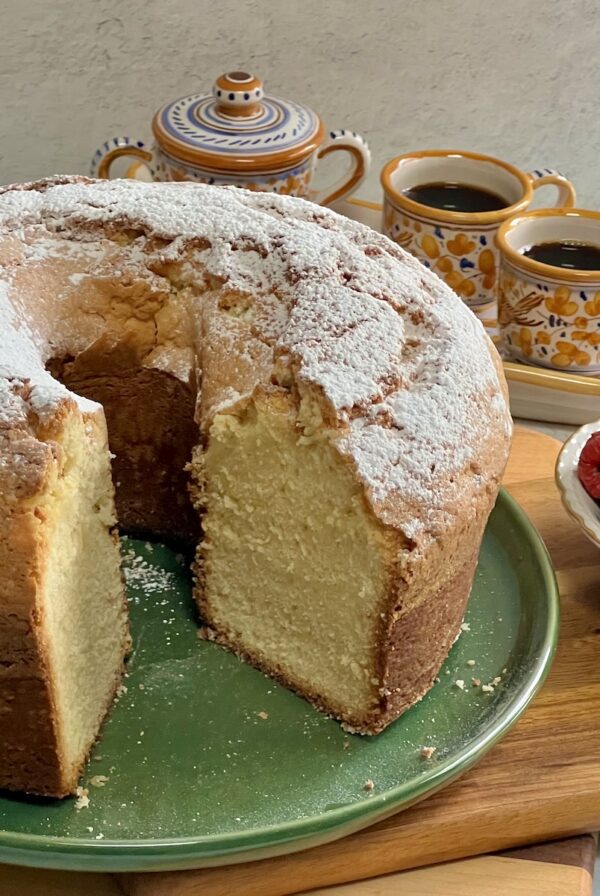
- Cold Oven Cream Cheese Pound Cake
- Peanut Butter Chocolate Chip Cookies
- Buttery Pecan Snowball Cookies
- Czechoslovakian Cookies (Layered Cookie Bars with Nuts and Jam)
- Anginetti Cookies (Mom’s Italian Biscuits)
- Pizzelles (Italian Wafer Cookies)
- Sour Cream Pound Cake
- Sicilian Ricotta Cheesecake with Orange and Almond
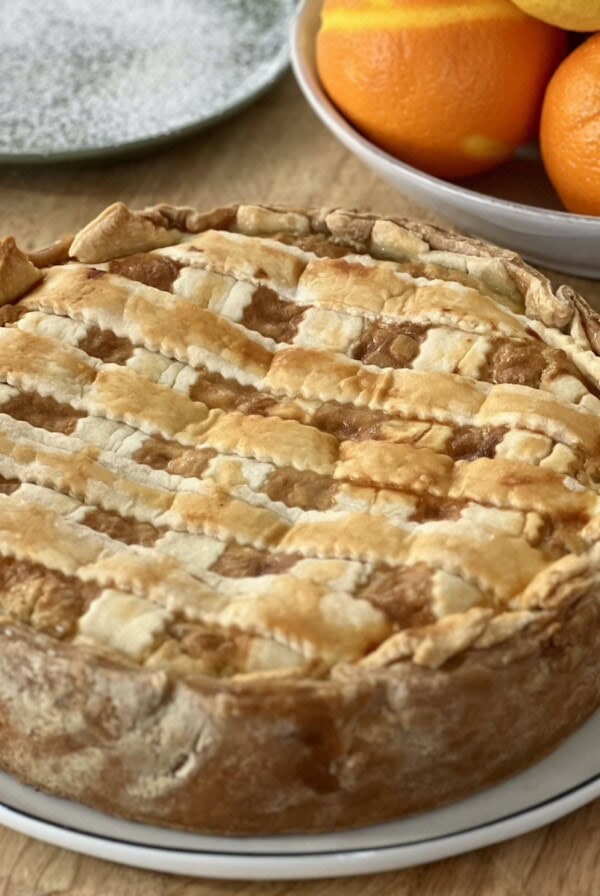
- Pastiera Di Grano Napoletana ~ Italian Easter Grain Pie

This year-round favorite deserves a spot on your next holiday or special occasion menu. Enjoy it with spaghetti aglio olio e peperoncino, slow-roasted pork shoulder and broccoli rabe for a lovely Sunday dinner. Or even give it away as a gift!
Frequently Asked Questions
It will hold for up to 5 days covered in the refrigerator and up to 3 months wrapped tightly in plastic wrap in the freezer. Defrost either in the refrigerator or at room temperature before serving.
While the cream cheese filling in this recipe is very similar to a classic, cream cheese-based New York-style cheesecake, the unique cake crust and sour cream topping are not typical of a classic New York cheesecake.
For a Sicilian-inspired, ricotta cheese-based version, check out my ricotta cheesecake with orange and almond. It’s lighter in texture, less rich and less sweet than its richer and denser American counterparts.
See notes on alternative crusts in Recipe Substitutions and Variations below.
There’s a few things that you can do to avoid cracks in your cheesecake. One is to let the cheesecake cool slowly by turning off the oven and cracking the door open BEFORE the cake is done and leaving the cake in there for about 15 minutes. (Note: I have not tried this as it was never needed with this recipe.)
Another is to not overmix the ingredients. When the batter is overmixed, too much air is added and may cause the cake to rise in the oven and then collapse and crack when being removed.
Don’t overbake the cake–it may crack if it’s too dry.
Grease the pan–as the cake cools, it contracts. And, if any part of the cake is stuck to the side of the pan as it cools and shrinks, it may pull and split.
If you do end up with some cracks, no worries! The sour cream topping will cover them up. And, the cake will still be delicious and the cracks (like face wrinkles!) add character.


Sour Cream Topping
You can omit the second topping of sour cream if you want.
Adding additional sour cream topping after the cheesecake has chilled and before serving is something that I added to my mom’s original recipe. She used half the amount of sour cream topping as I have in this recipe and only topped the cake once (the first time noted in this recipe).
After testing out this recipe several times, I prefer it with a bit more topping and I really like the creamy texture of the fresh sour cream on the finished cake. The choice is yours!
Recipe Substitutions and Variations
There’s not much to add here as the ingredients are basic. Having said this, here are a few different options:
- Sour Cream Topping: See information above about eliminating the second layer of sour cream topping.
- Swap out the extract to vary the flavors. I love classic vanilla here, but an almond lover may love almond extract. Part-vanilla and part-lemon or orange extract could work too.
- Add some chocolate chips to the batter. Why the heck not?
- Change the Cake Crust: This is definitely a possibility, though I admit to not having tried it myself. The cake batter crust in this recipe is much thicker than, say, a traditional graham cracker crust. So, you would definitely need more cream cheese filling than what’s included in the recipe below. But I have not tested out how much more exactly. At least double and maybe more. Let me know if you try this! For an orange and almond-infused graham cracker crust recipe, check out my Sicilian ricotta cheesecake recipe.
- No Crust: Or, you could eliminate the crust entirely! Again, I have not tested how much more of the filling you would need for this, but technically, it could work.

TOP TIPS for Sour Cream Cheesecake
- Sour Cream and Cream Cheese: Use full-fat and not part-skim or non-fat dairy for the best texture and flavor. This recipe has only been tested with full-fat dairy products.
- Room Temperature: It’s best that the eggs and sour cream are at room temperature for this recipe. Be sure to let them sit out for 1 to 2 hours prior to using. The butter and cream cheese must be softened at room temperature and should both be very soft prior to starting this recipe.
- Use a 10” deep pie dish and don’t forget to butter the bottom and sides.
- Sour Cream Cheesecake is best chilled at least 3-4 hours in the refrigerator prior to serving to set properly. Be sure to account for this! This cheesecake needs time on both the counter and in the refrigerator to properly chill and set up before serving.
- Slicing: For a really clean slice, use a sharp, smooth (not serrated) knife and run it under hot water then wipe it dry before every slice.)
- Serving: The cake is great on its own and even more delicious (and beautiful!) with some fresh assorted berries
- Store the sour cream cheesecake in the refrigerator, covered, for up to 5 days. It also freezes really well for up to 3 months! To freeze it, wrap the chilled cheesecake tightly in plastic wrap then a layer of foil and/or place it in a freezer bag. You can also wrap and freeze individual slices. Thaw in the refrigerator before serving.
The Best Sour Cream Cheesecake

Video
Equipment
- Stand Mixer or hand mixer
Ingredients
For The Cake Base/Crust:
- Butter and Flour to grease the pan
- 1 cup all-purpose flour
- 1 tsp baking powder
- ½ tsp salt
- ½ cup unsalted butter, softened at room temperature (8 Tbsp)
- ⅔ cup sugar
- 2 large eggs, at room temperature, cracked in a bowl first
- 1 Tbsp whole milk
- 1 tsp vanilla extract
For The Filling:
- 1 (8-ounces) package cream cheese, softened at room temperature
- ⅔ cup sugar
- ½ cup sour cream, (full fat, not nonfat), at room temperature
- 1 tsp vanilla extract
- 2 large eggs, at room temperature, cracked in a bowl first
For the Sour Cream Topping:
- 2 cups sour cream, (full fat, not nonfat), at room temperature
- ¼ cup sugar
- 1 Tbsp vanilla extract
Optional/Garnish:
- Fresh assorted berries
Instructions
- Place a rack in the center of the oven and preheat oven to 325℉. Grease and flour the bottom and sides of a 10” fluted pie dish and set aside. (You can use either softened butter or shortening to grease the cake pan. My mom always used shortening and I use butter.)(Please see the section above in the blog post for Step-By-Step instructions with photos.)
- Make The Cake Base/Crust:· Sift the flour, baking powder and salt together.· In a large mixing bowl, cream the butter and sugar together. This can either be done in stand mixer with the paddle attachment or a regular bowl with a hand mixer.· Add the eggs one at a time, beating after each addition. Then, blend in the milk and vanilla extract.· Next, gradually fold in the sifted dry ingredients and blend well.· Once all ingredients are well-incorporated, set this cake batter aside and then make the cream cheese filling.1 cup all-purpose flour, 1 tsp baking powder, ½ tsp salt, ½ cup unsalted butter, ⅔ cup sugar, 2 large eggs, 1 Tbsp whole milk, 1 tsp vanilla extract
- Make The Cream Cheese Filling:· Combine the cream cheese and sugar and cream together on low. This can either be done in stand mixer with the paddle attachment or a regular bowl with a hand mixer.· Add the sour cream and vanilla extract and continue to mix.· Add the eggs one at a time, beating after each addition.· Beat until well-mixed.1 (8-ounces) package cream cheese, ⅔ cup sugar, ½ cup sour cream, 1 tsp vanilla extract, 2 large eggs
- Prepare and Bake the Cheesecake:· Pour the cake batter into a greased-and-floured, 10” deep pie dish. Spread it out on the bottom and sides as evenly as possible. It doesn’t need to be perfect–this is a rustic-style cheesecake! (See photo above.)· Then, carefully pour or spoon the cream cheese filling into the dish and spread it out evenly over the cake batter.· Transfer the pie dish to a middle rack of a 325°F preheated oven. Bake for 40-50 minutes or until a knife/toothpick/cake tester inserted slightly off center comes out clean. It should be just barely jiggly in the center and a little golden at the edges.· NOTE: Baking times vary based on individual ovens. I baked this cheesecake for about 47 minutes in my electric oven.
- MakeThe Sour Cream Topping:While the cheesecake is baking, make the sour cream topping by mixing together the sour cream, sugar and vanilla extract in a bowl with a spoon or small whisk until smooth and well-combined. Set this aside.2 cups sour cream, ¼ cup sugar, 1 Tbsp vanilla extract
- Remove the cheesecake from the oven. Then, spoon a little more than half of the sour cream topping over the surface of the cheesecake and spread it to the outer edges.
- Return the pie dish to the oven and continue to bake another 8-10 minutes or until the sour cream has firmed up a bit. (The sour cream will not actually brown, fyi.)(Cover and refrigerate the remaining sour cream topping, which will be added after the cake has chilled.)
- Remove cheesecake from oven and let it cool at room temperature for a bit. Once the pie dish is cool to the touch, transfer the cheesecake to the refrigerator and chill, uncovered at first until it is 100% set. After it’s set, you can cover it with plastic wrap.
- Final Topping and Serving:· Sour Cream Cheesecake is best chilled at least 3-4 hours in the refrigerator prior to serving to set properly.· When ready to serve, spread the remaining sour cream topping over the entire cake.· Then, run a knife around the edge of the cake to loosen it from the sides of the pan. Portion with a knife and serve. (For a really clean slice, use a sharp, smooth (not serrated) knife and run it under hot water then wipe it dry before every slice.) The cake is great on its own (plain) and even more delicious (and beautiful!) with some fresh assorted berries. Buon Appetito!
Notes
- Recipe Time does not include cooling/chilling time, fyi.
- Sour Cream and Cream Cheese: Use full-fat and not part-skim or non-fat dairy for the best texture and flavor. This recipe has only been tested with full-fat products.
- Room Temperature: It’s best that the eggs and sour cream are at room temperature for this recipe. Be sure to let them sit out for 1 to 2 hours prior to using. The butter and cream cheese must be softened at room temperature and should both be very soft prior to starting this recipe.
- Sour Cream Cheesecake is best chilled at least 3-4 hours in the refrigerator prior to serving to set properly. Be sure to account for this! This cheesecake needs time on both the counter and in the refrigerator to properly chill and set up before serving.
- Slicing: For a really clean slice, use a sharp, smooth (not serrated) knife and run it under hot water then wipe it dry before every slice.)
- Serving: The cake is great on its own and even more delicious (and beautiful!) with some fresh assorted berries.
- Store the sour cream cheesecake in the refrigerator, covered, for up to 5 days. It also freezes really well for up to 3 months! To freeze it, wrap the chilled cheesecake tightly in plastic wrap then a layer of foil and/or place it in a freezer bag. You can also wrap and freeze individual slices. Thaw in the refrigerator before serving.
- You can omit the second topping of sour cream if you want. Adding additional sour cream topping after the cheesecake has chilled and before serving is something that I added to my mom’s original recipe. She used half the amount of sour cream topping as I have in this recipe and only topped the cake once (the first time noted in this recipe). After testing out this recipe several times, I prefer it with a bit more topping and I really like the creamy texture of the fresh sour cream on the finished cake. The choice is yours!

love soup?
Get My Cookbook!
Ditch the dish and embrace the bowl with Soupified: Soups Inspired by Your Favorite Dishes!
Available in ebook, paperback and hardcover.
Love this!
A true crowd-pleaser and beautiful nod to the past. 🙂